Three player chess
Because I couldn't just build a simple chess board
I chose this project because I always wanted to make a proper and beautiful chess set. I got to practice some interesting woodwork and learn the lathe. It took me about 150 hours over many weeks. The result is a unique handcrafted piece, with a solid 3 player board, a piece holder that is also the regular board and 3 teams of imperfect chessmen. I designed both boards in two halves in order to make them more portable and embedded magnets to hold them together. I designed the pieces to be quite traditional and for each of the main pieces to have some extra modification after the lathe.
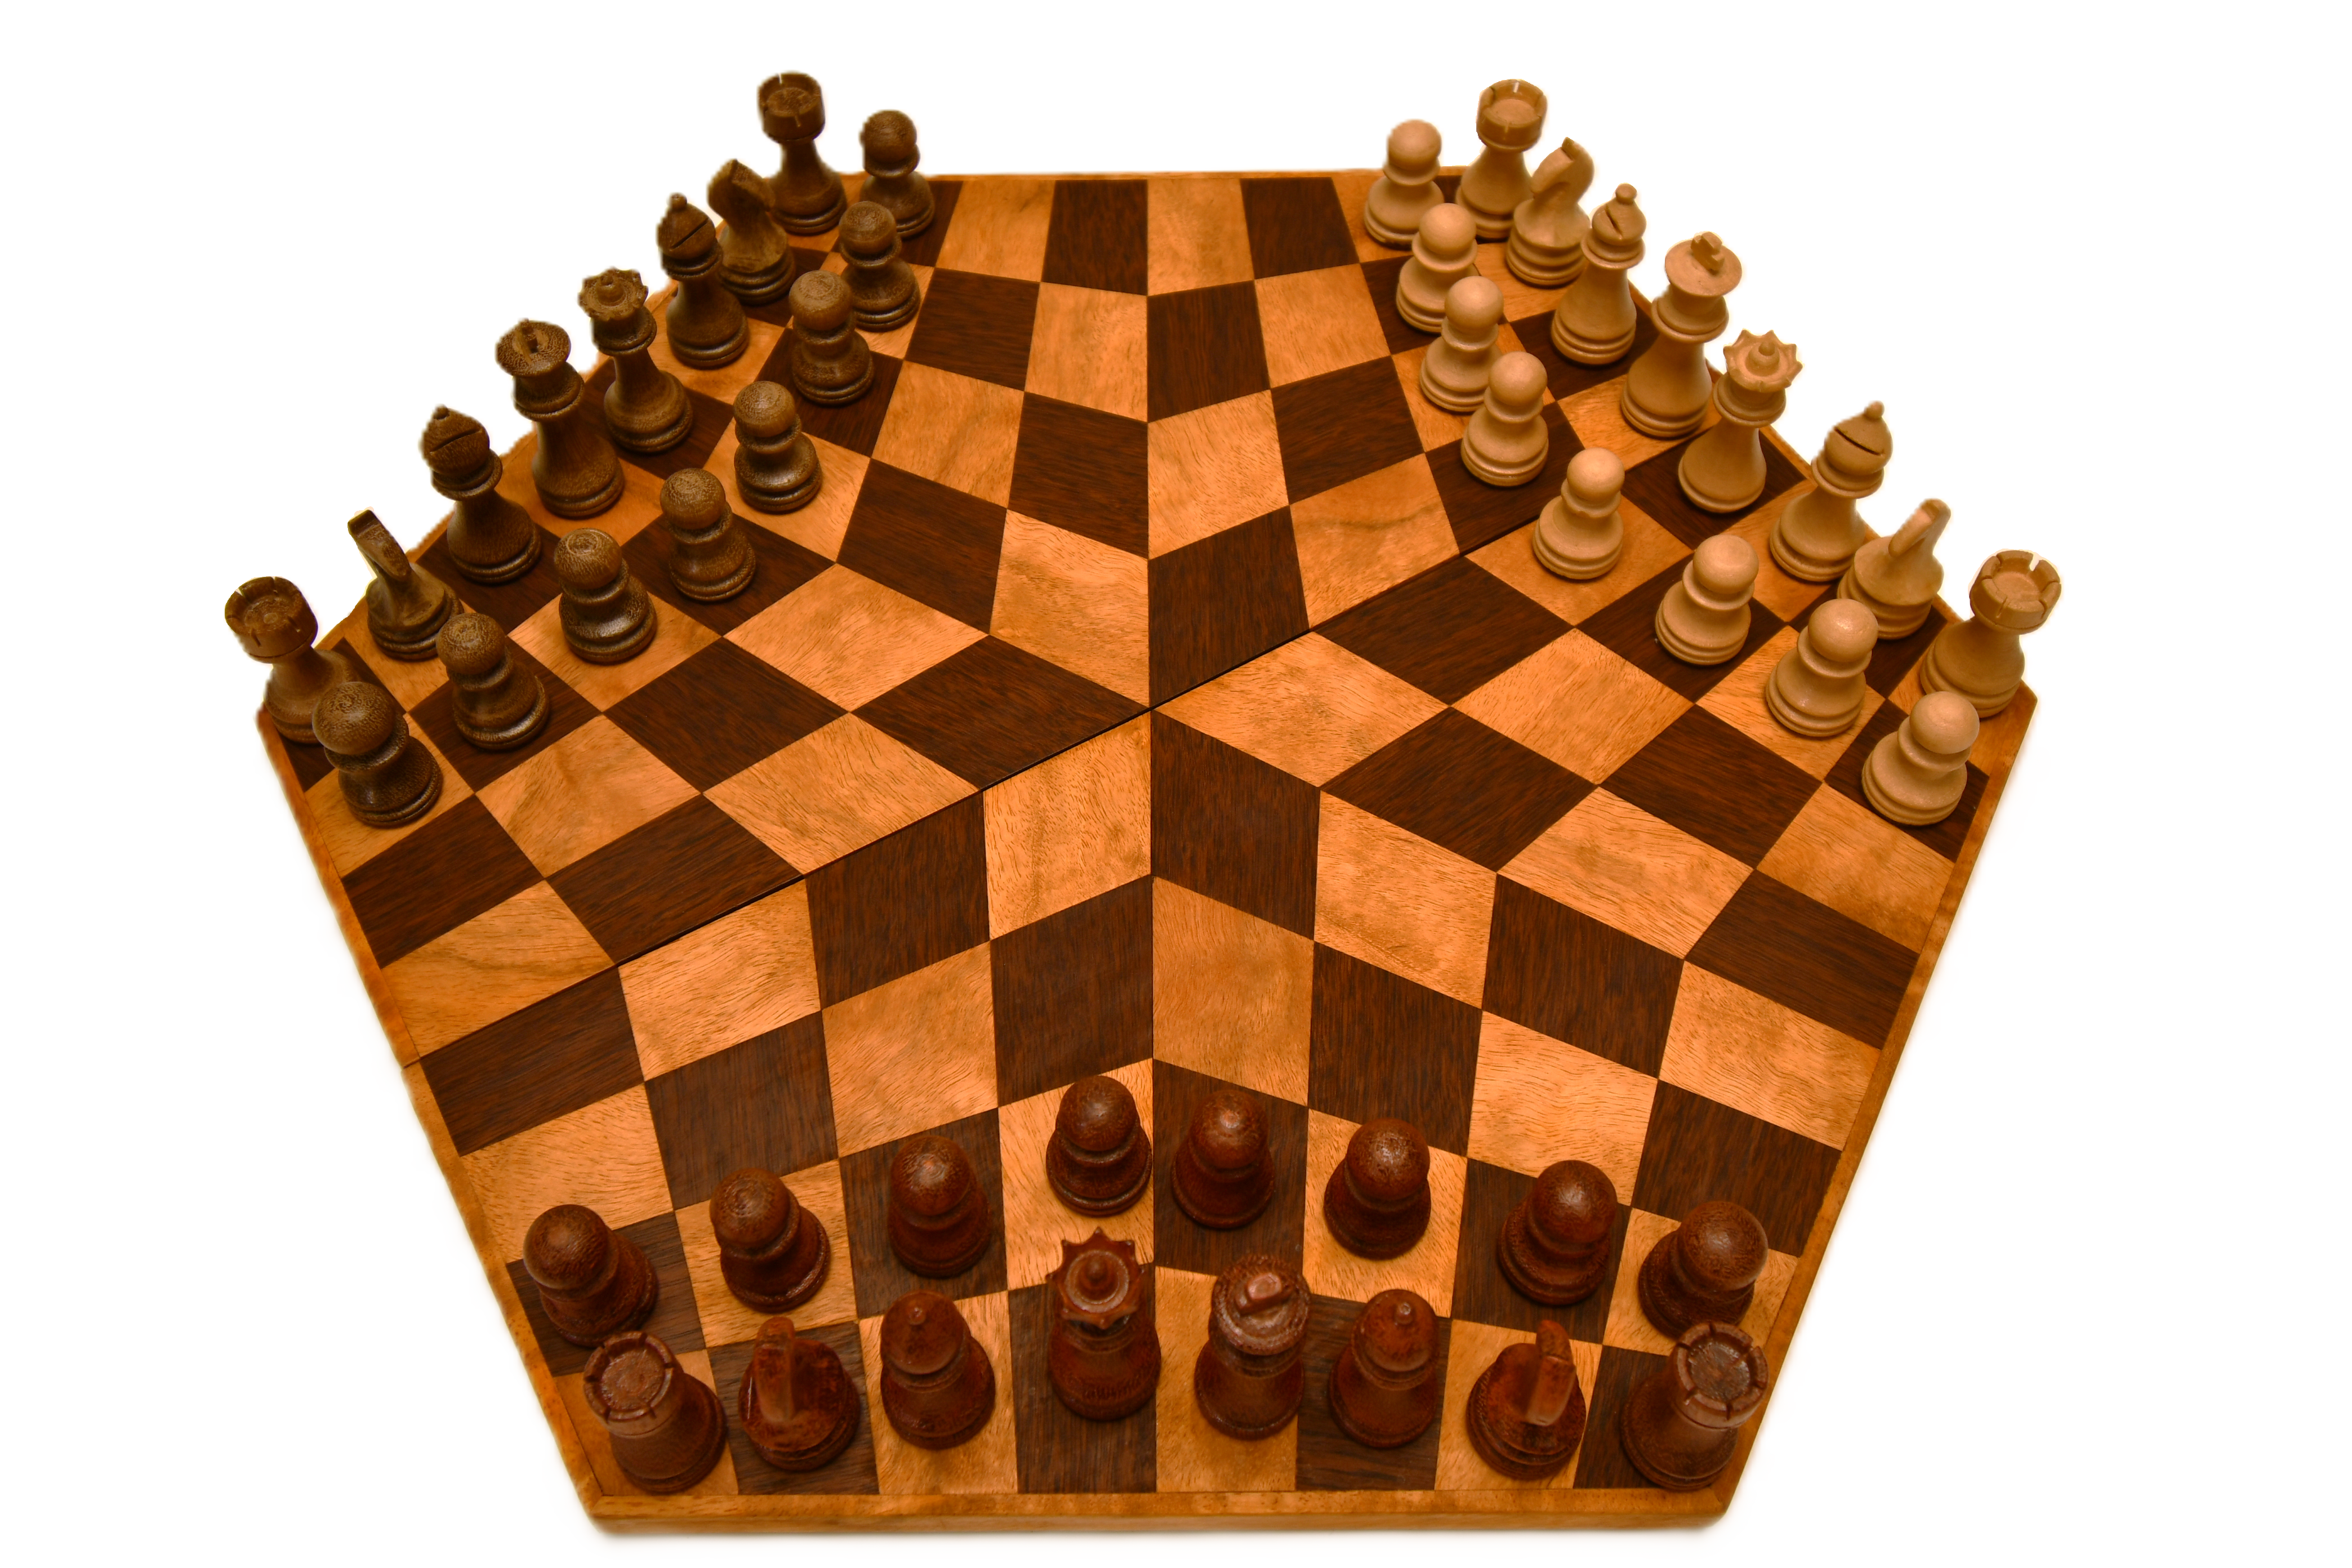
3 Player Board
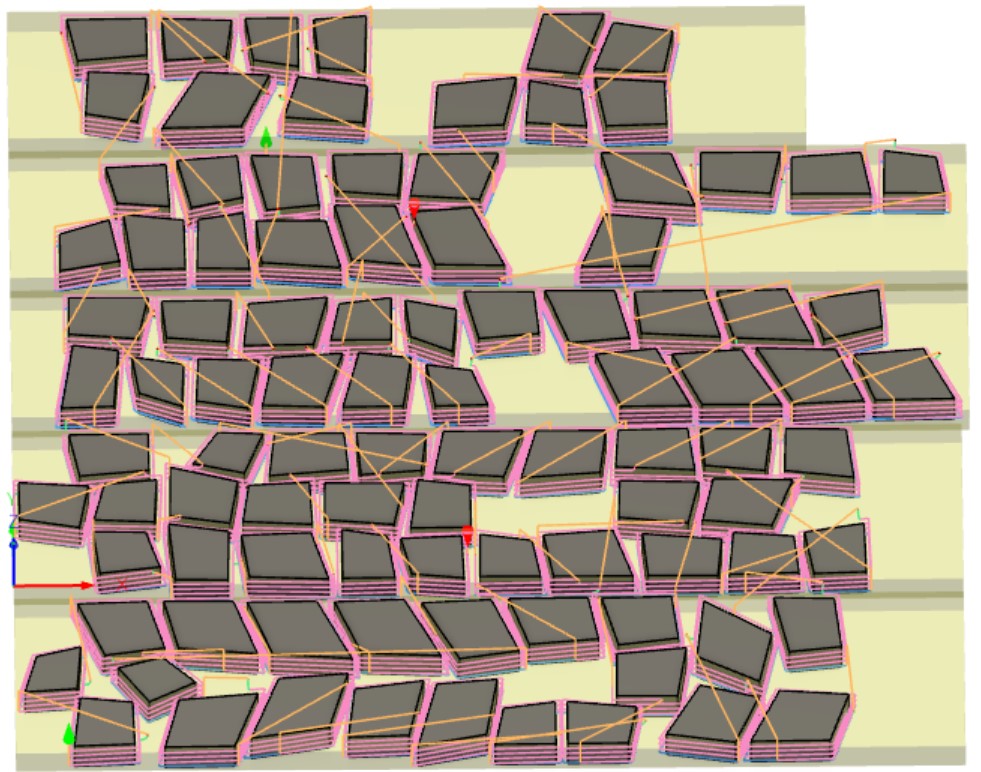

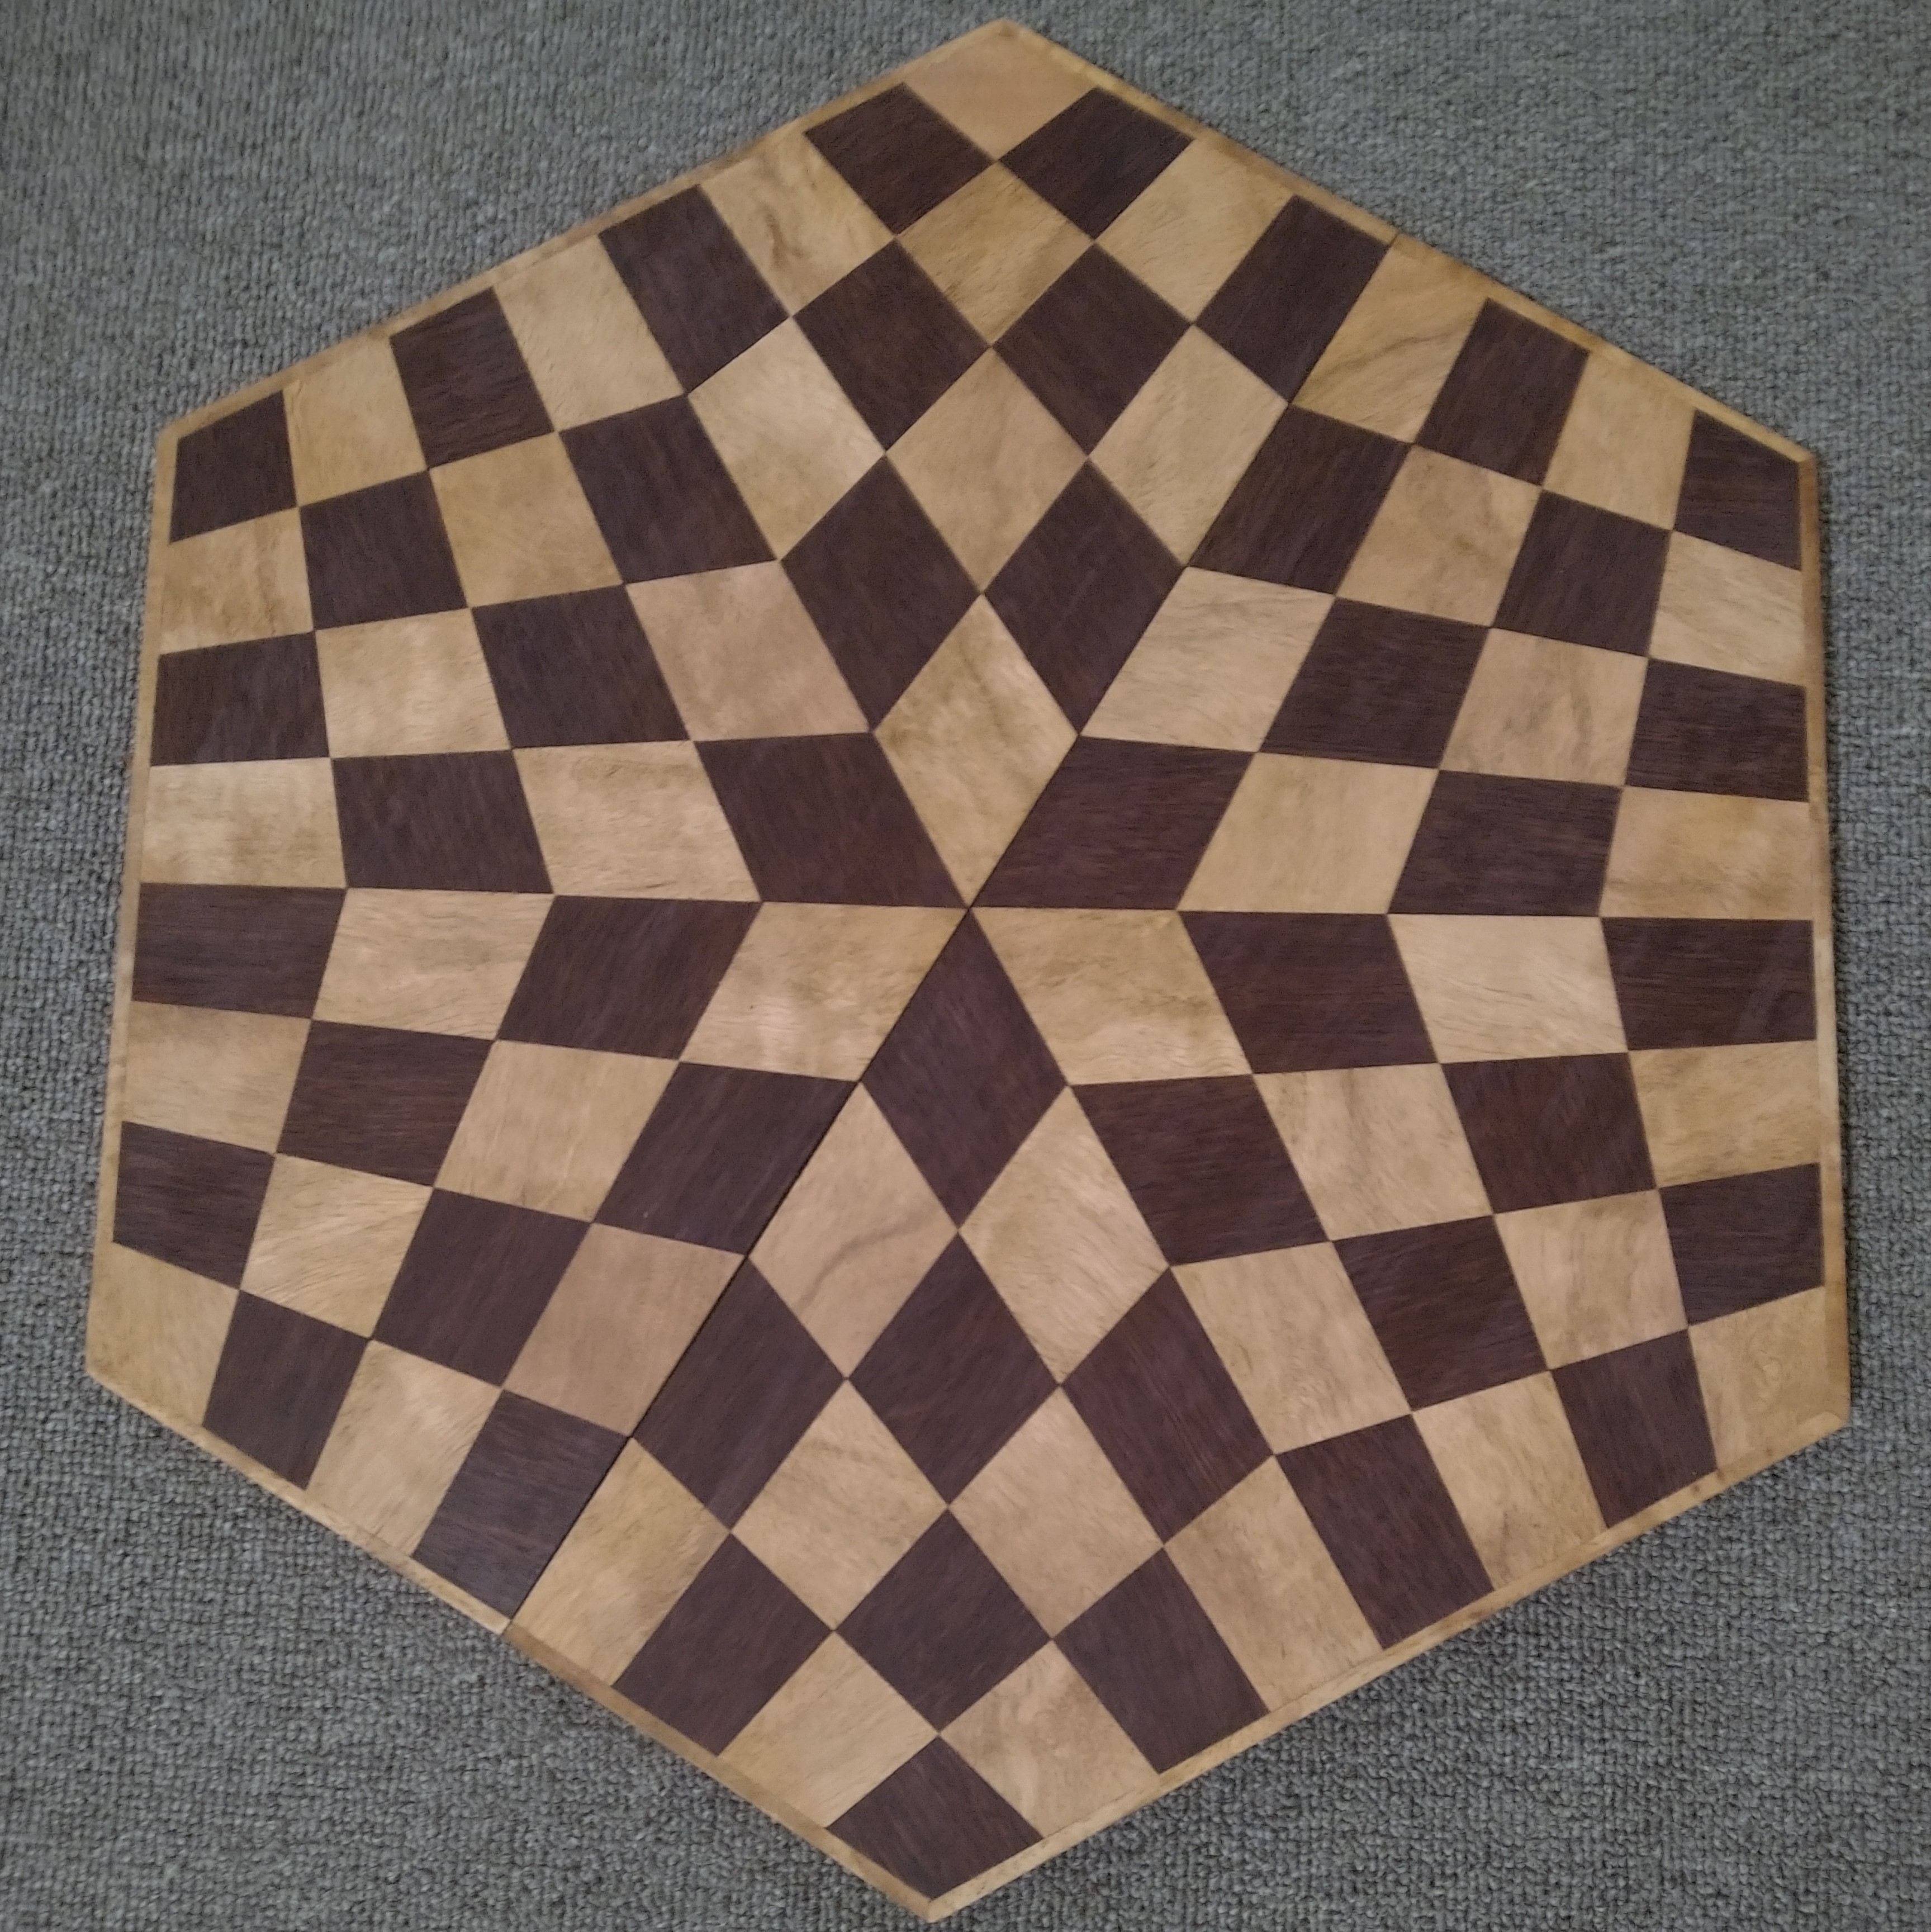
After modeling the board I arranged all the various quadrilateral tiles into the shapes of my timber planks. I did the CAM in Fusion 360, spiraling down around the outside. I then used a CNC mill to cut out the tiles out of Jarrah and Marri placks. I left stock on the bottom of the board and then ran each board vertically through the bandsaw to separate the tiles from the remaining wood.

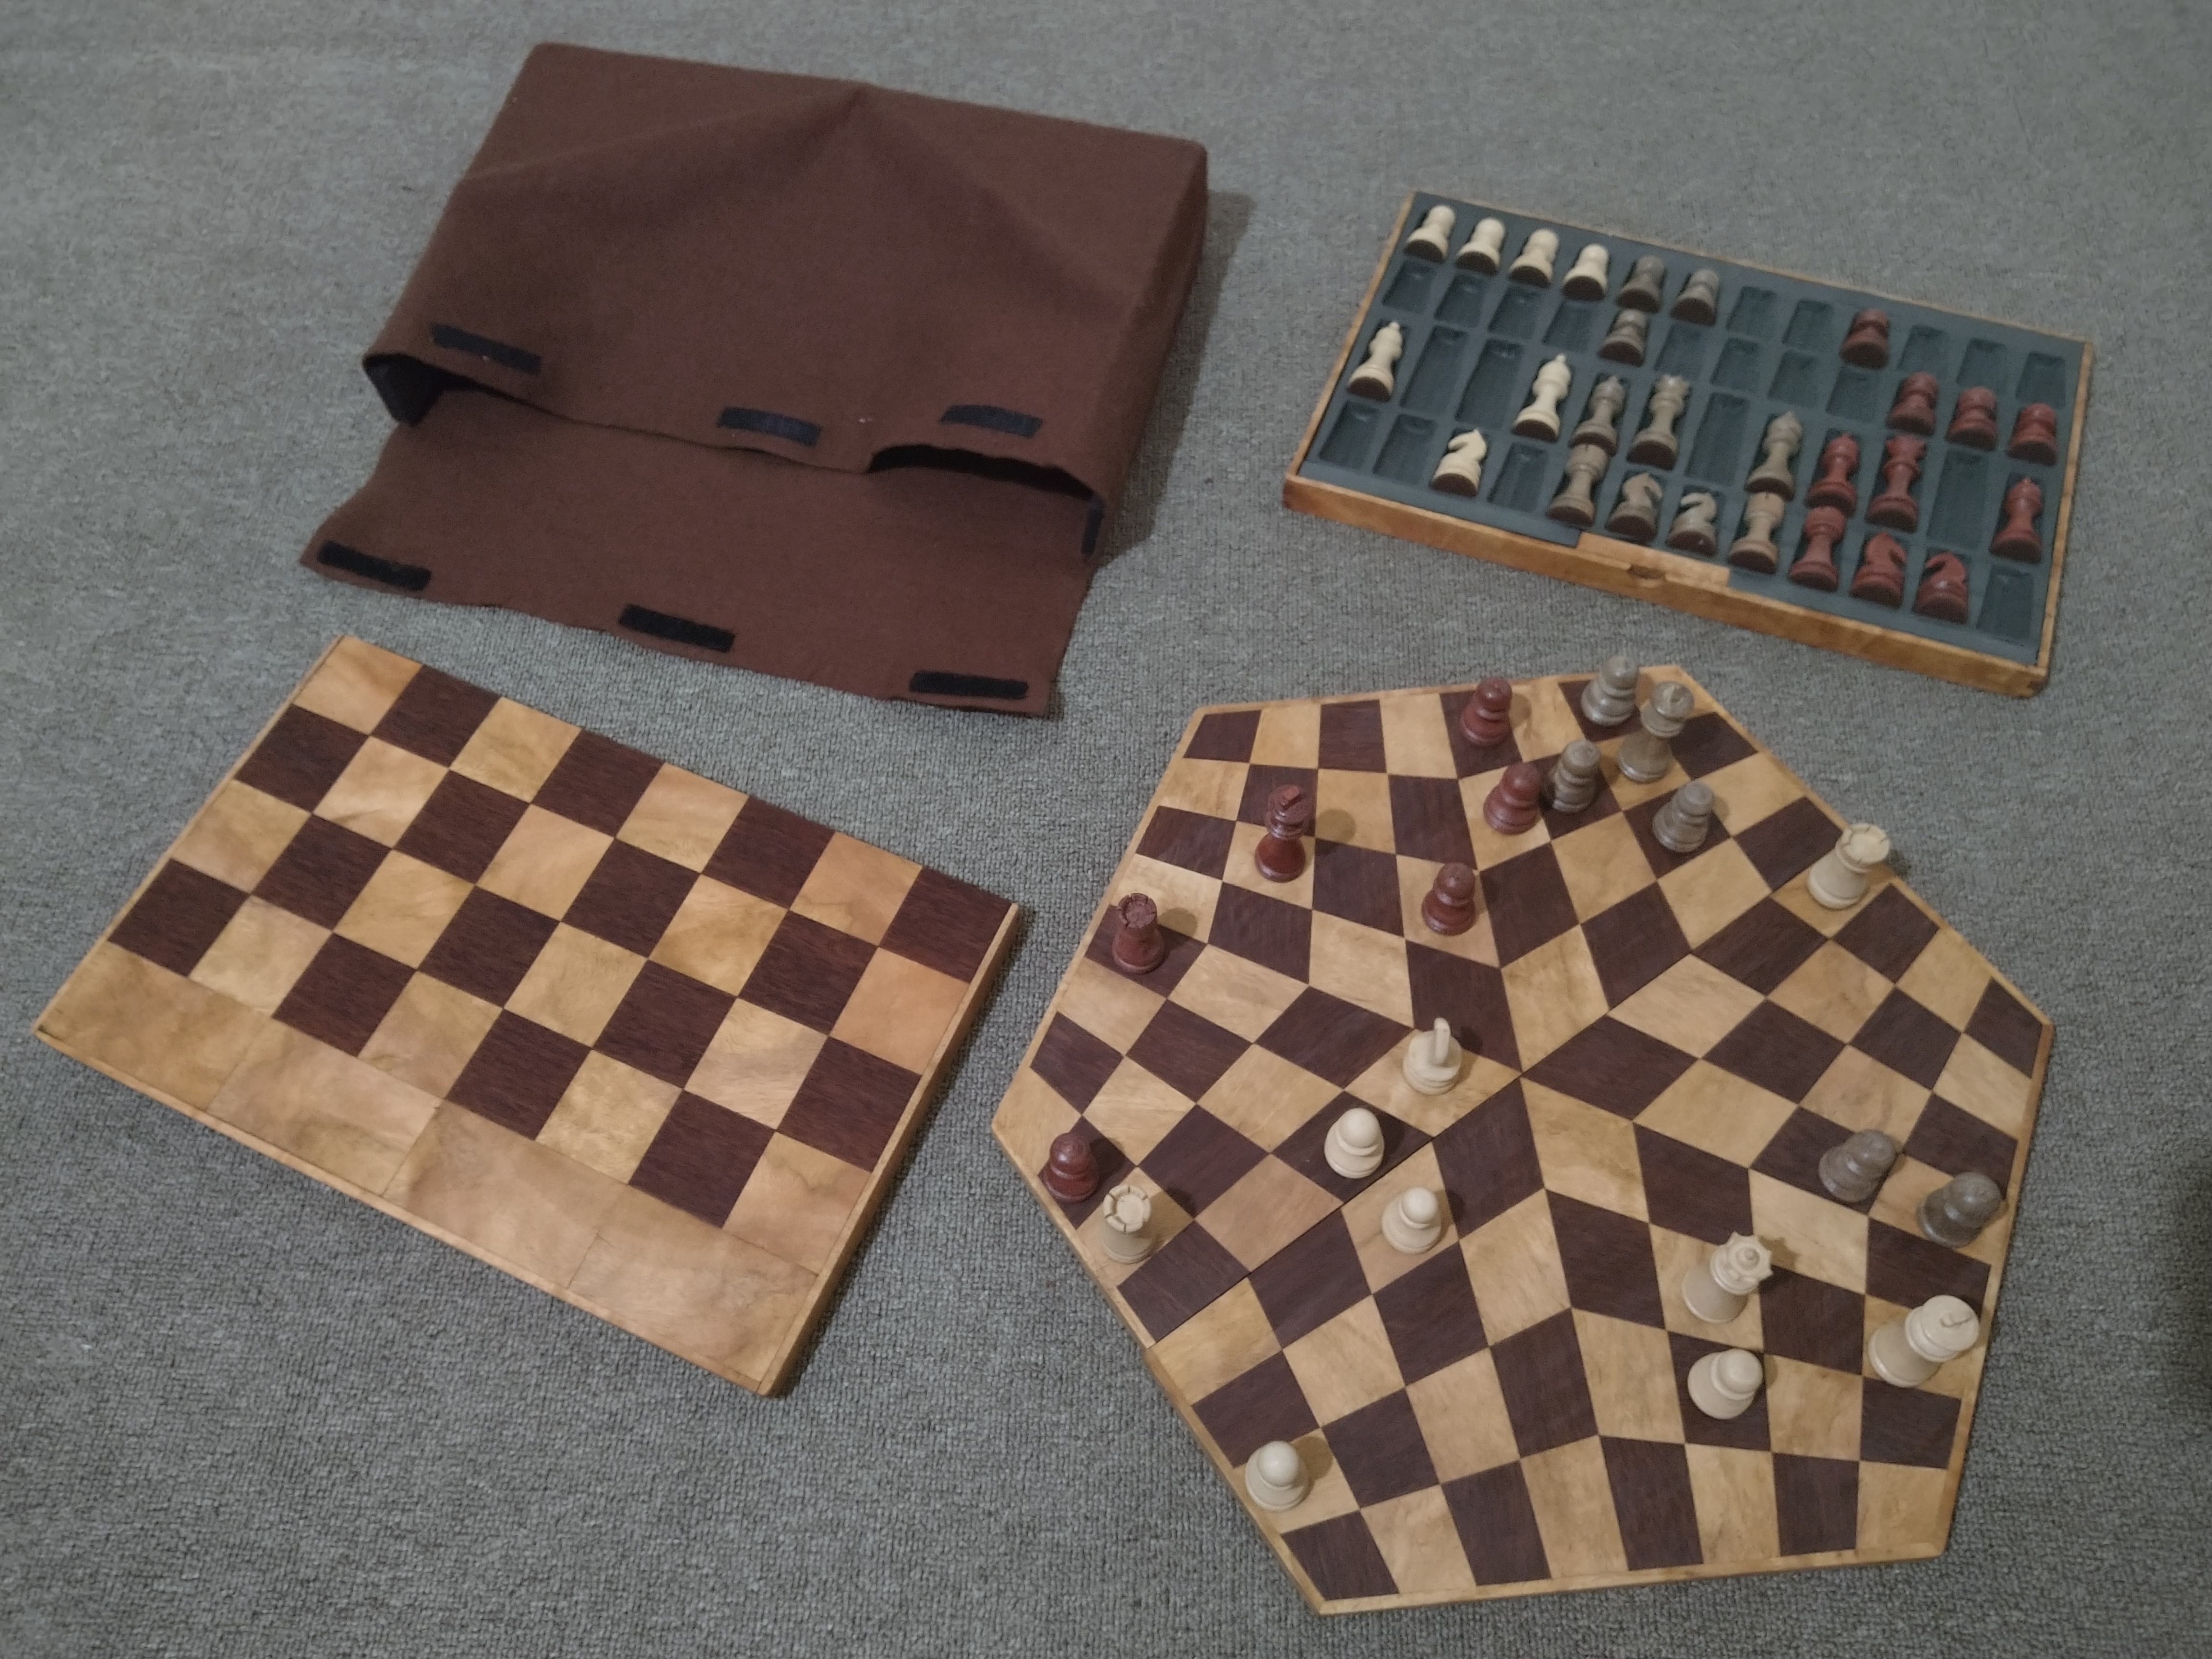
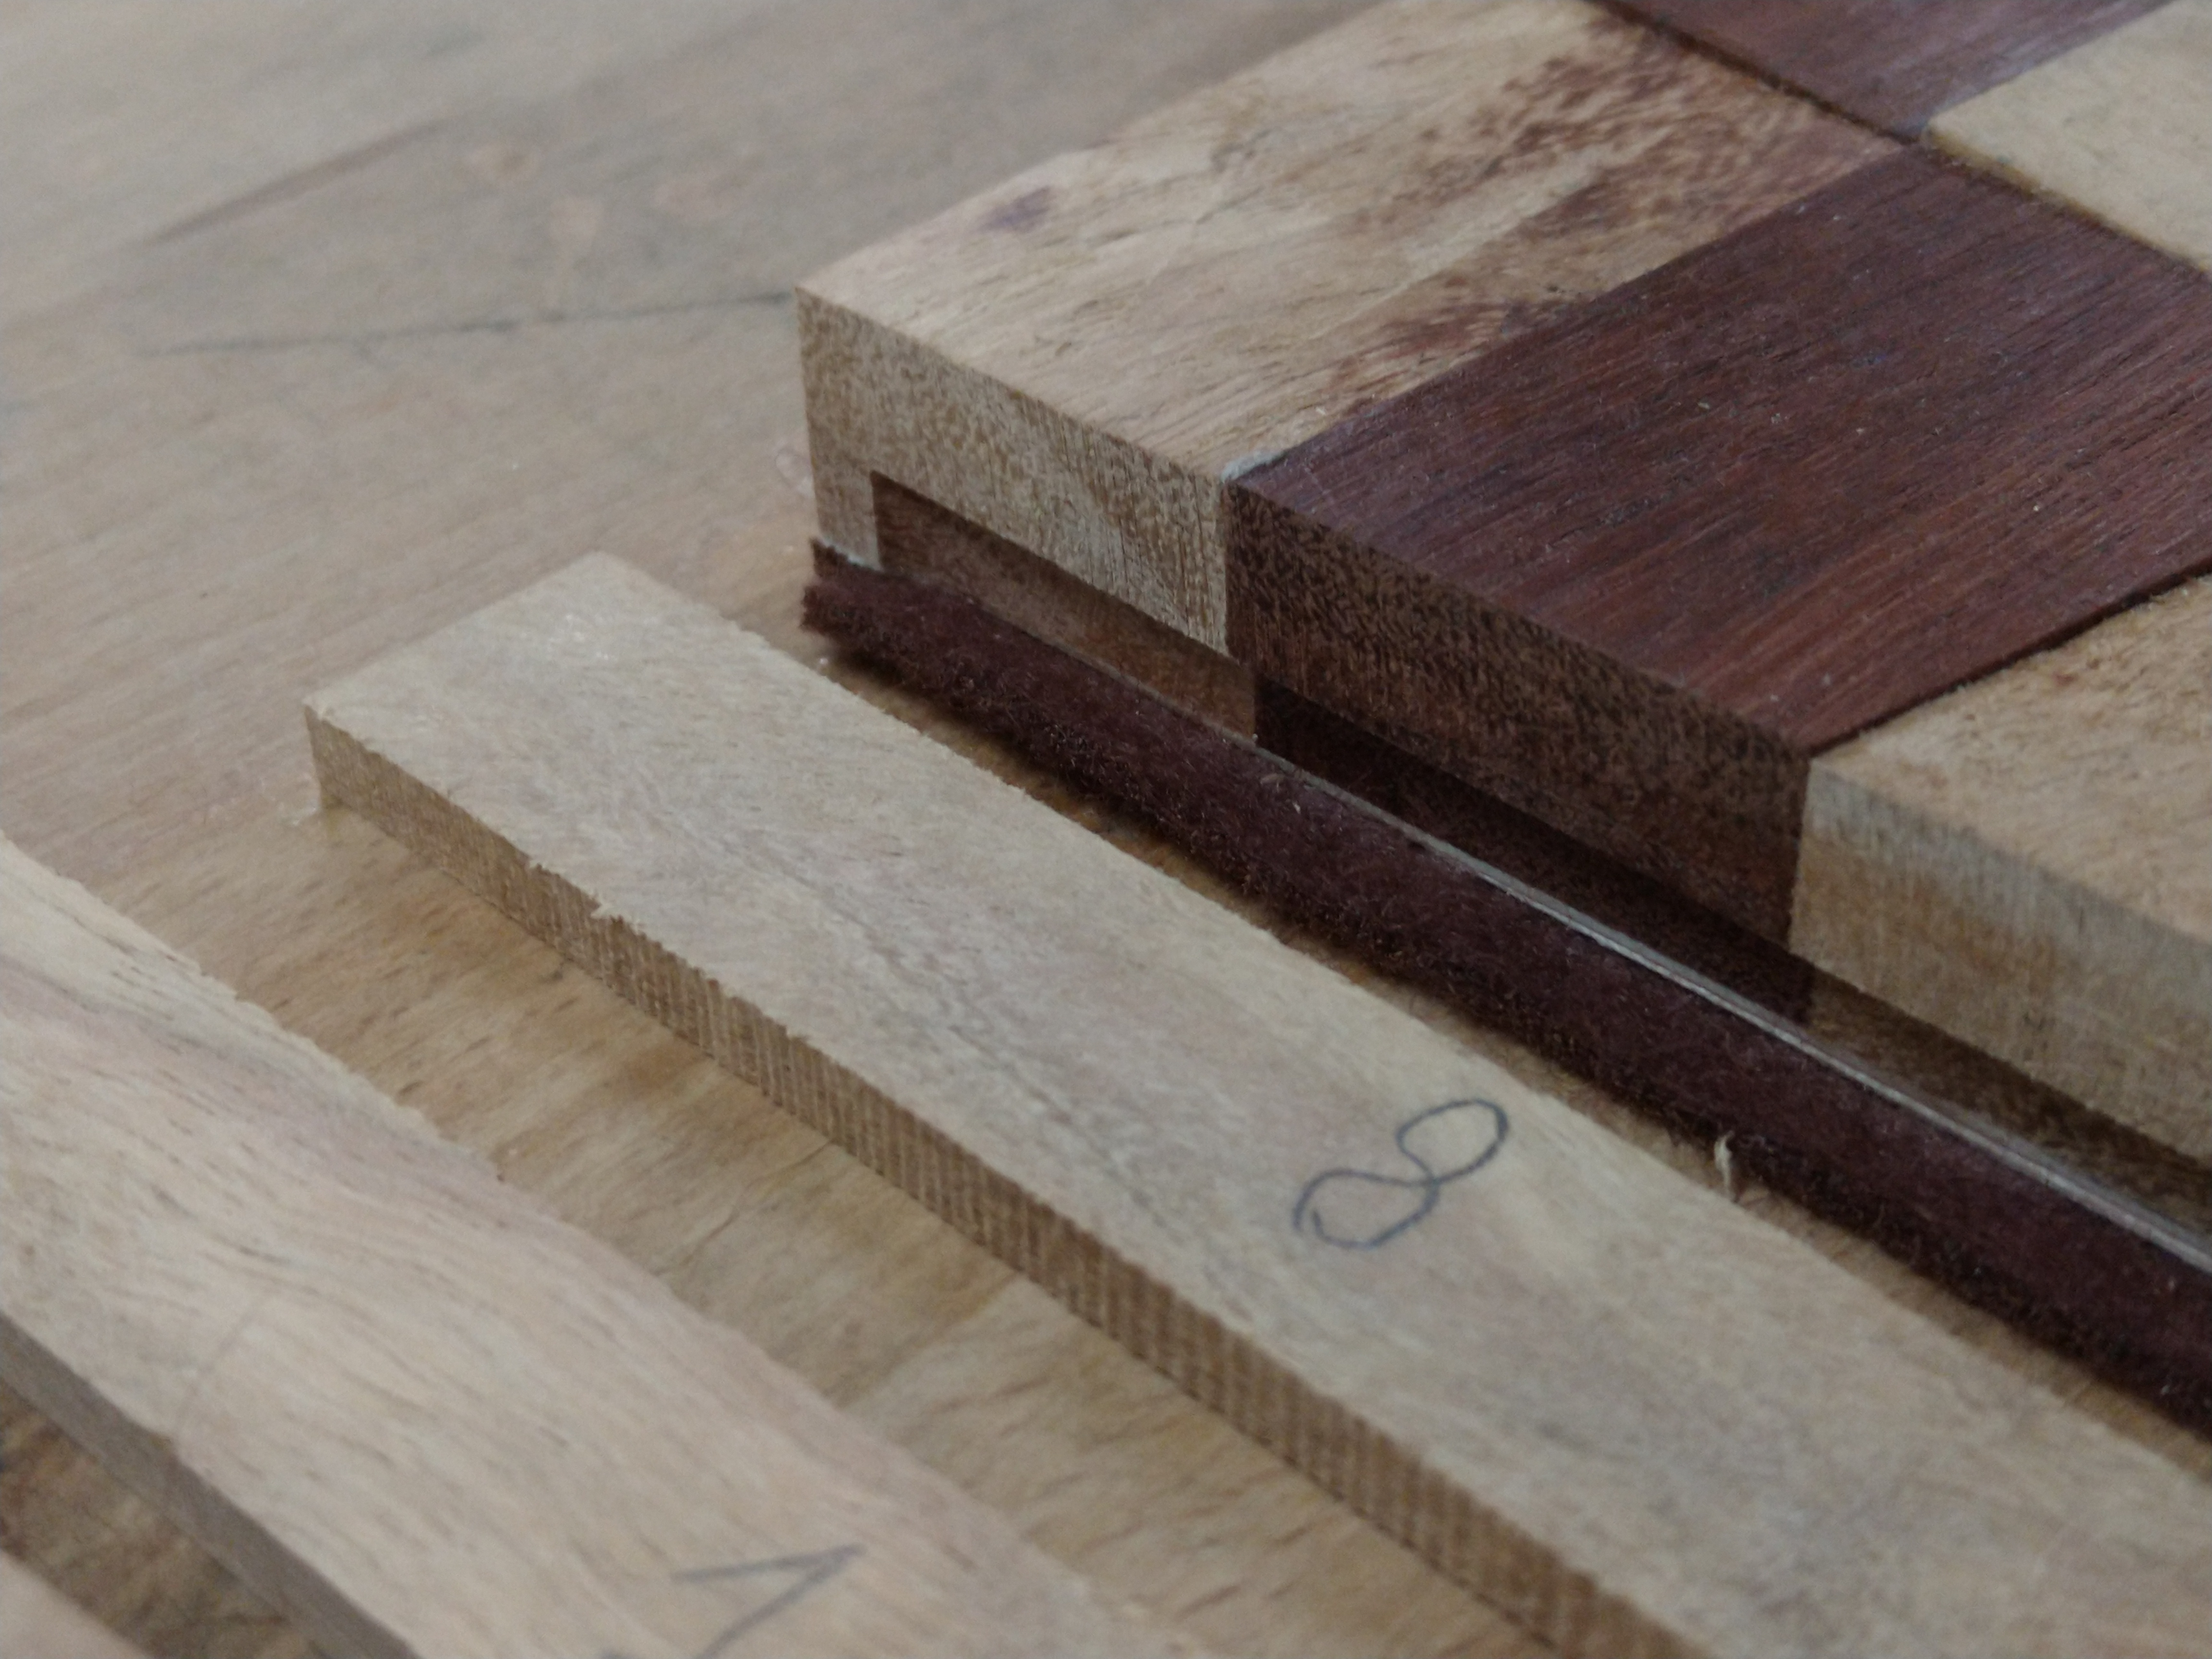
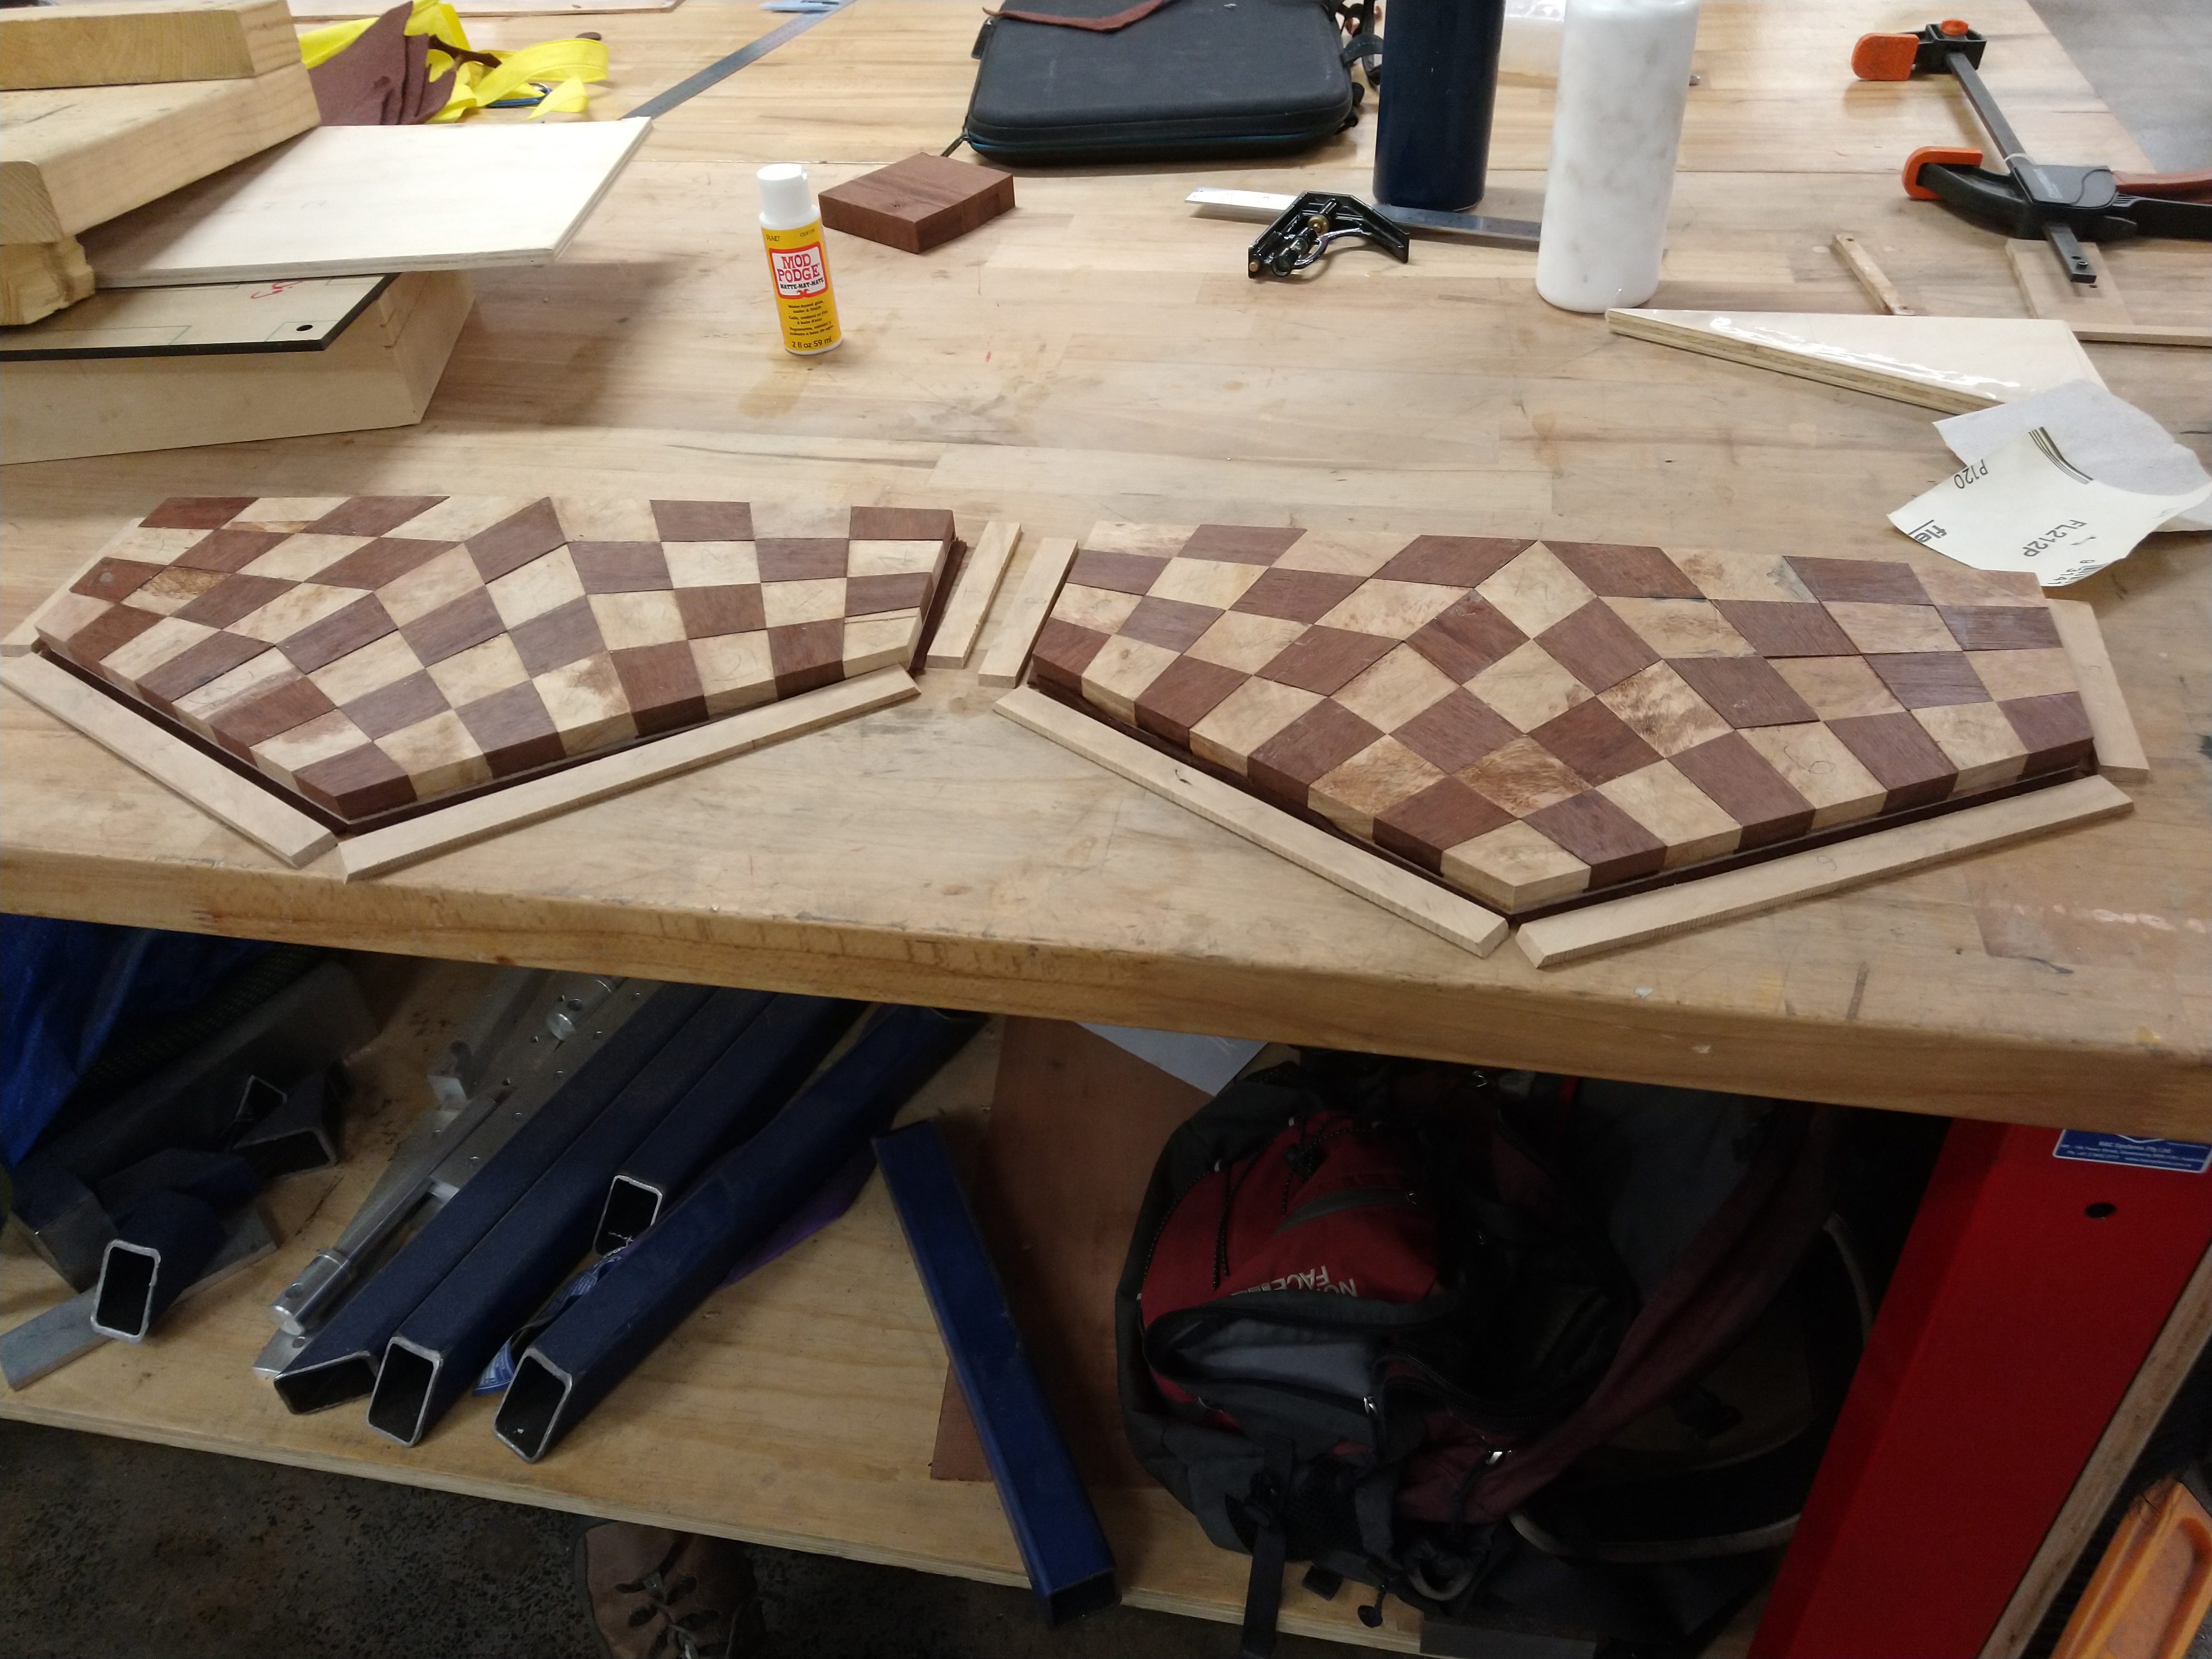
Assembling the board was like solving a symmetric jigsaw puzzle with no color. Then I did a complicated glue up to create the two board halves. I had to make a few jigs that translated between the hexagonal shape of the board and the orthogonal geometry needed for clamping. I glued the tiles to a plywood board for some extra support. To complete the board I added a felt bottom and a Marri boarder from some of my leftover scraps because I love the wavy look of the Marri grain. I also routed a 1mm channel halfway up the side of the board so that I could fold the felt base up in between the board and the boarder. This concealed the edge of the felt and made it less likely to peel off. Then I glued the felt and boarder on with Mod Podge and PVA.
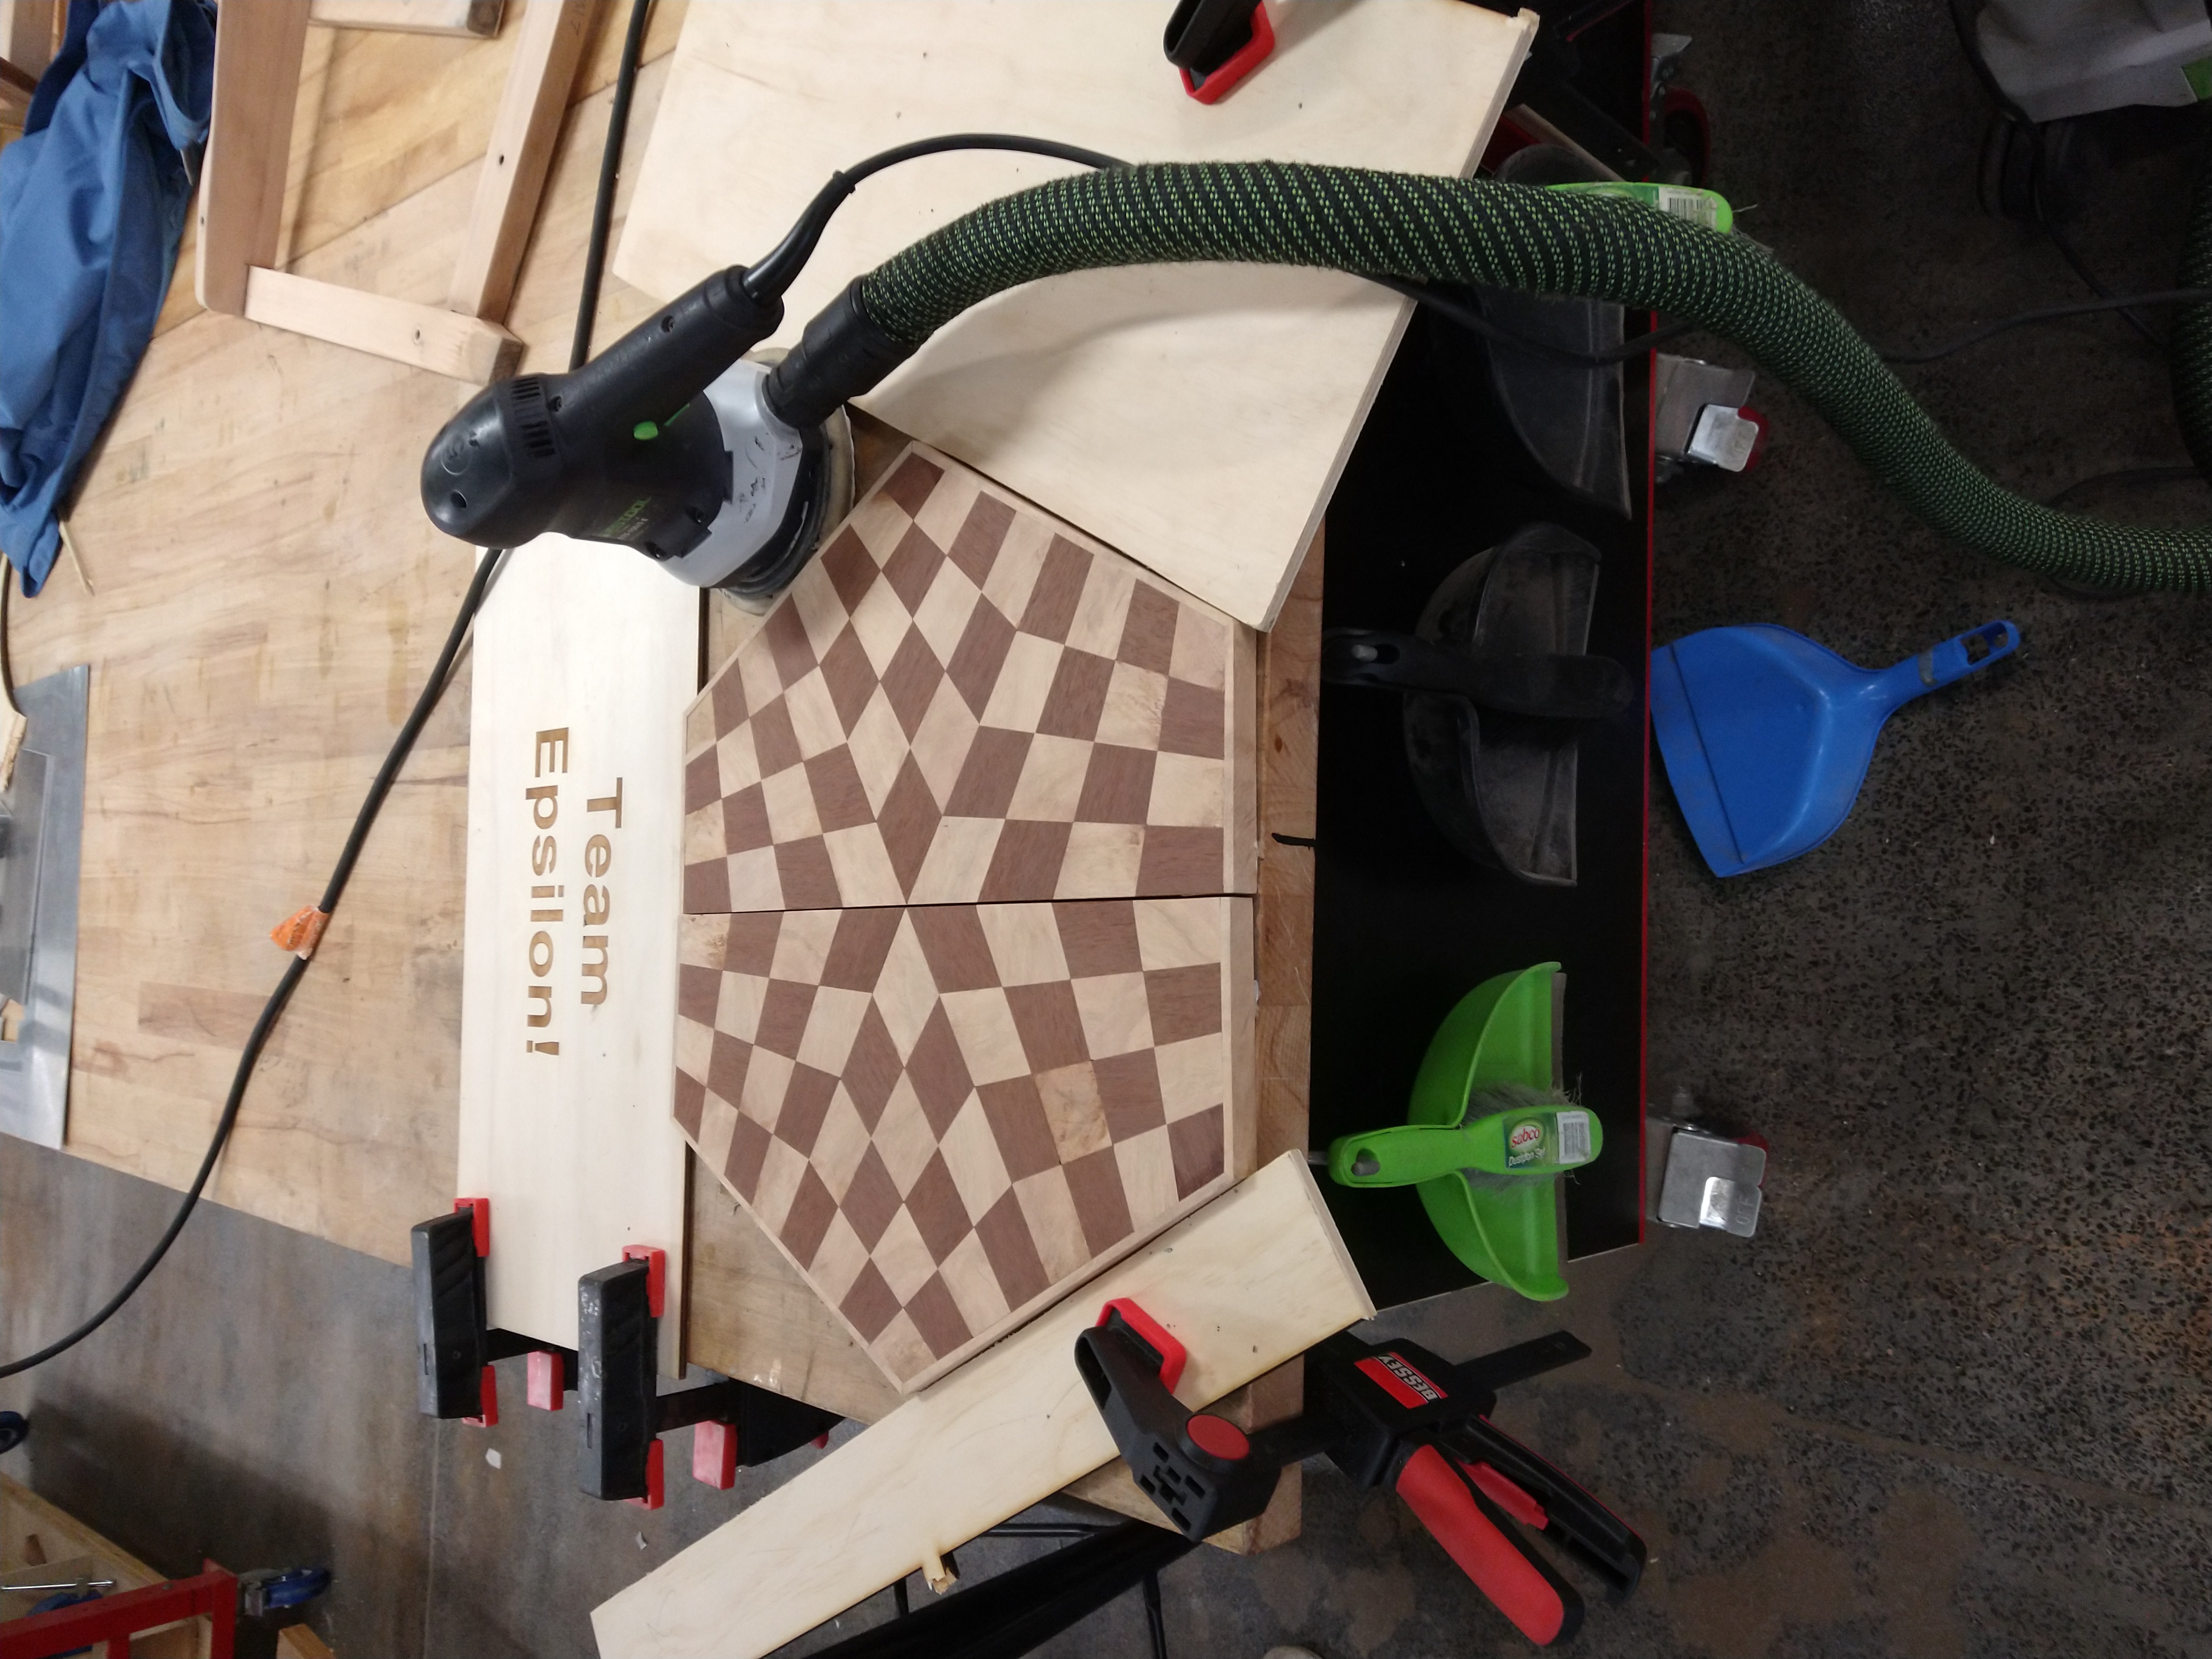
After glueing, the joining edge of the board halves was not completely straight due to the complexity of the glue up. I fixed this by cutting off an unnoticeable amount with the track saw. I also sanded the top flat with the orbital sander, which took a while because of a height difference between the Jarrah and Marri tiles.
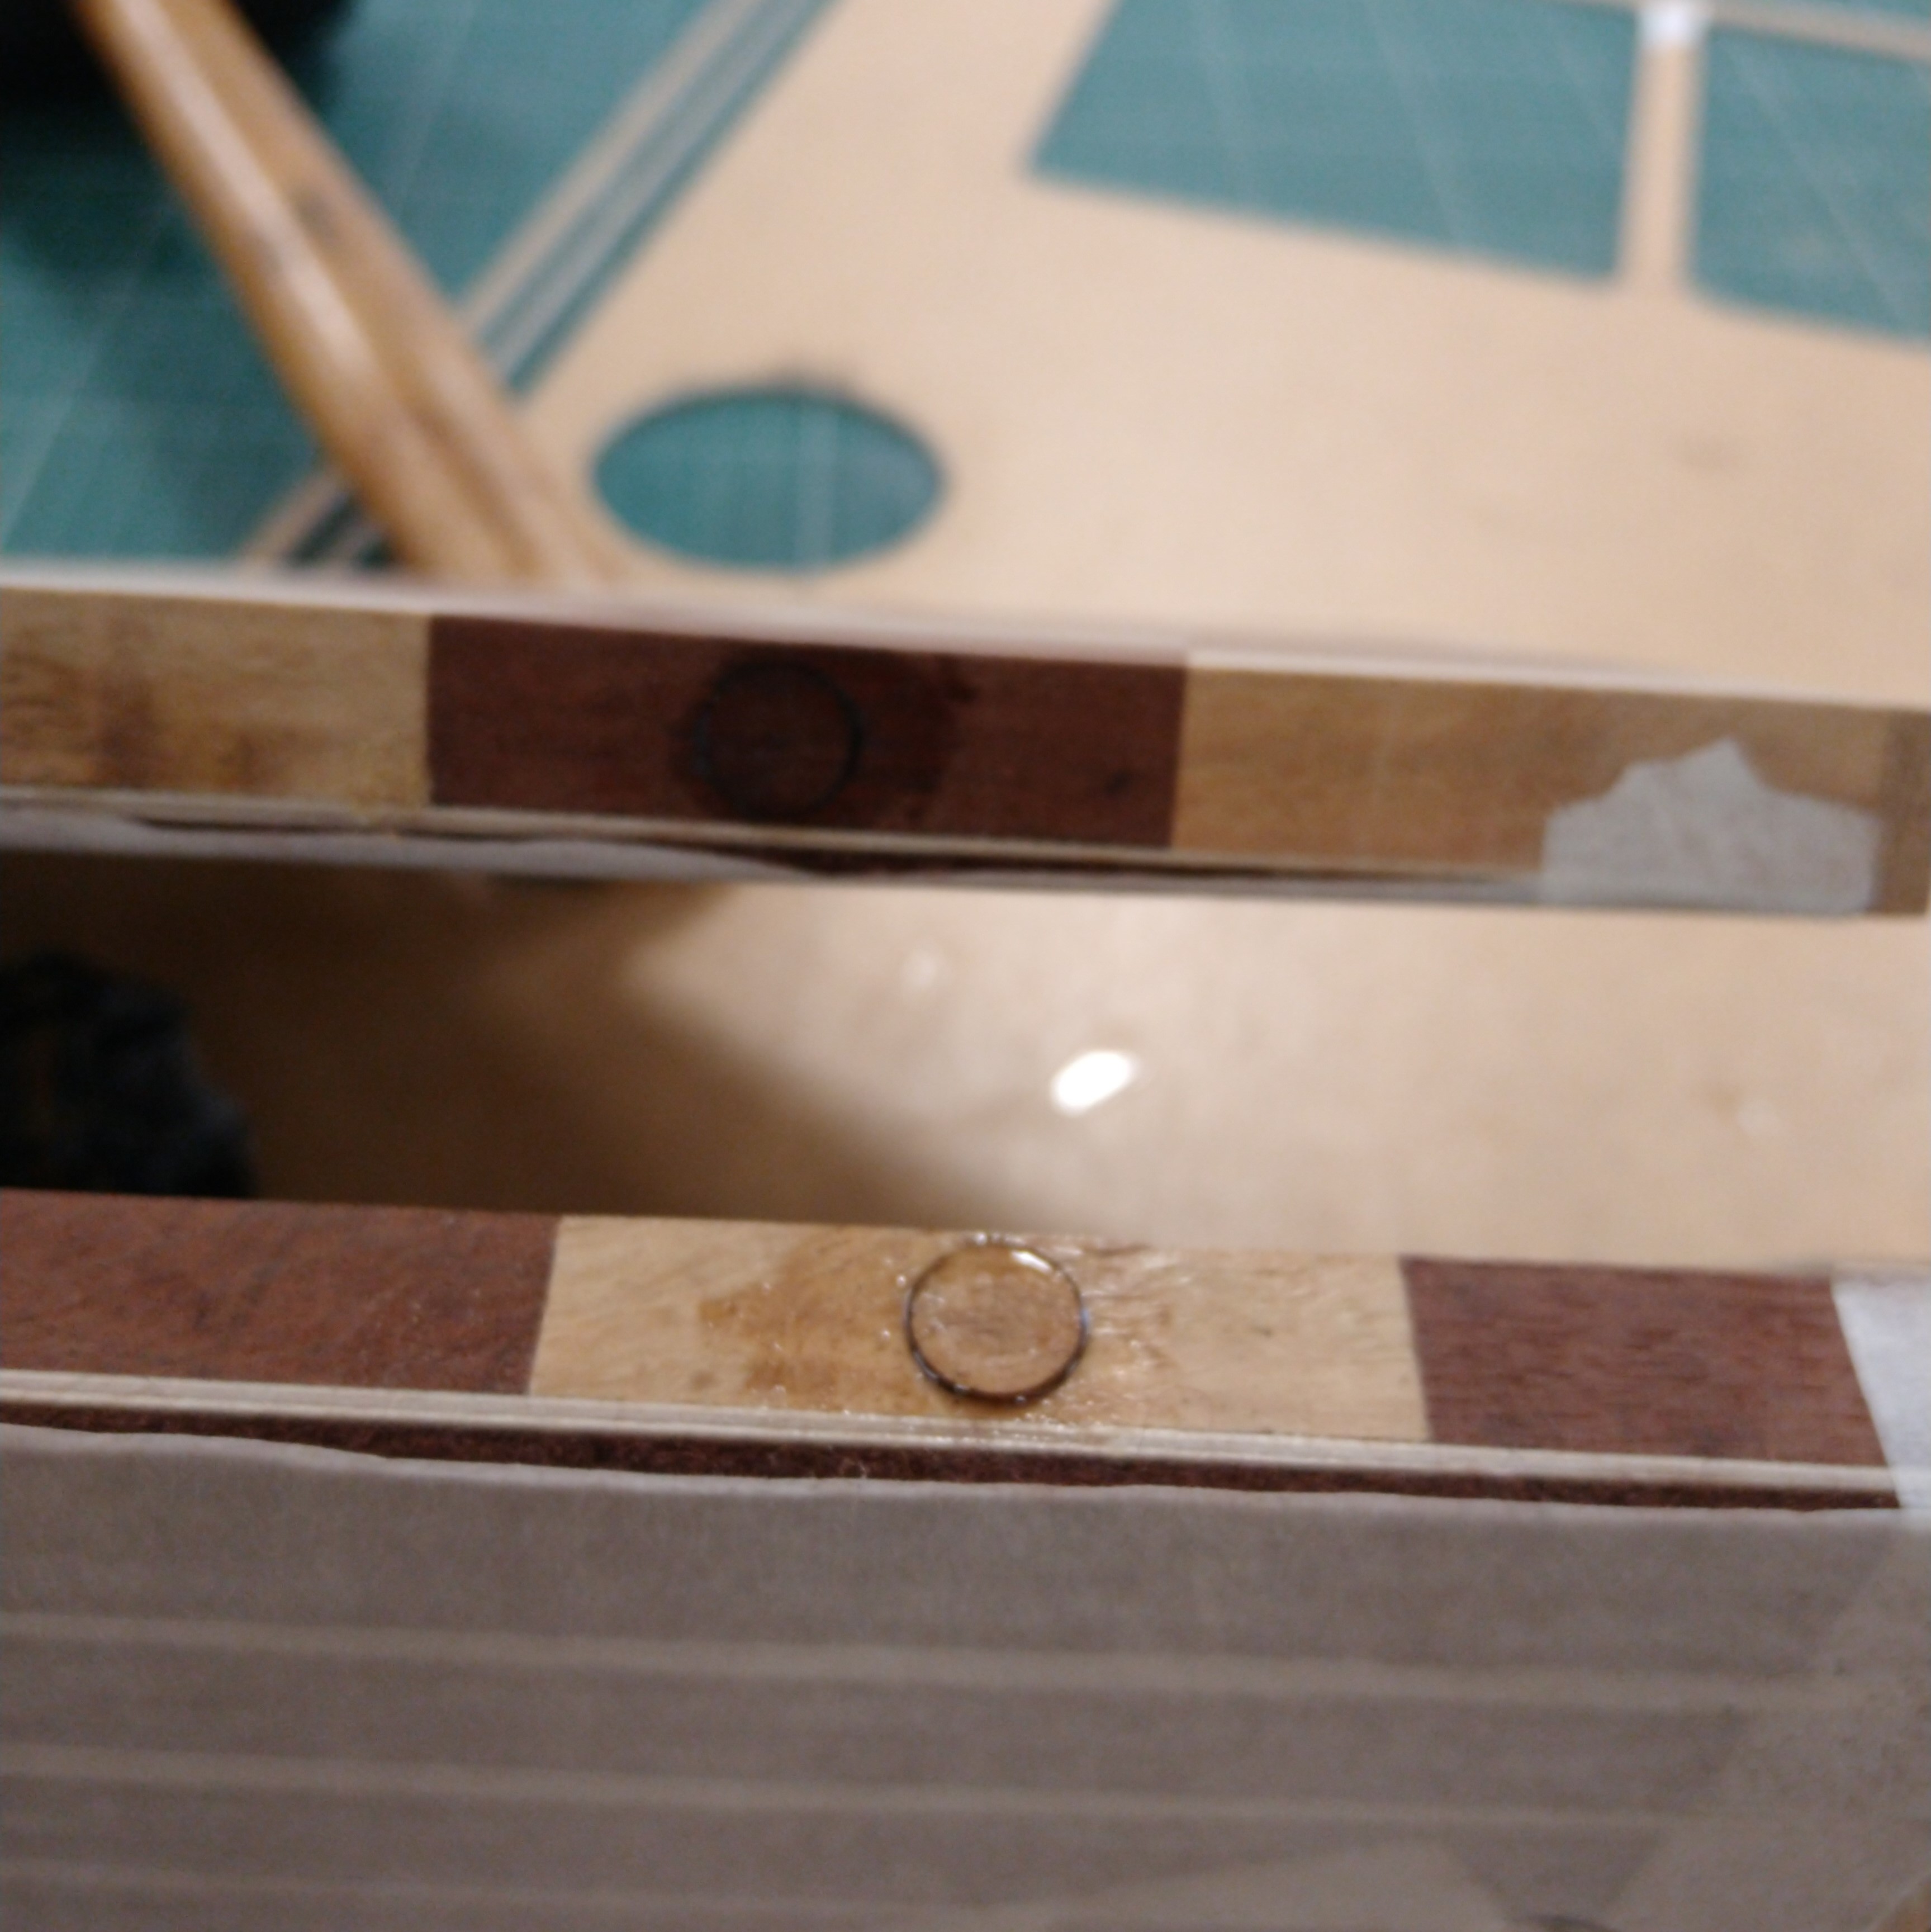
I drilled holes for magnets in the two halves of the 3 player board and then glued the magnets in. I then covered the holes with thin wood plugs to make them less visible.
To finish the board I used 3 coats of Tung oil, sanding with 800 grit between each. Each coat left the surface slightly streaky so I sanded to 1200 on the final coat of Tung oil. Tung oil makes the board look nicer and hardens the wood for increased durability. It also makes it more waterproof, but because I only applied oil on the top side and not the felt side water slowly got absorbed through the felt side making the board bow.
Pieces
For a three player chess board I needed 48 chess pieces, which meant I got a lot of practice on the lathe…
I spent some time learning about how to lathe from youtube and this was my favorite video. I also practiced on the lathe, making a lot of scrap pieces before I was ready to make the final set. I designed my pieces to be quite traditional and combined lots of features I liked. I decided to keep the same base profile and base diameter for all the pieces. I used my designs to create 6 laser cut outlines of the profiles I wanted so that I could make my pieces reasonably similar. I used Karri for the red pieces, Jelutong for the white and an unknown wood for the brown.
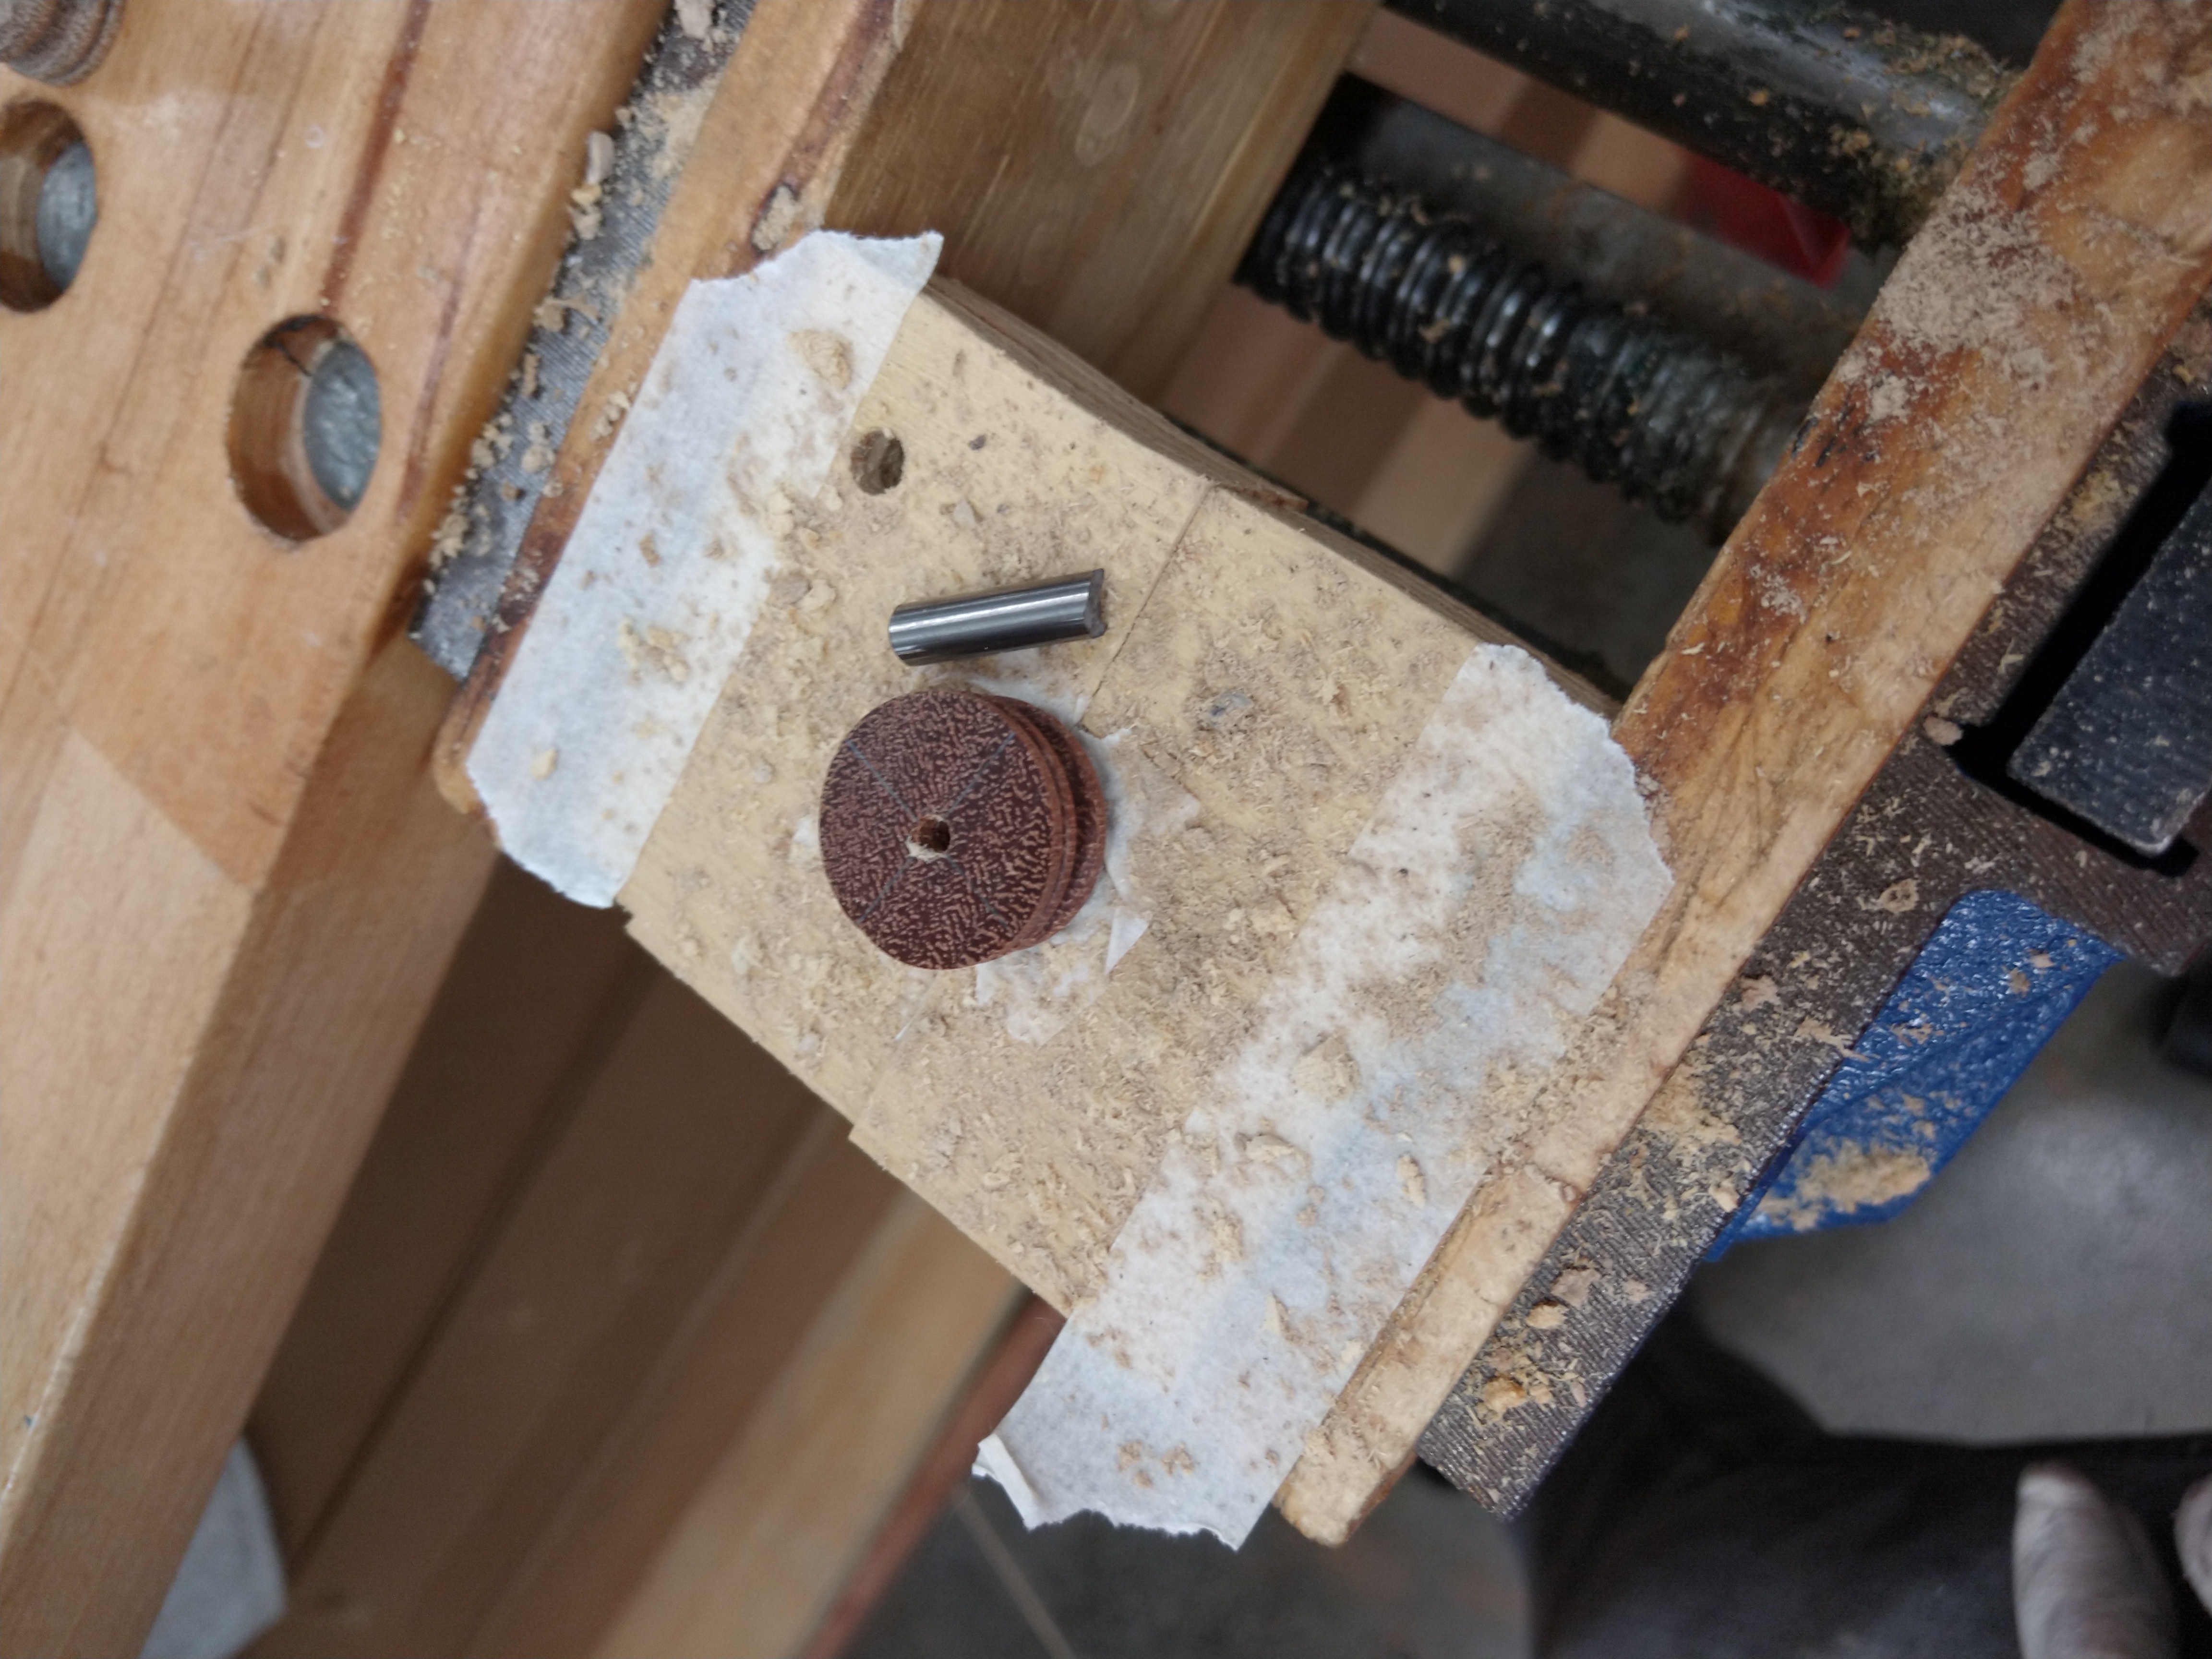
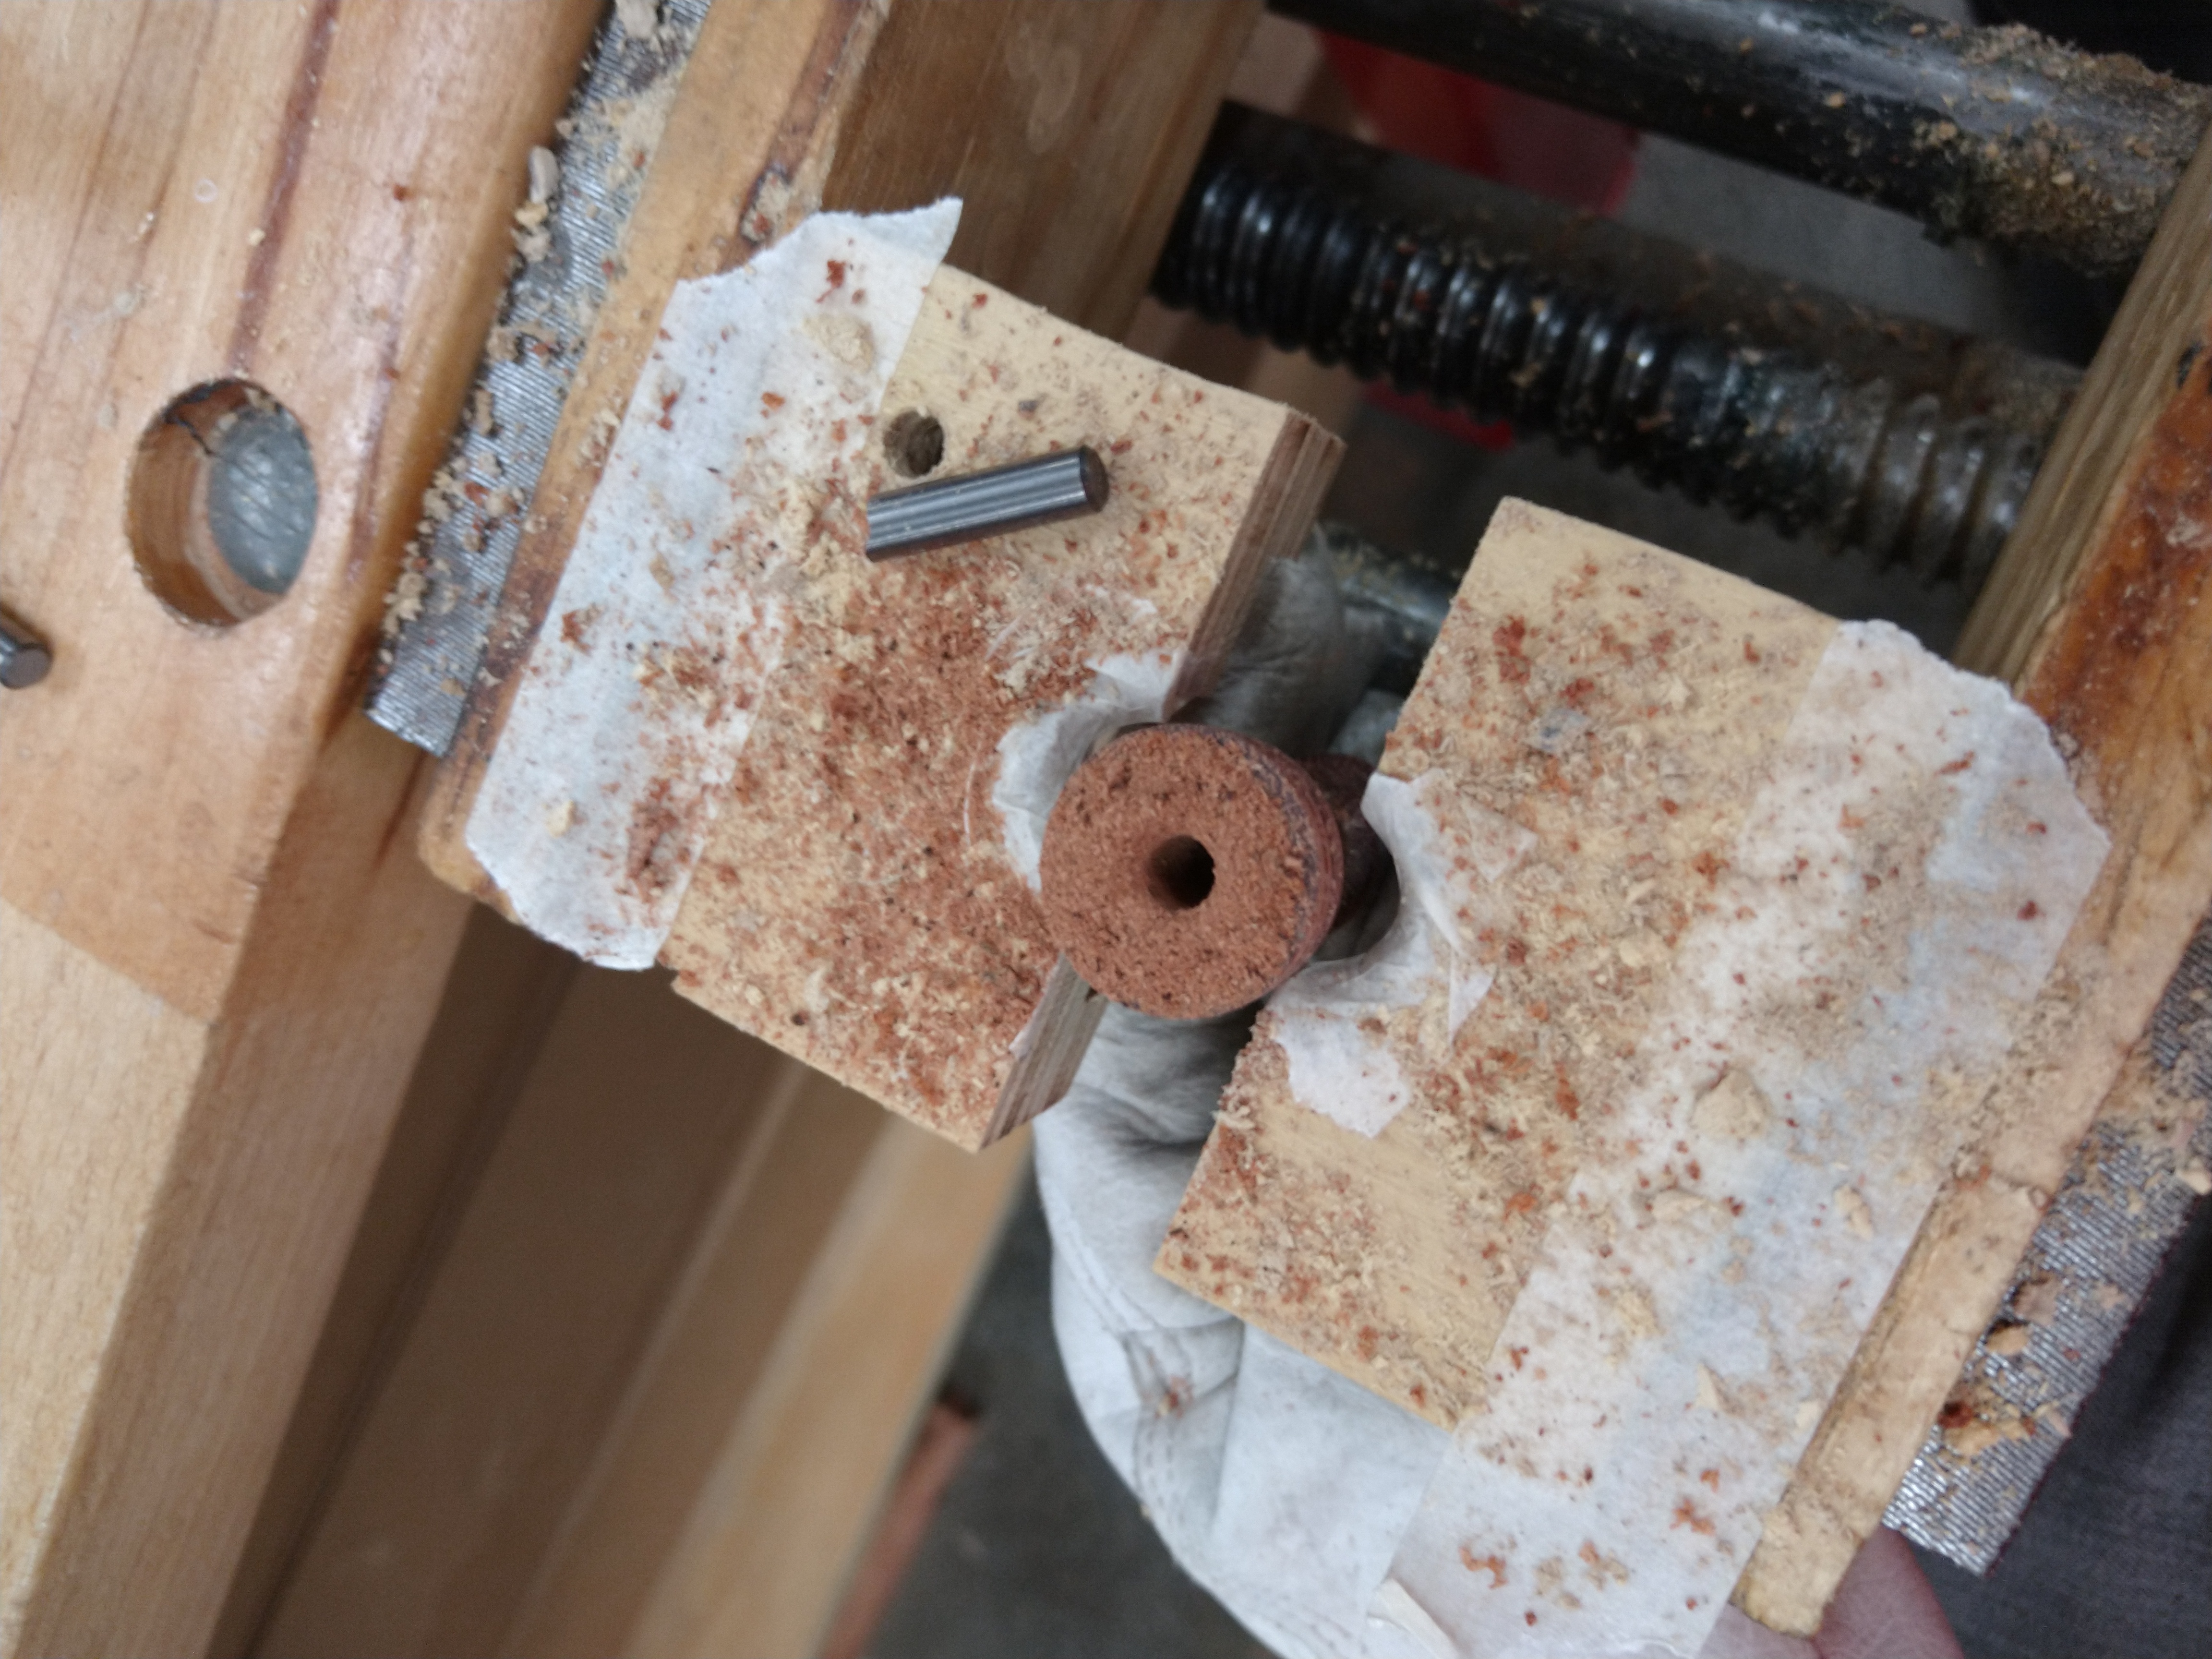
I also wanted my pieces to be weighted so I used broken 6mm carbide endmills from the mill (because we have a lot of broken ones). To break the carbide to useable lengths I used a hammer and vice because it was too hard to cut. I made a jig to hold the pieces while I drilled a hole for the carbide. Then I used hot glue to seal the hole and make the base flat.
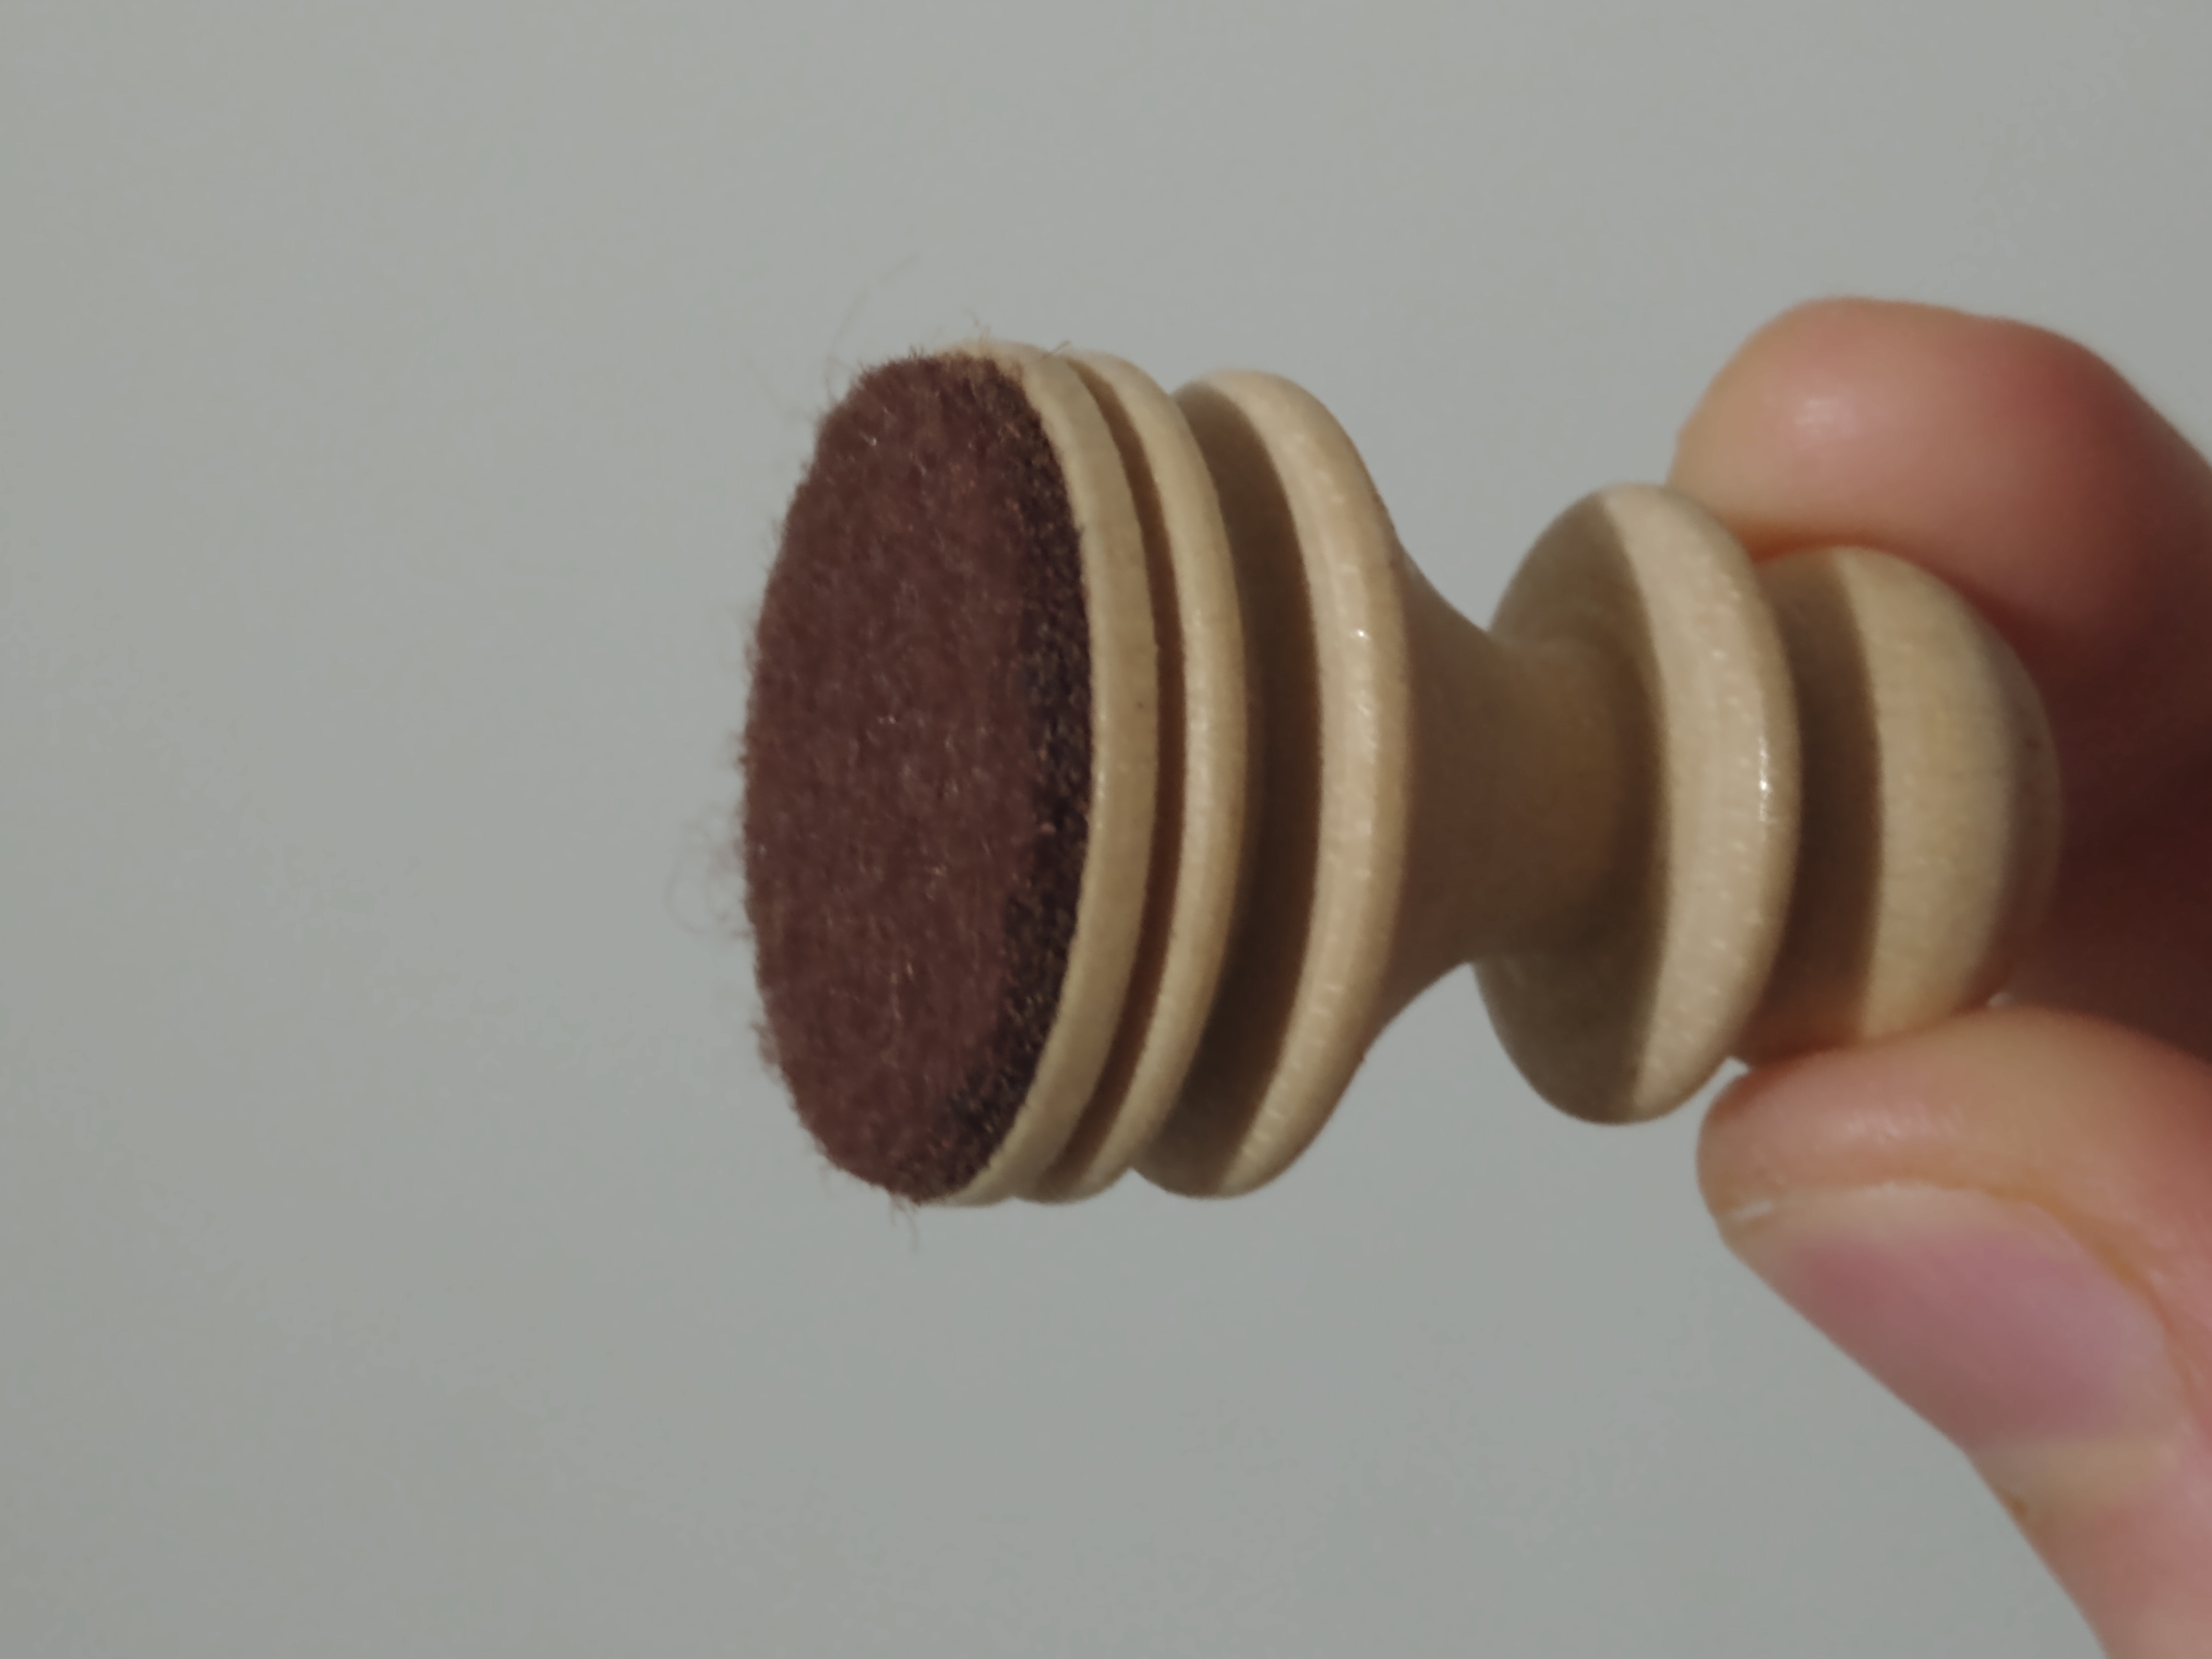
To finish the pieces, I added matching brown felt to all the bases to keep them quiet to place and not scratch the board (and look stylish).
Pawn

Rook

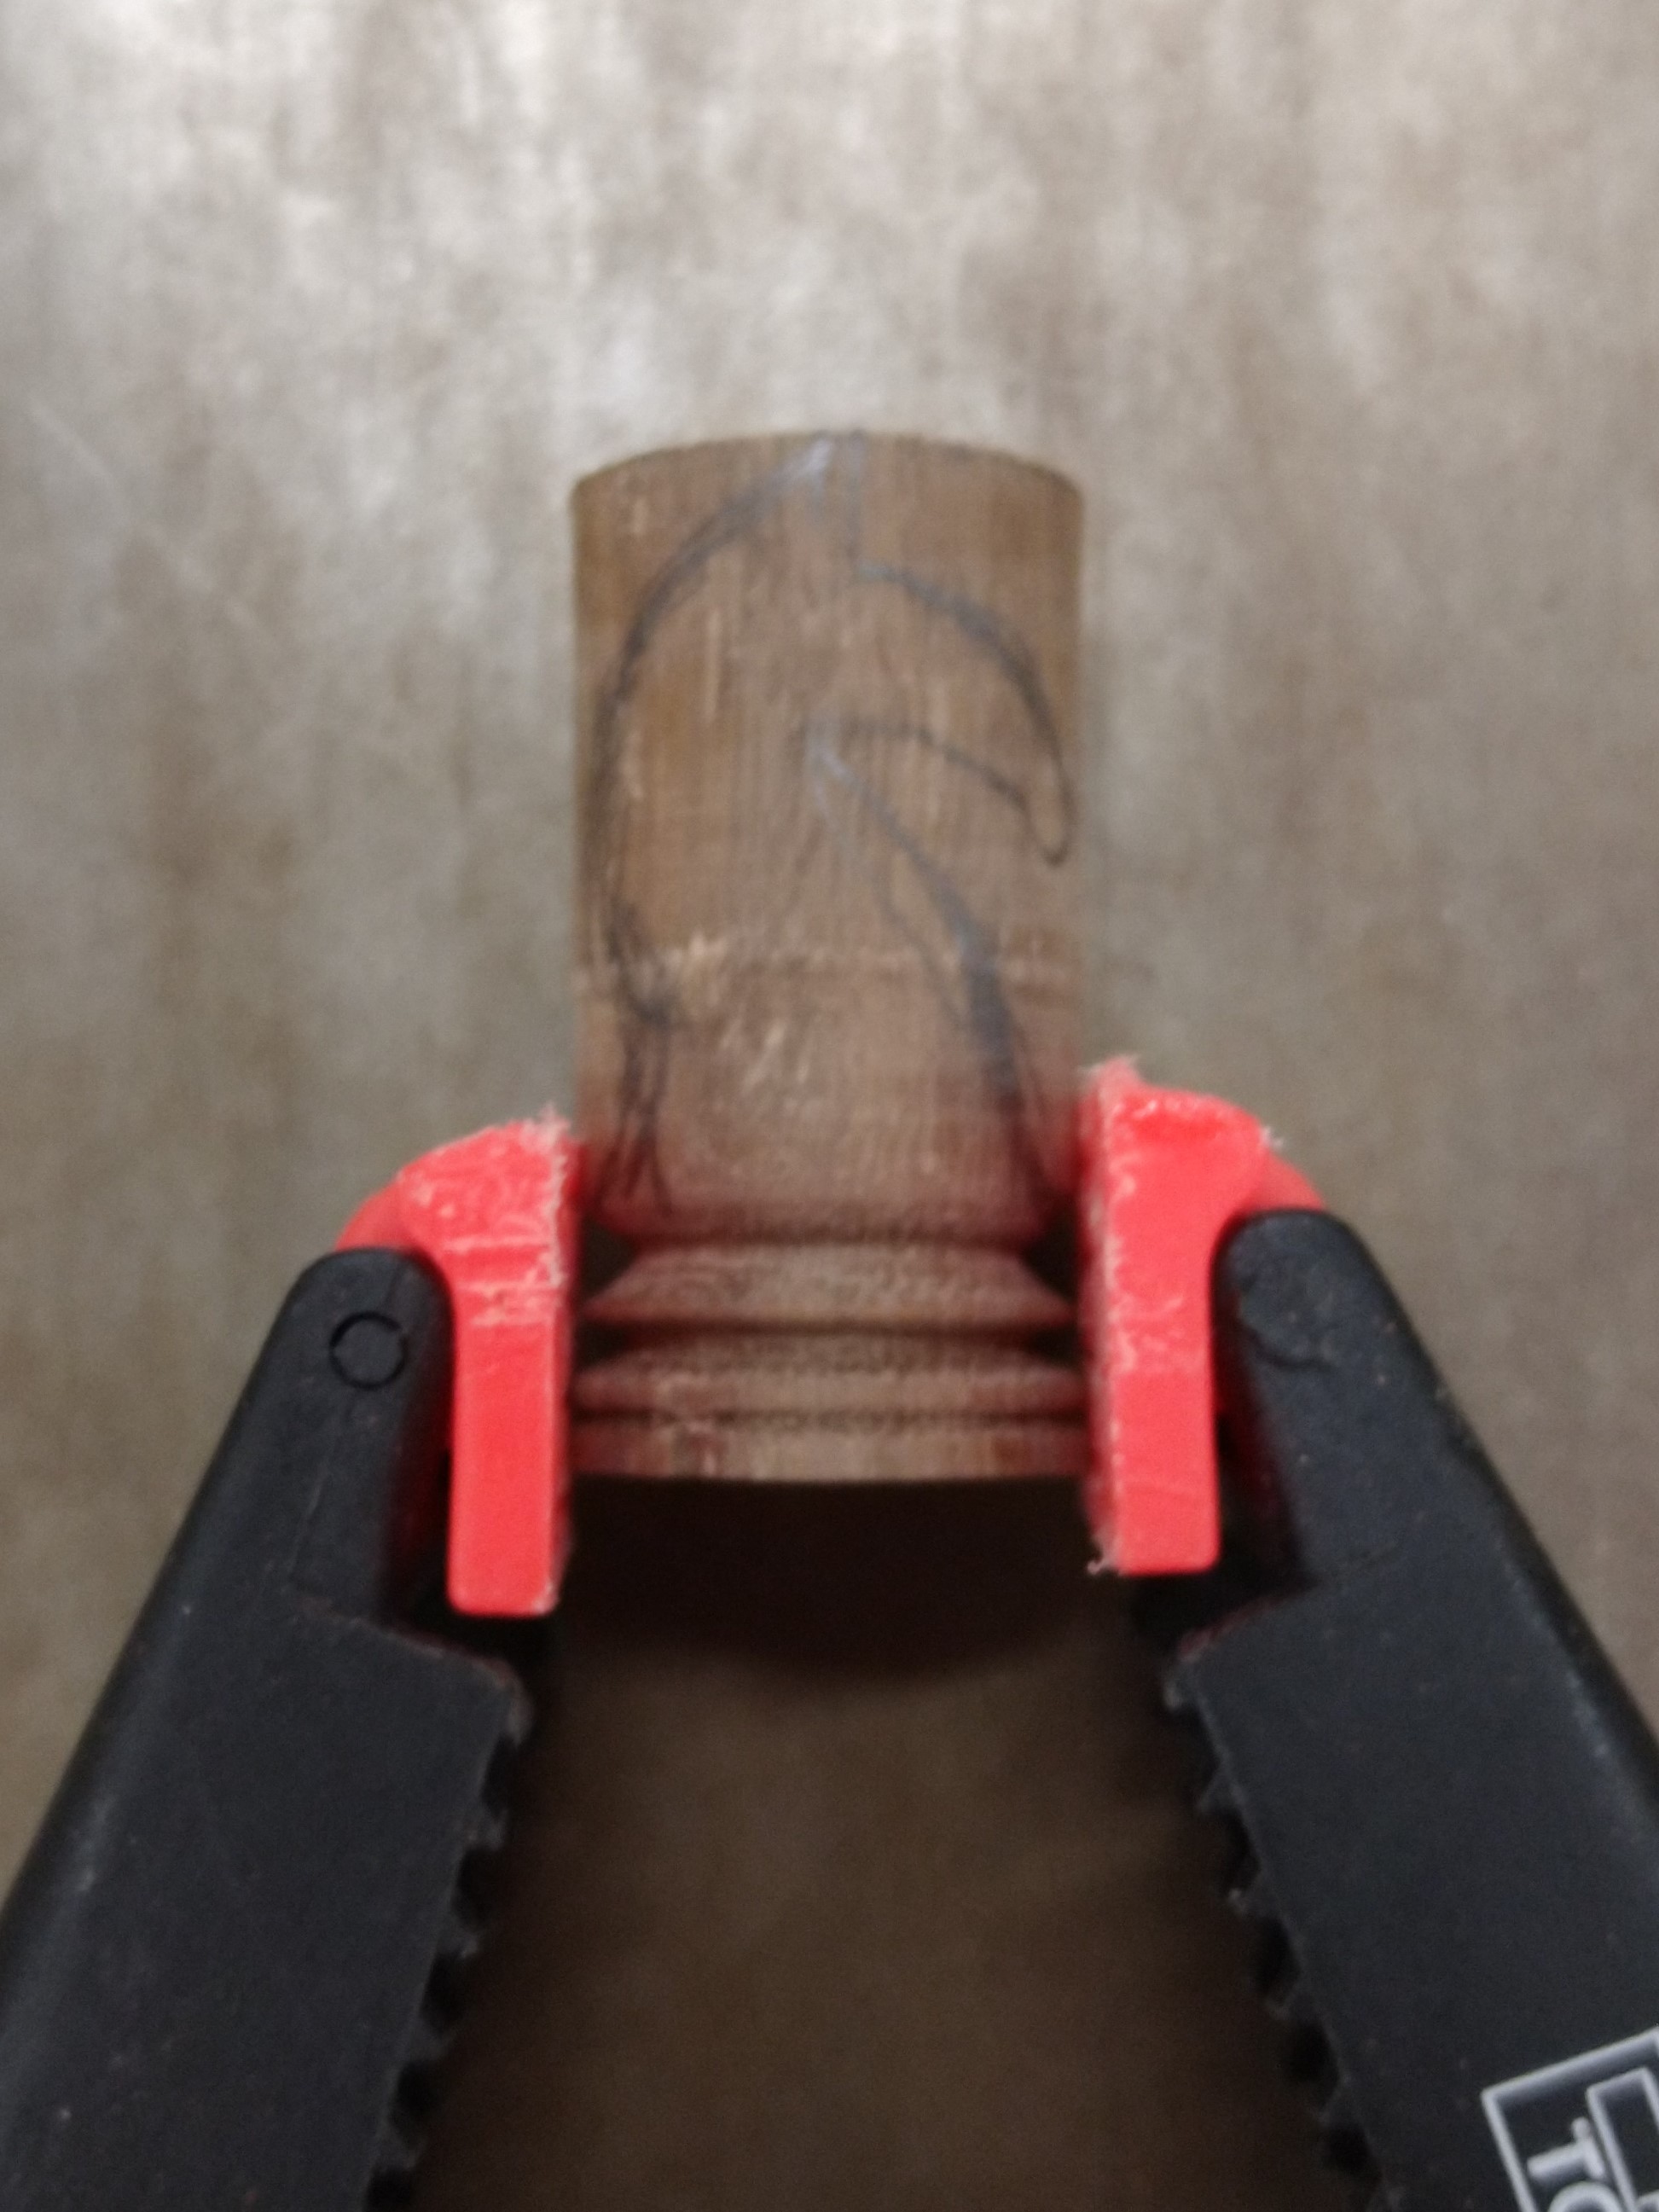
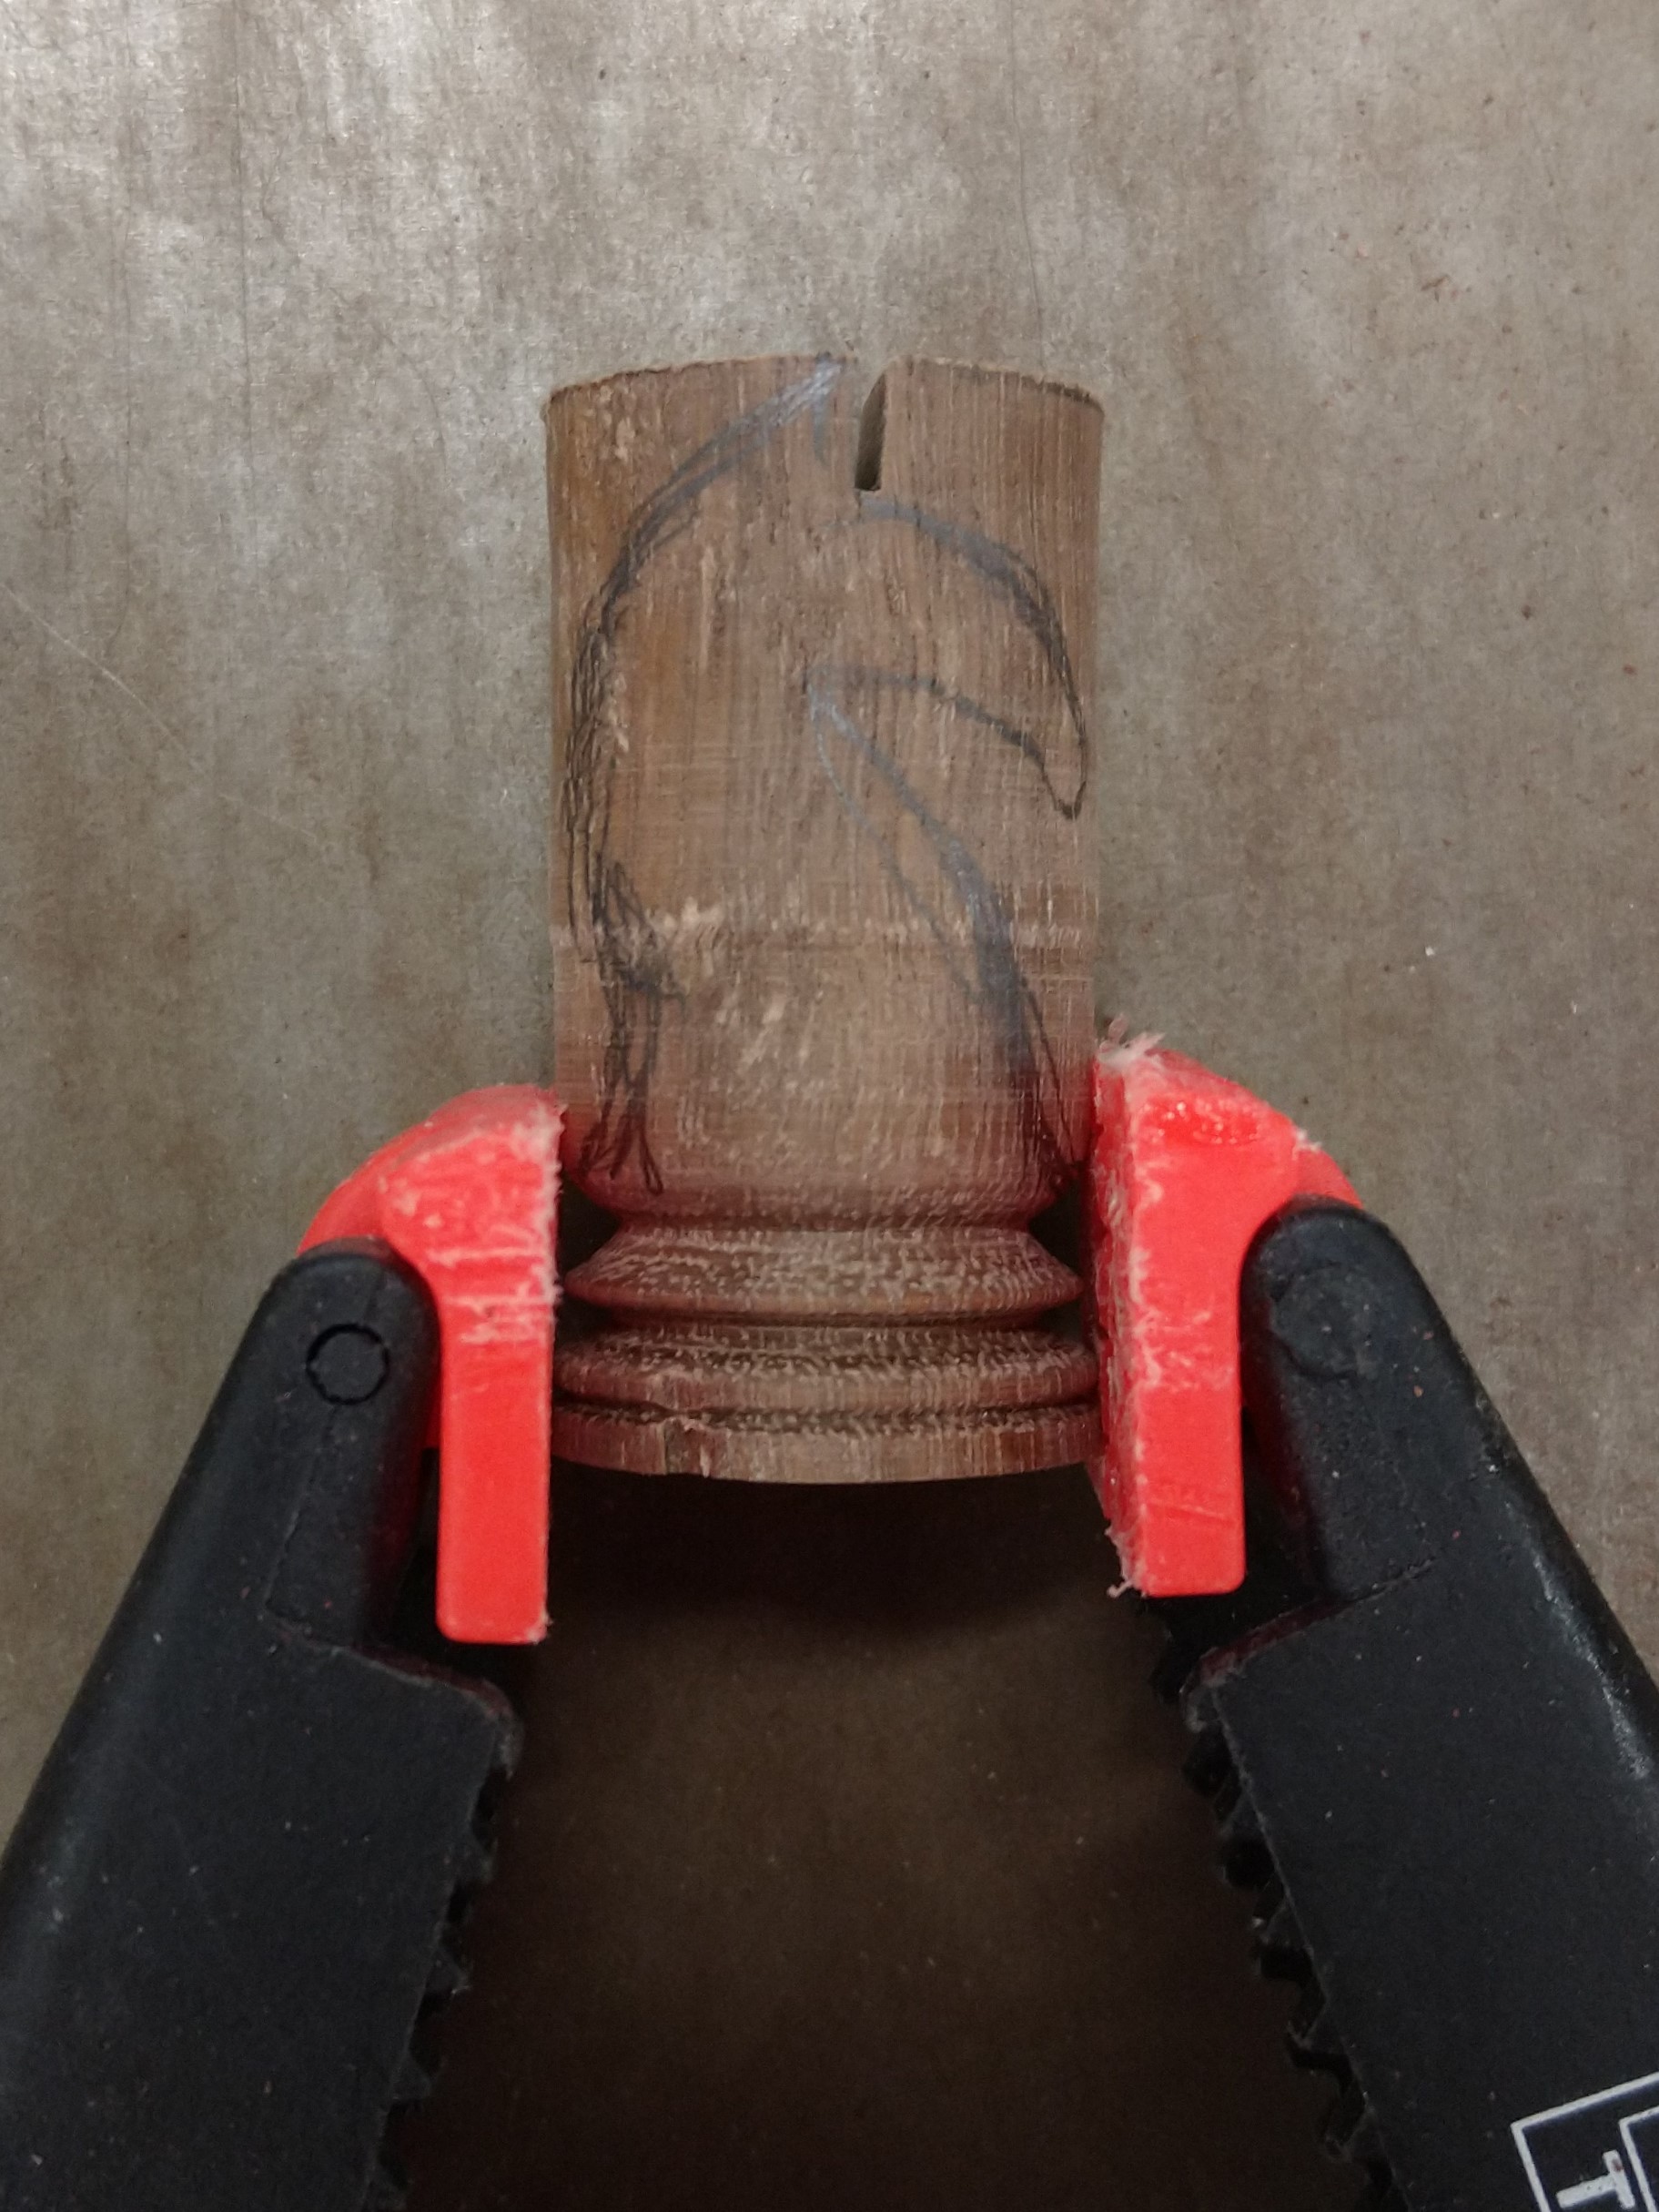
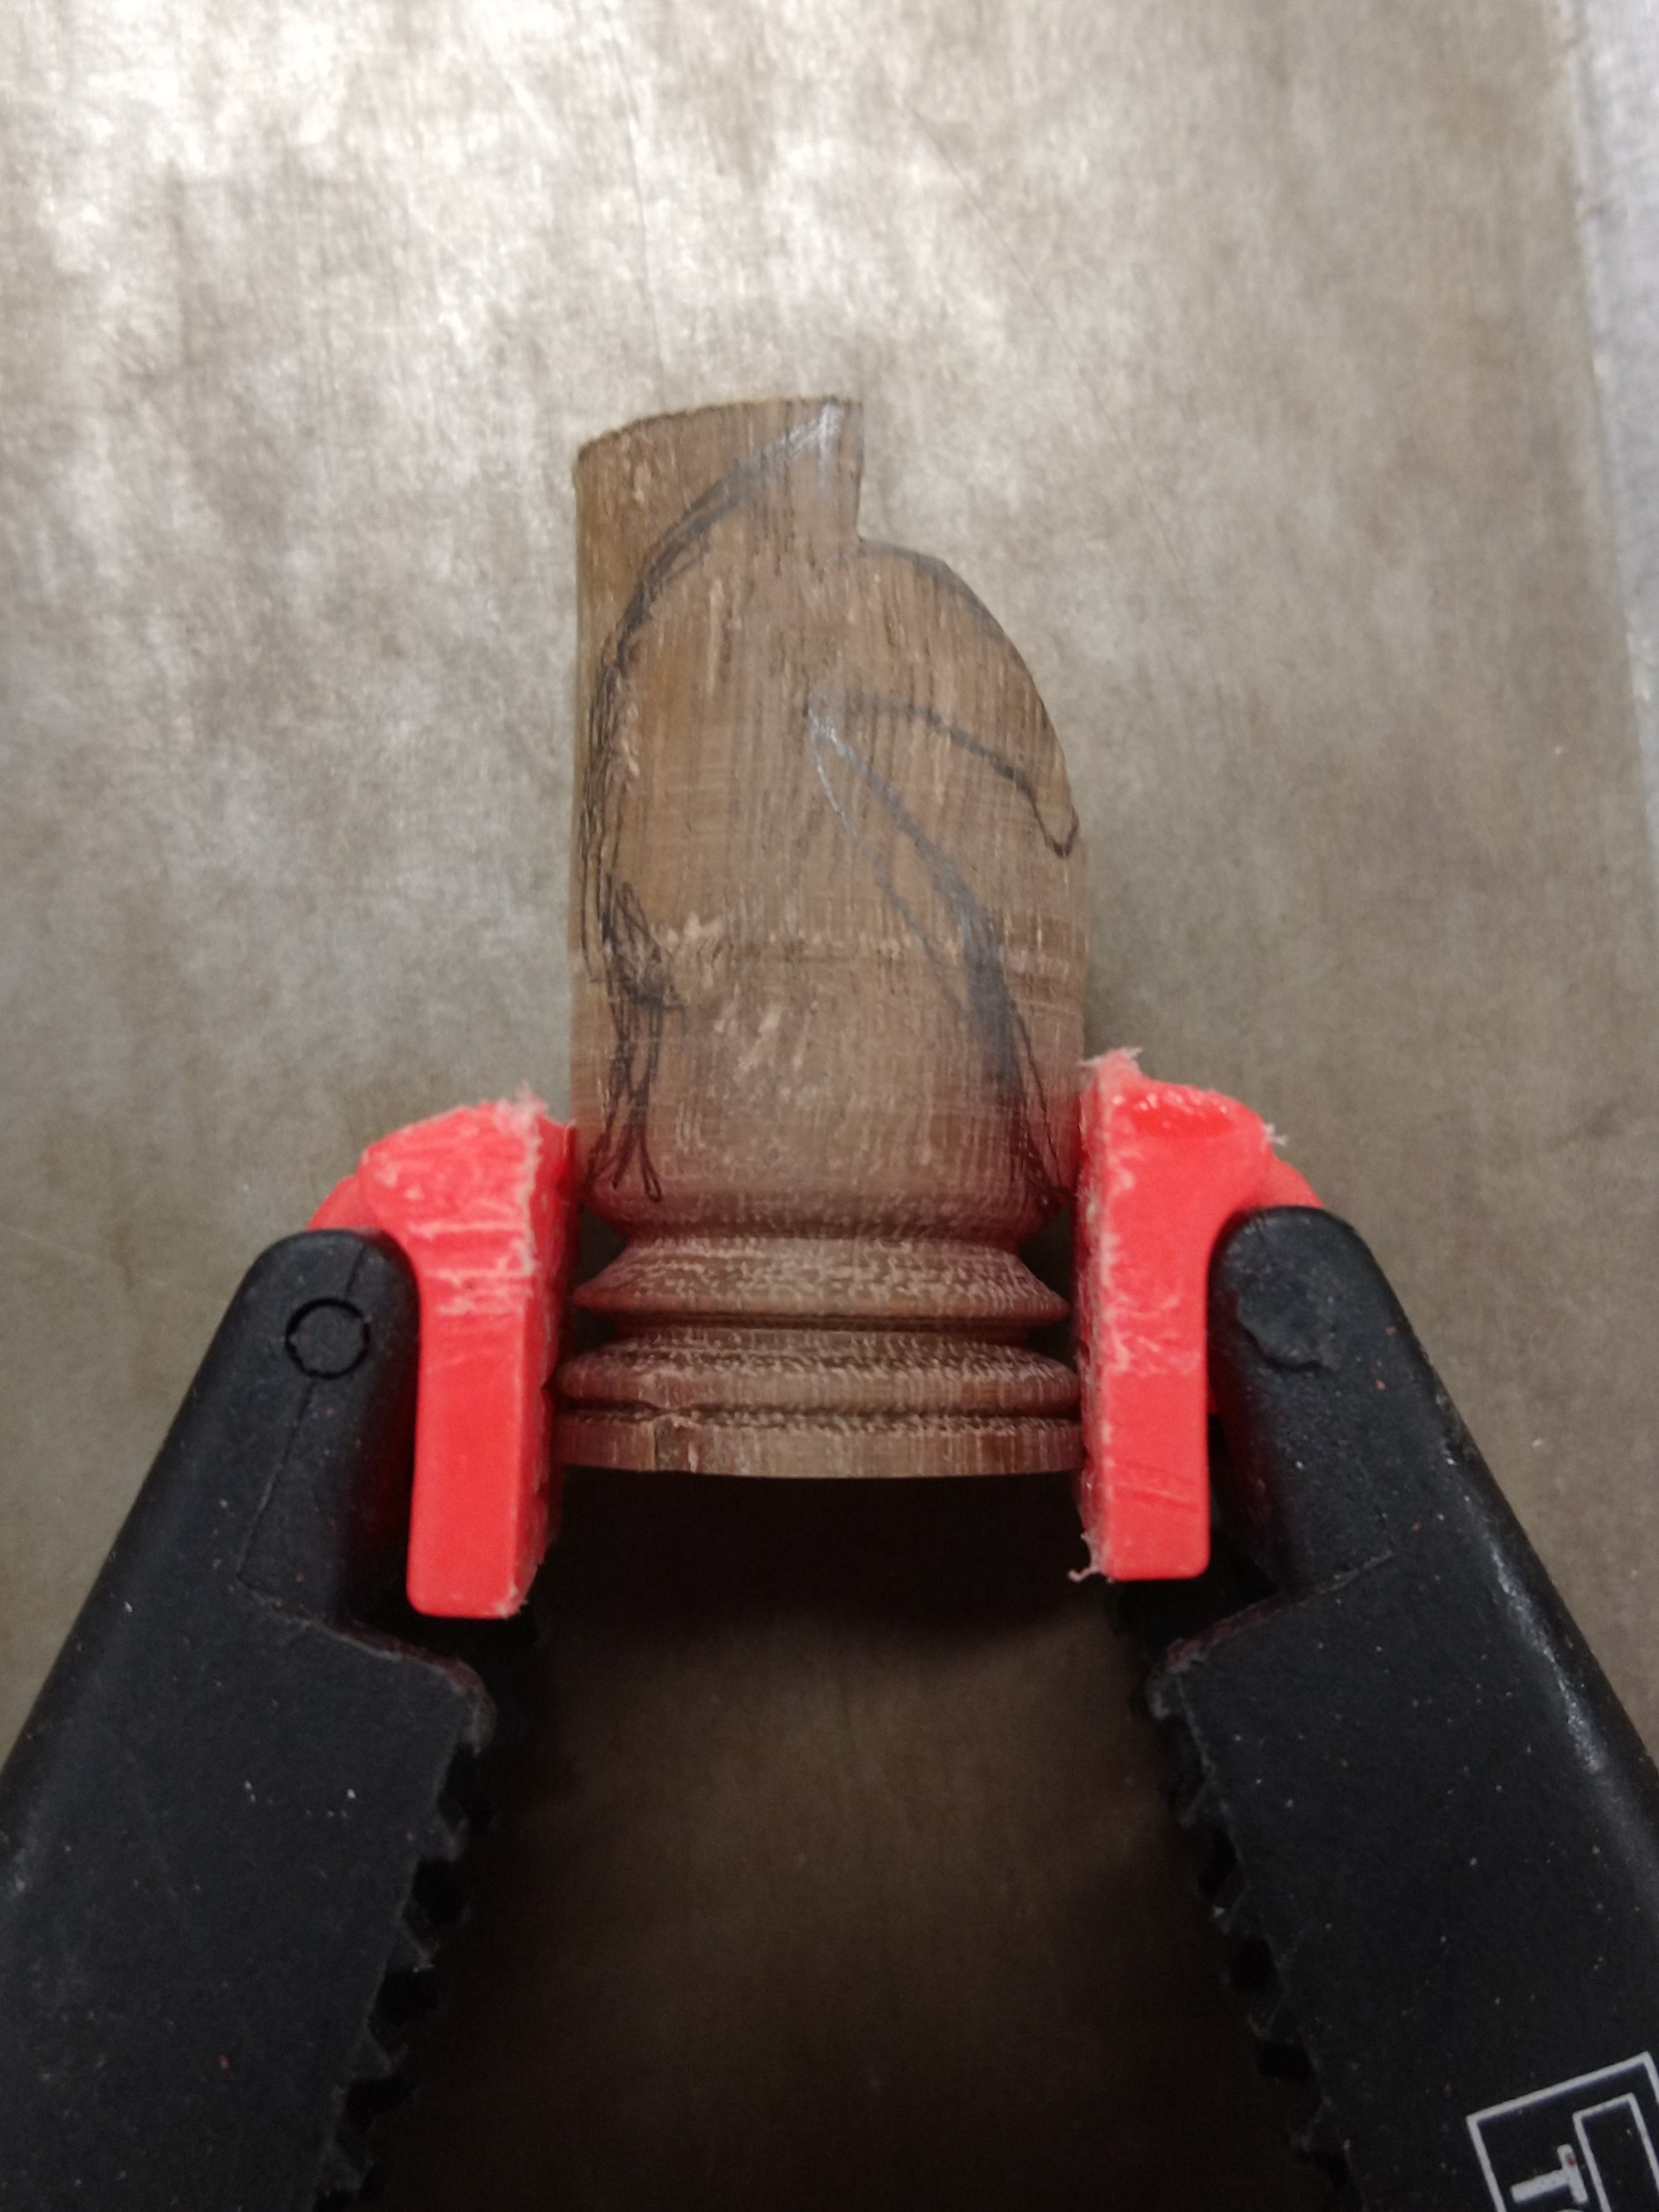
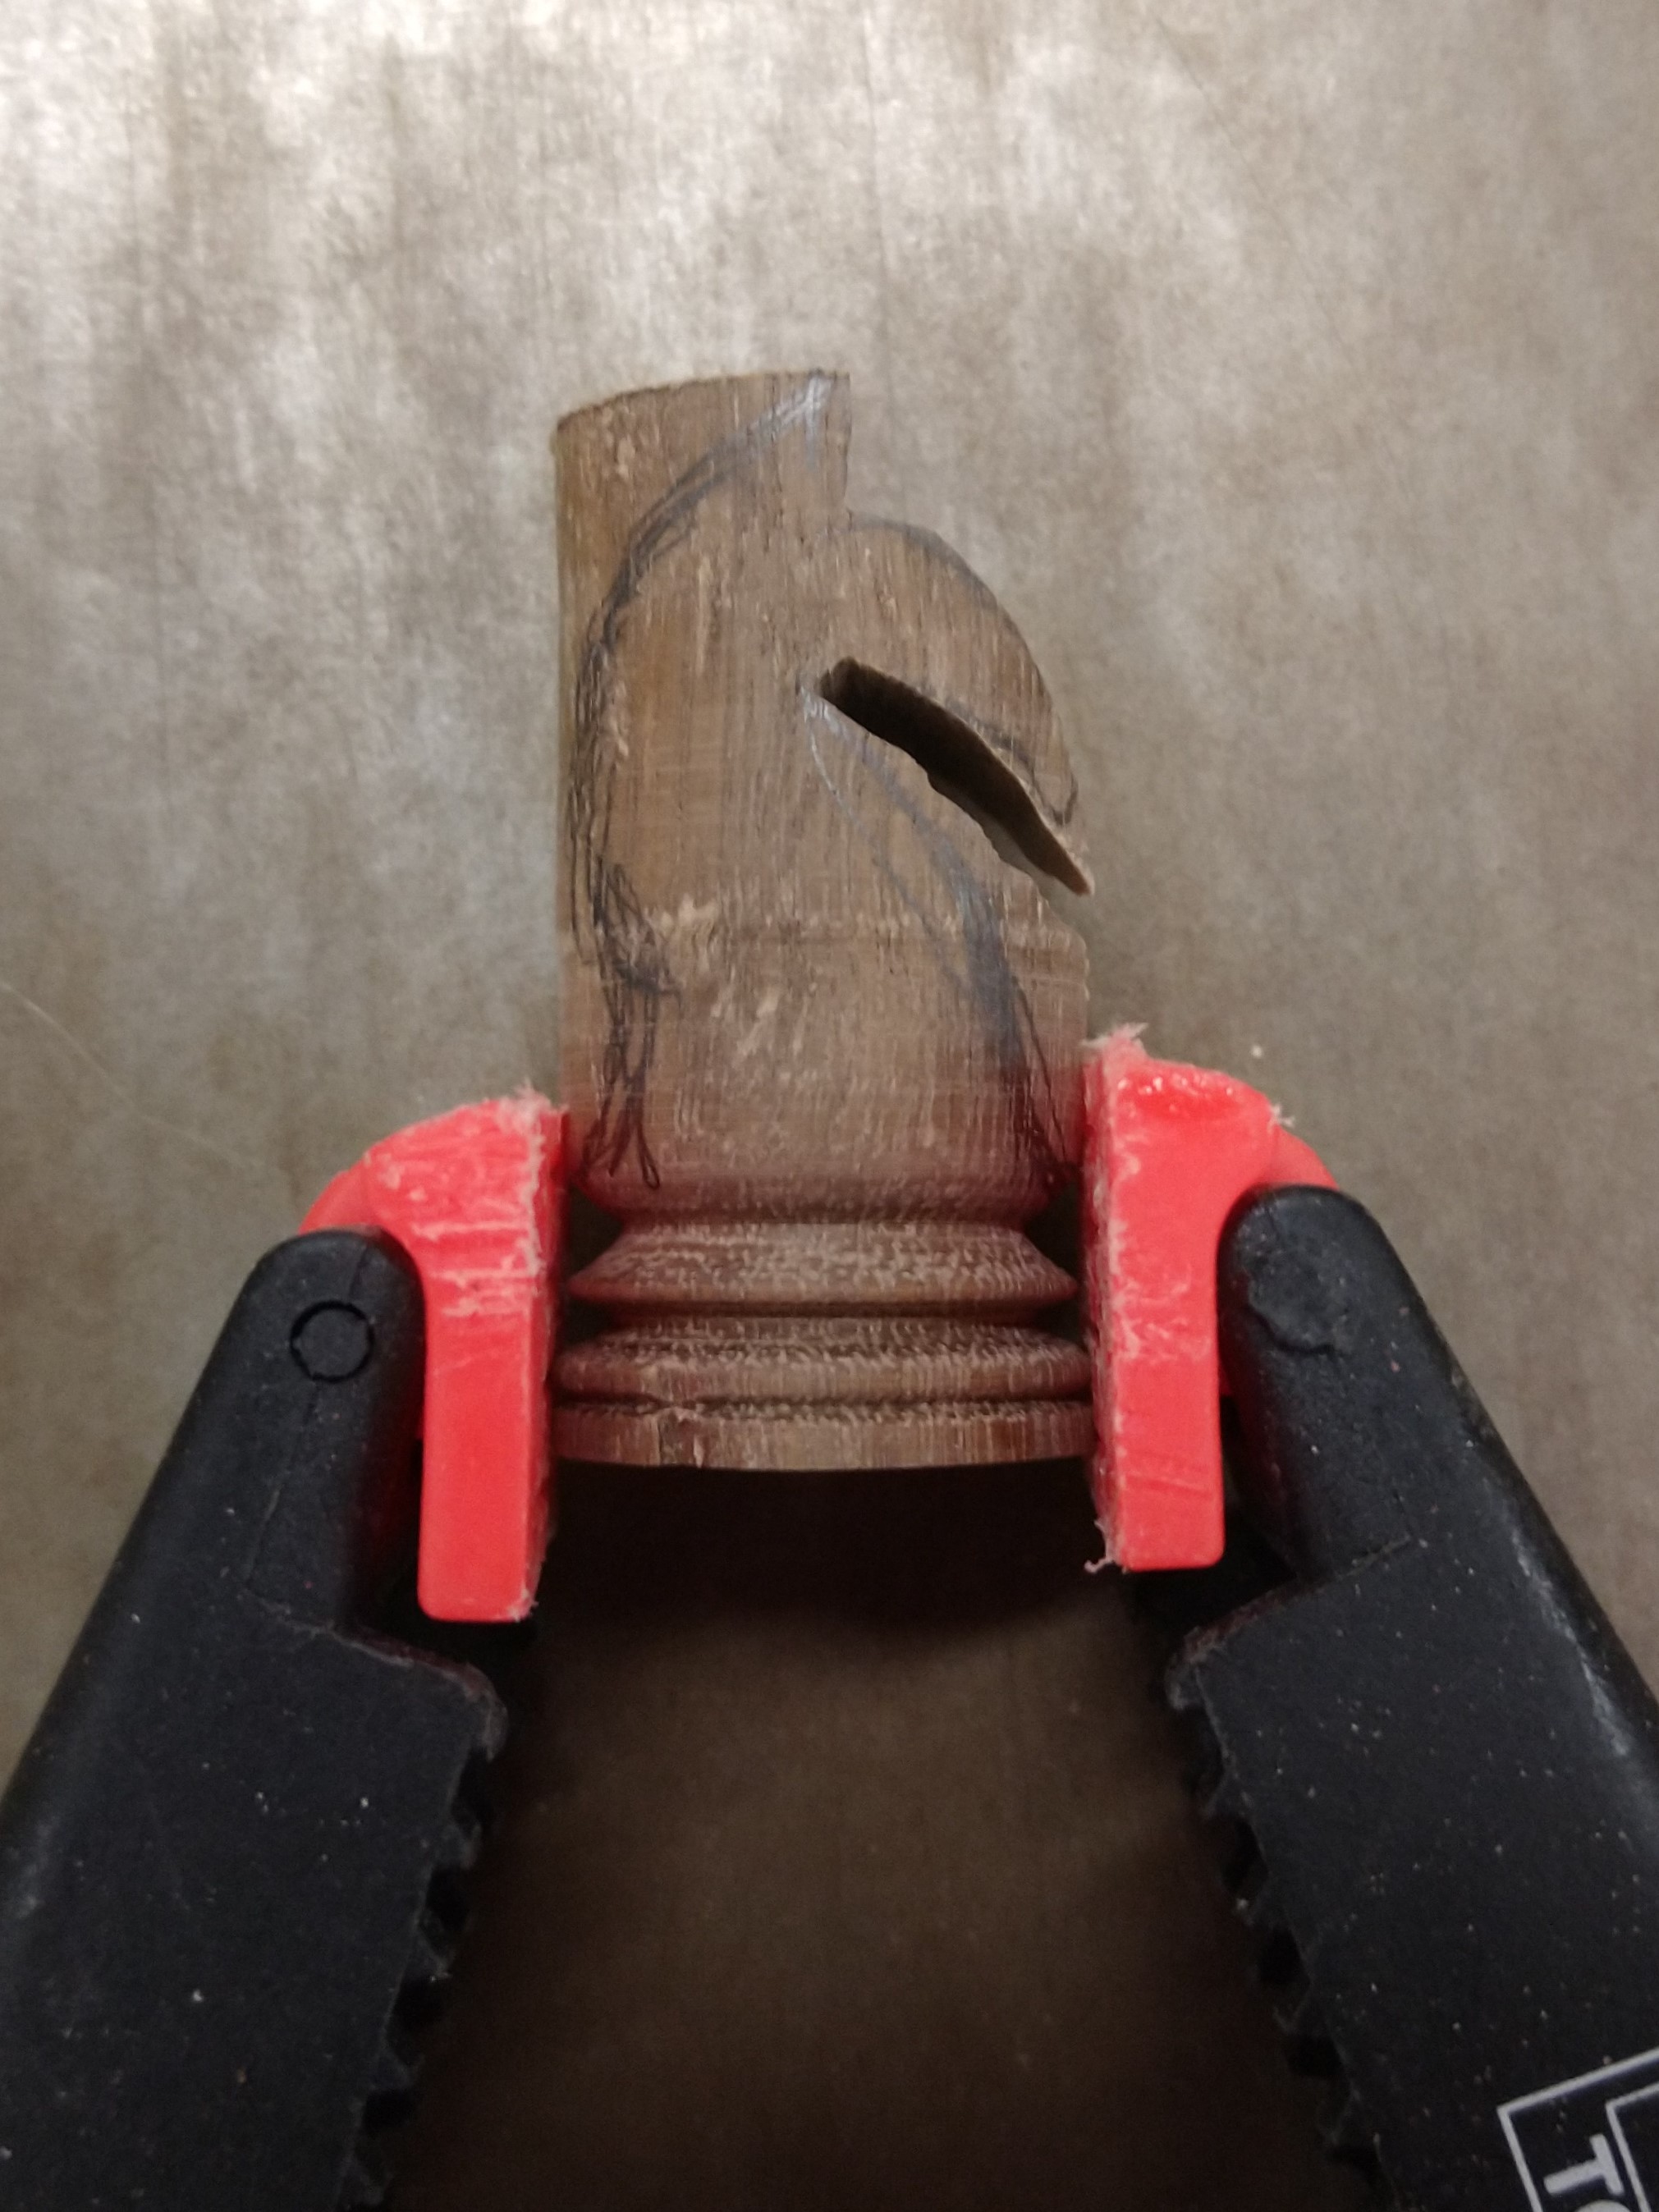
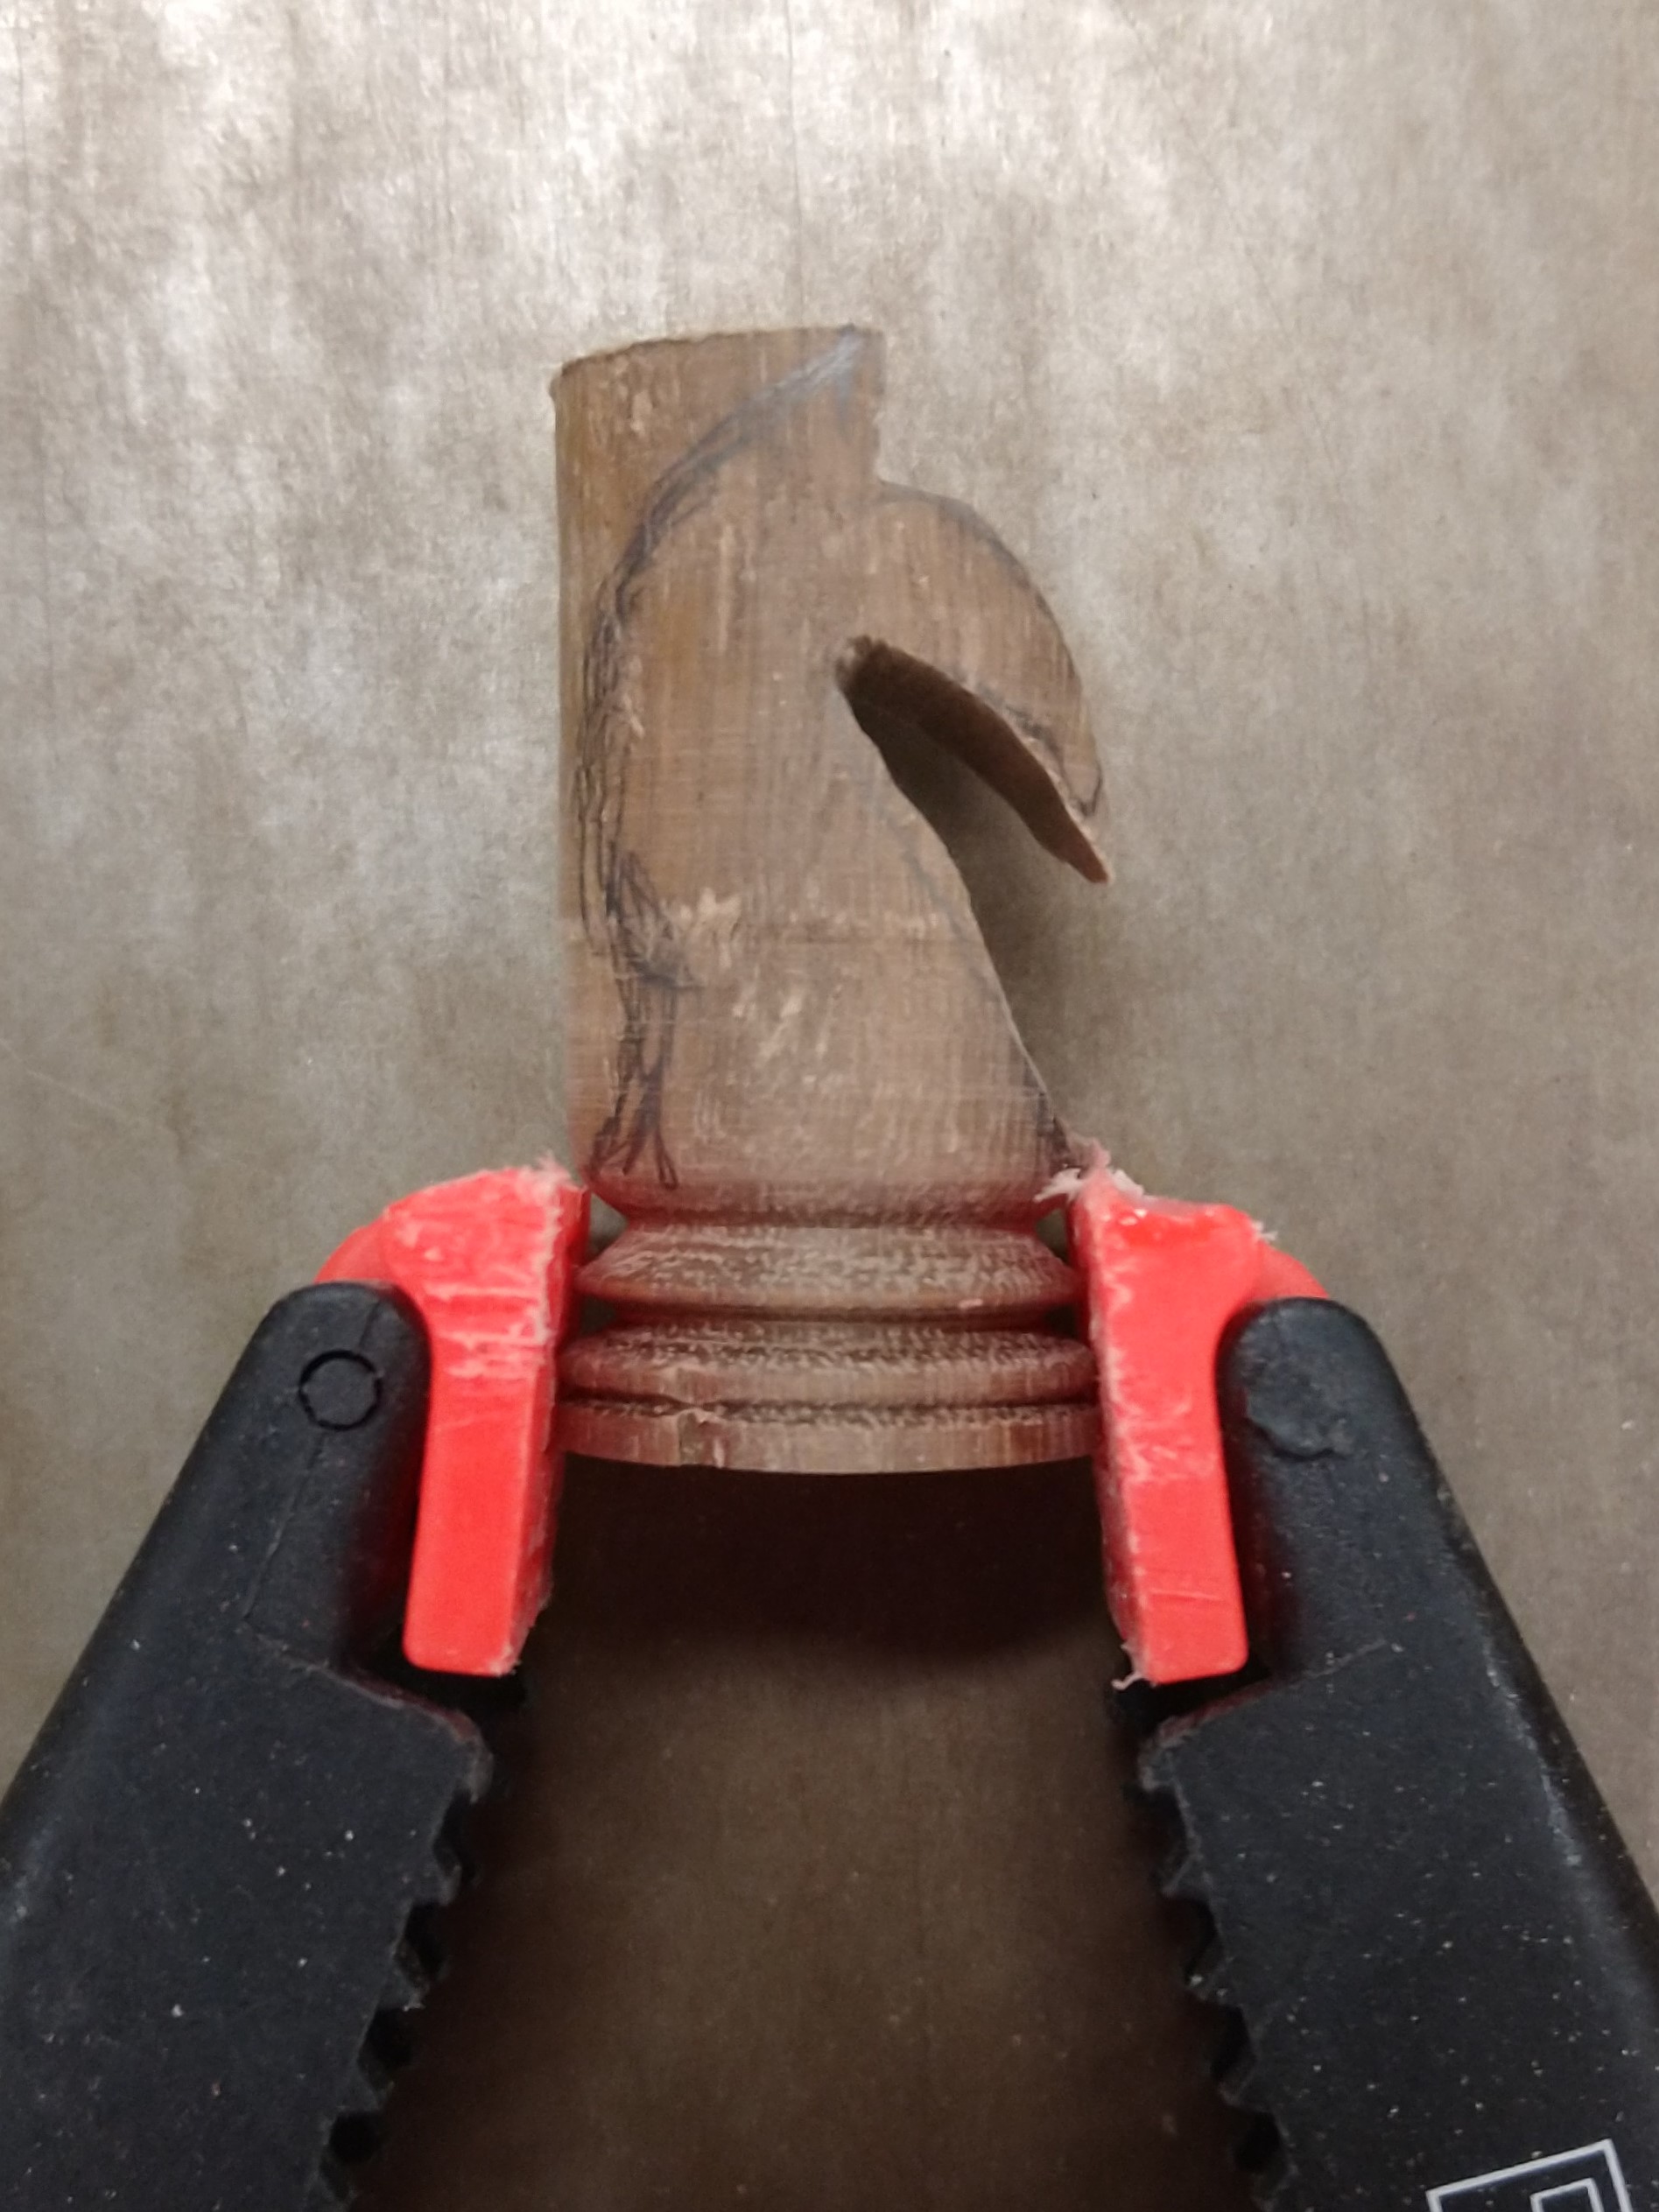
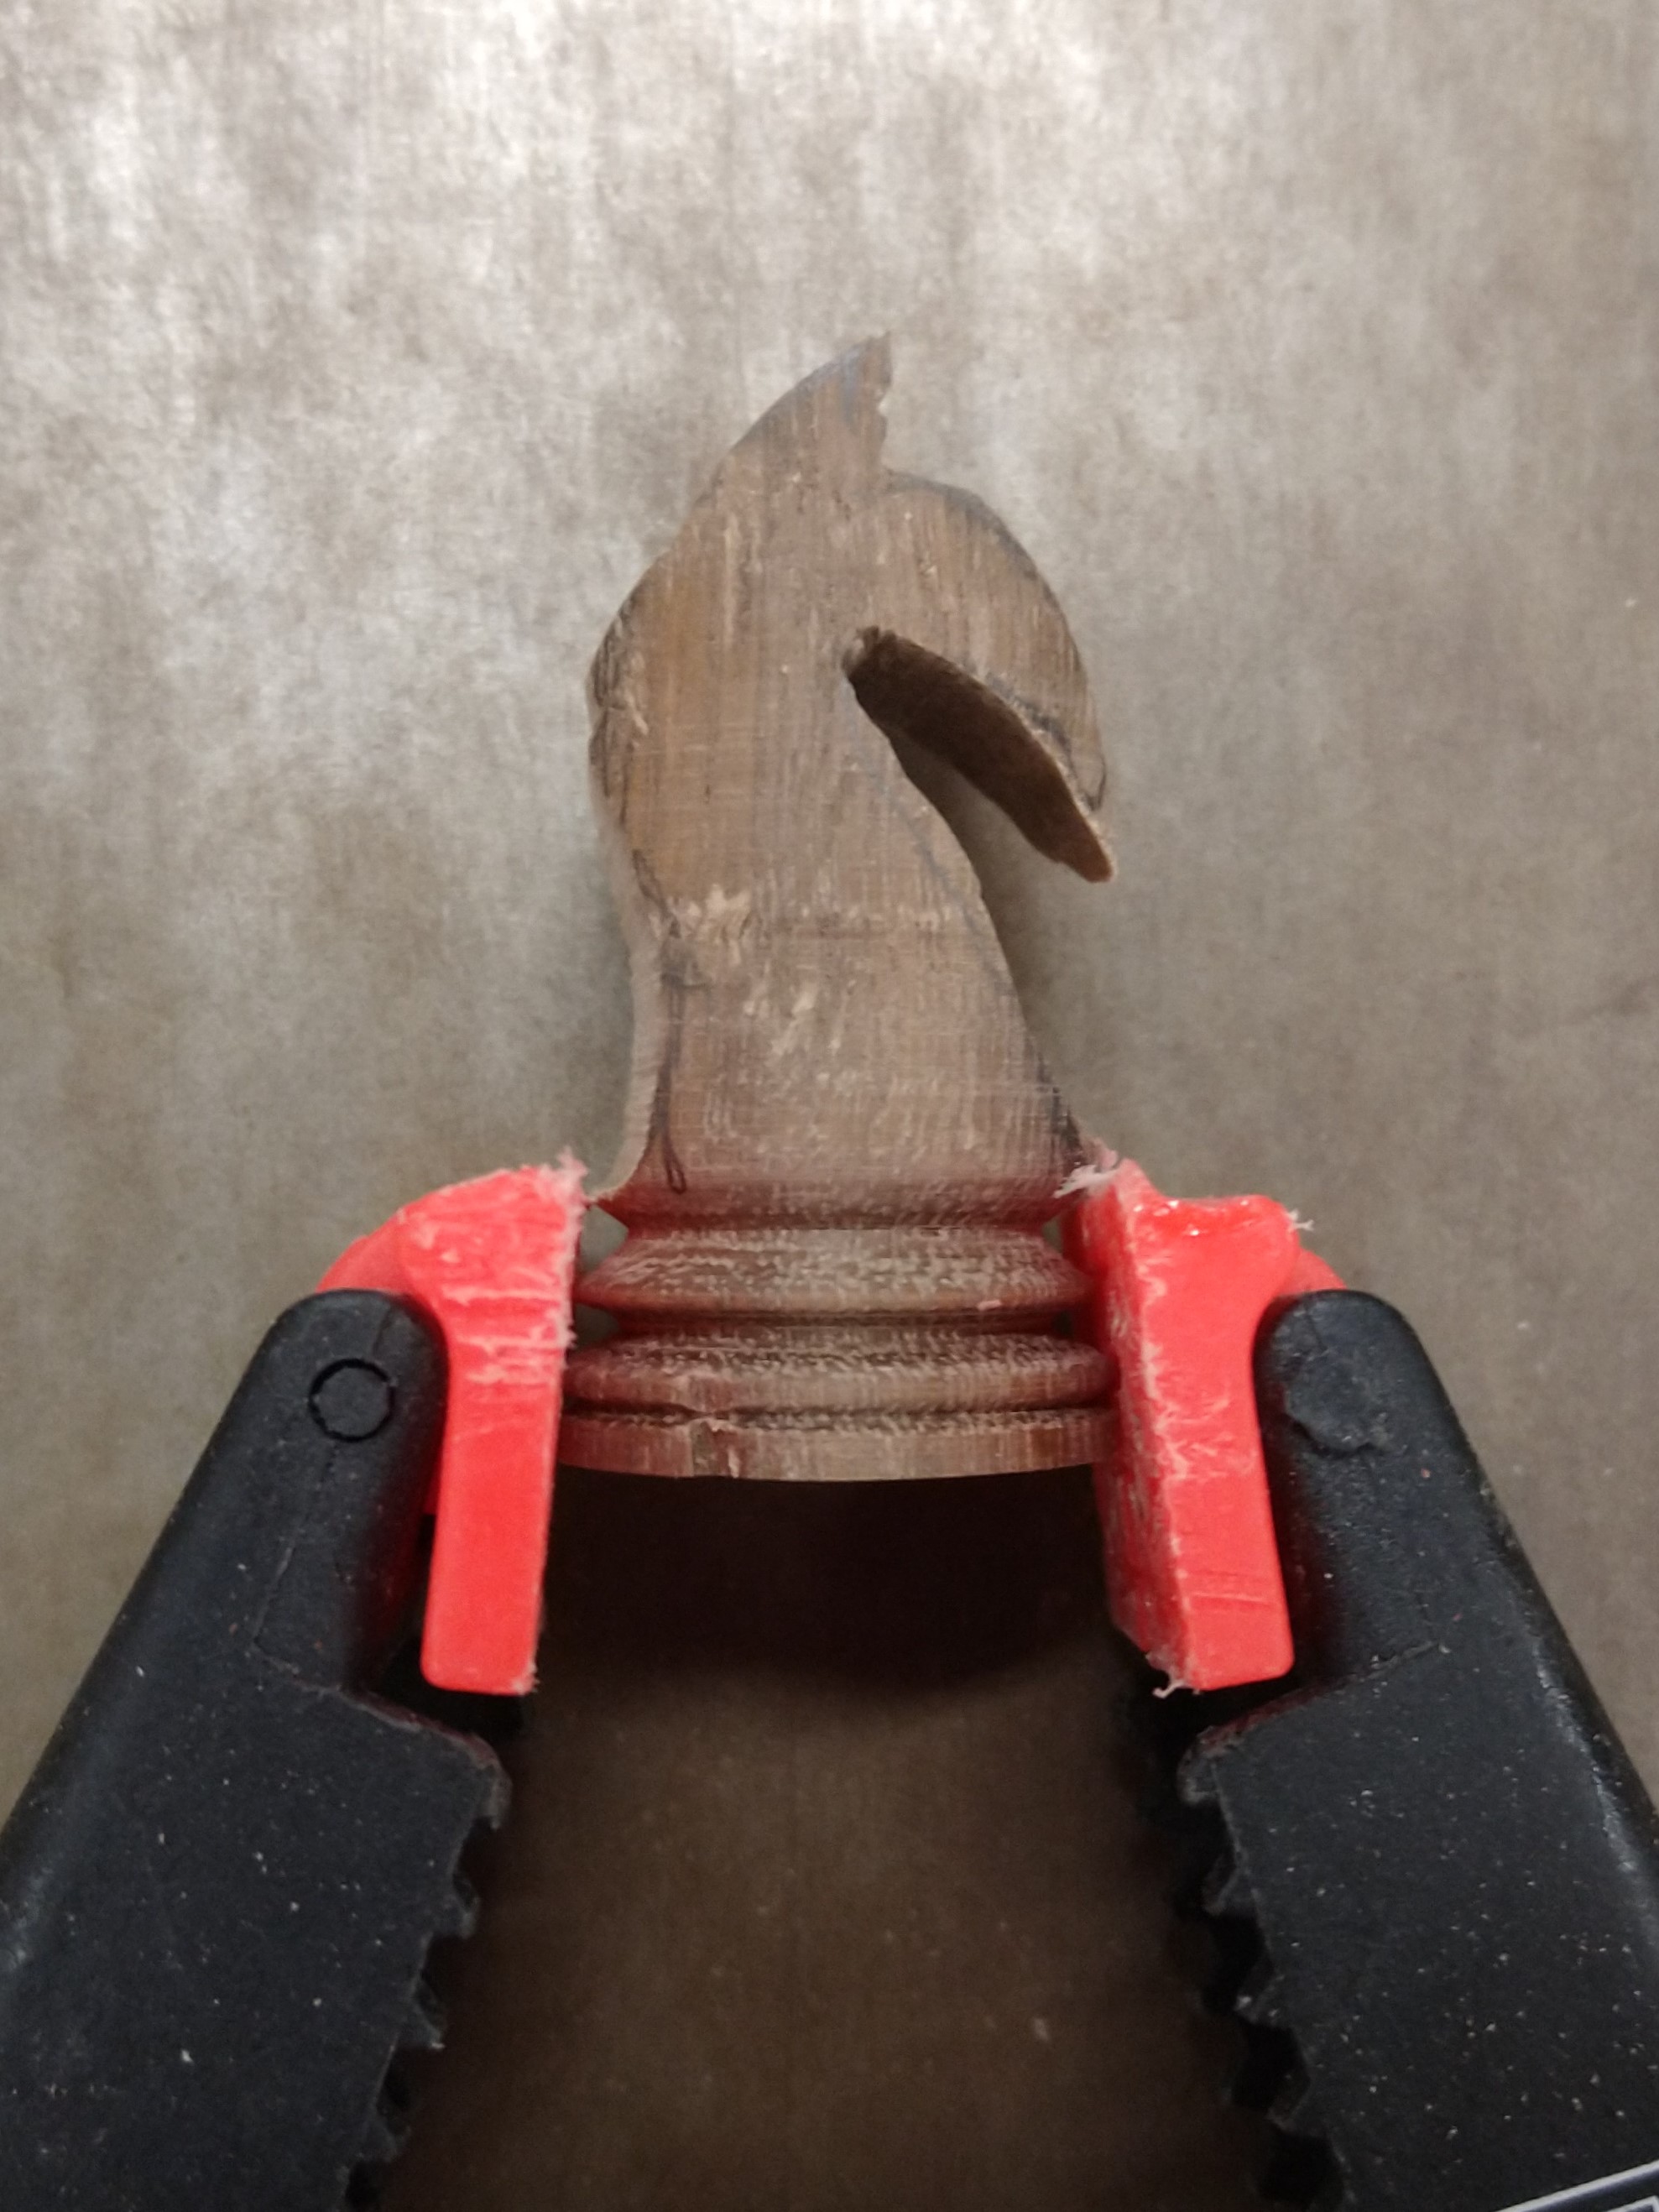
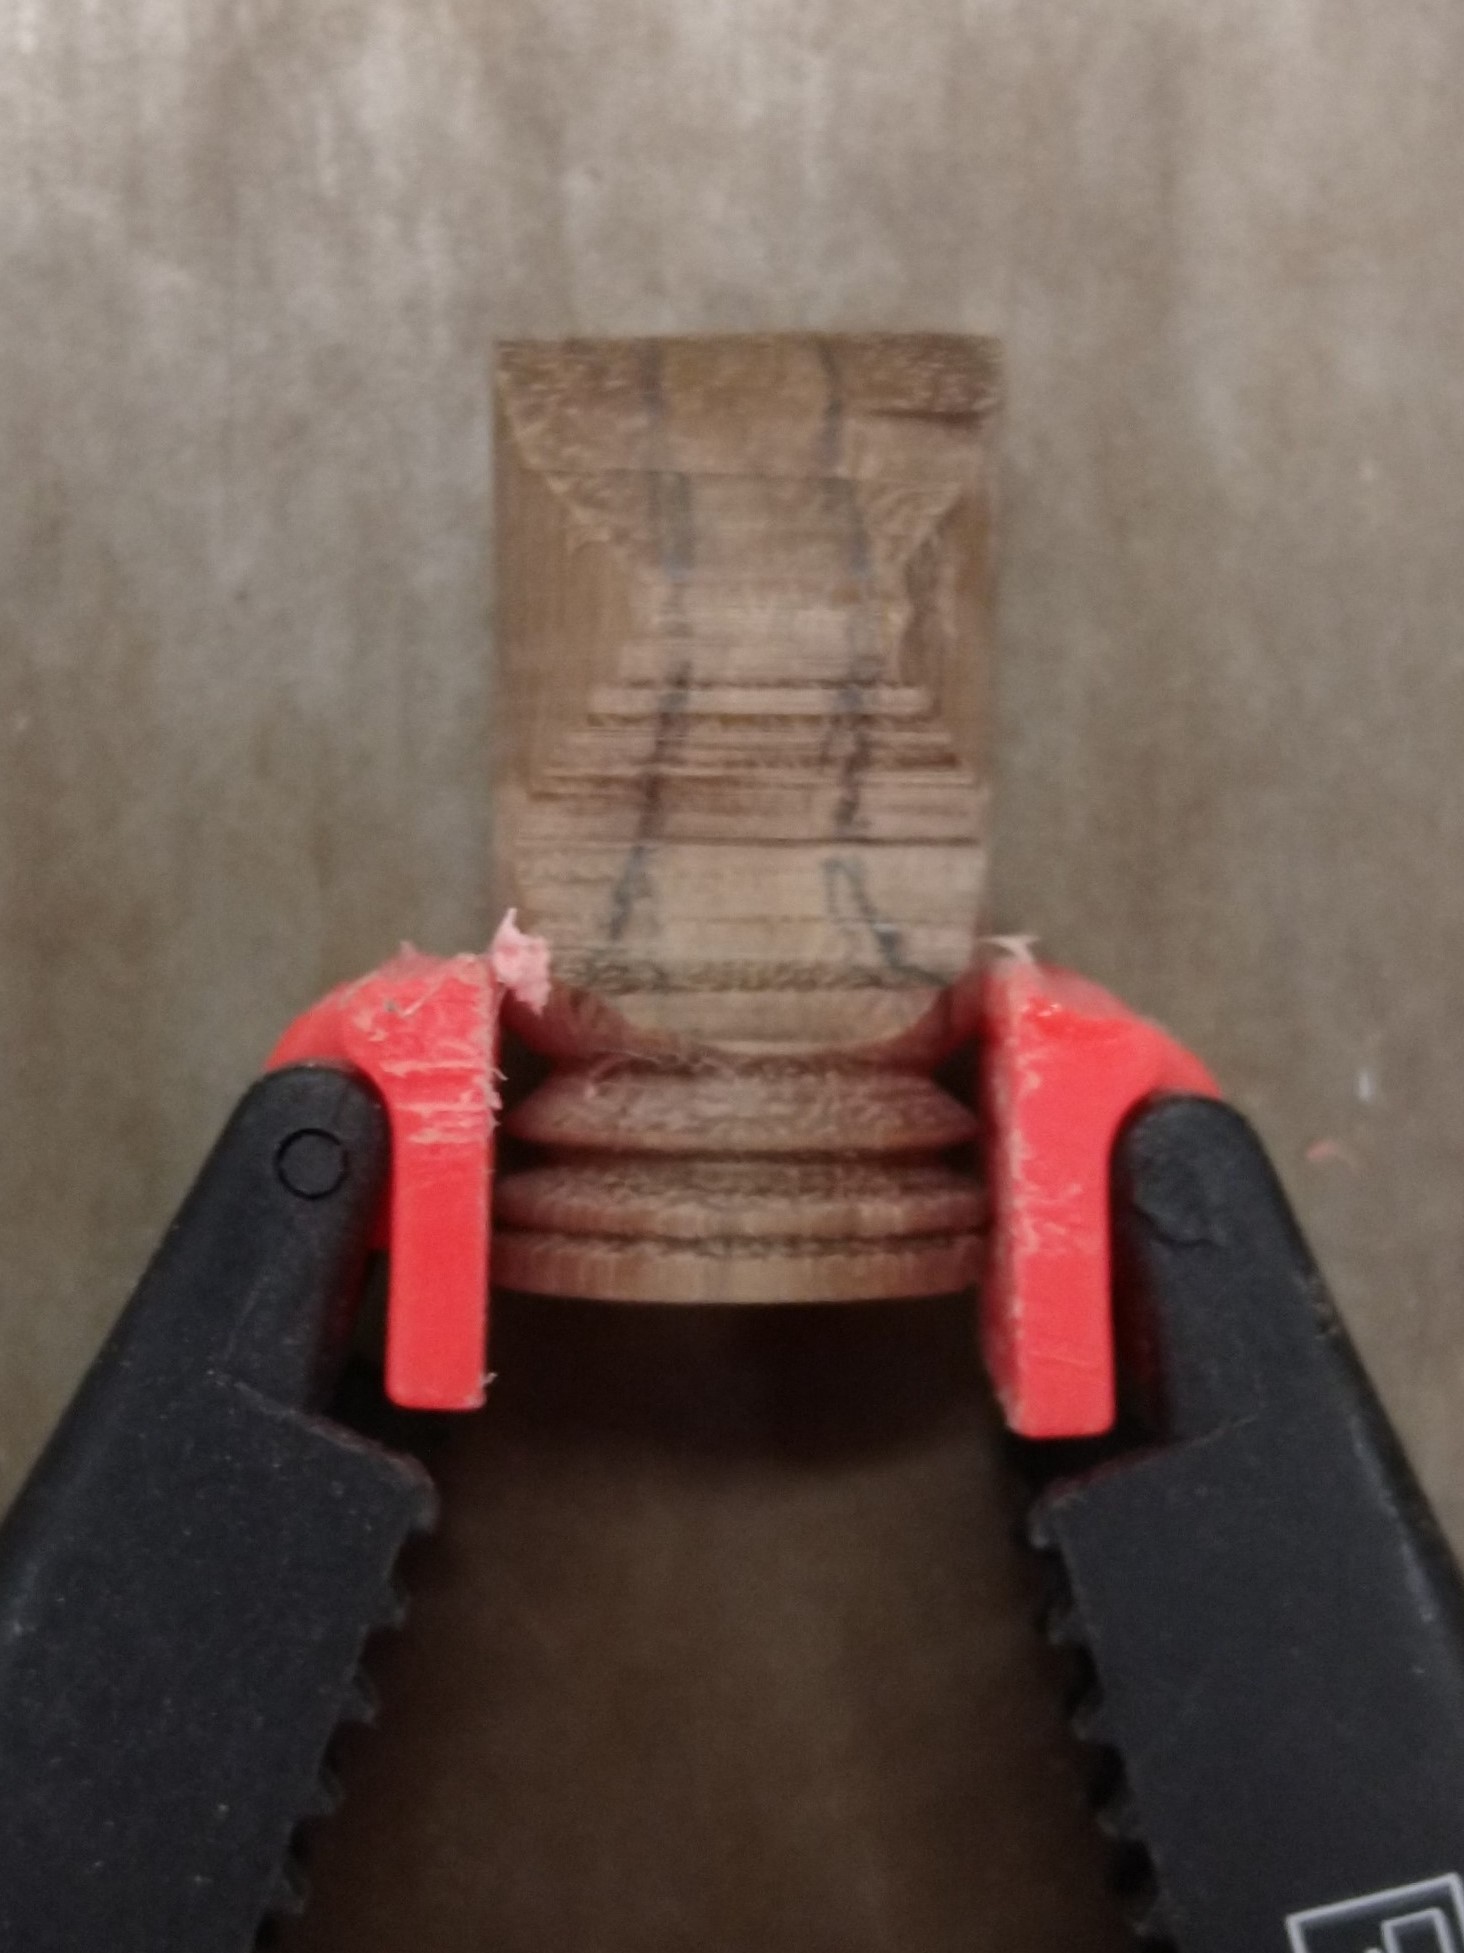
Knight
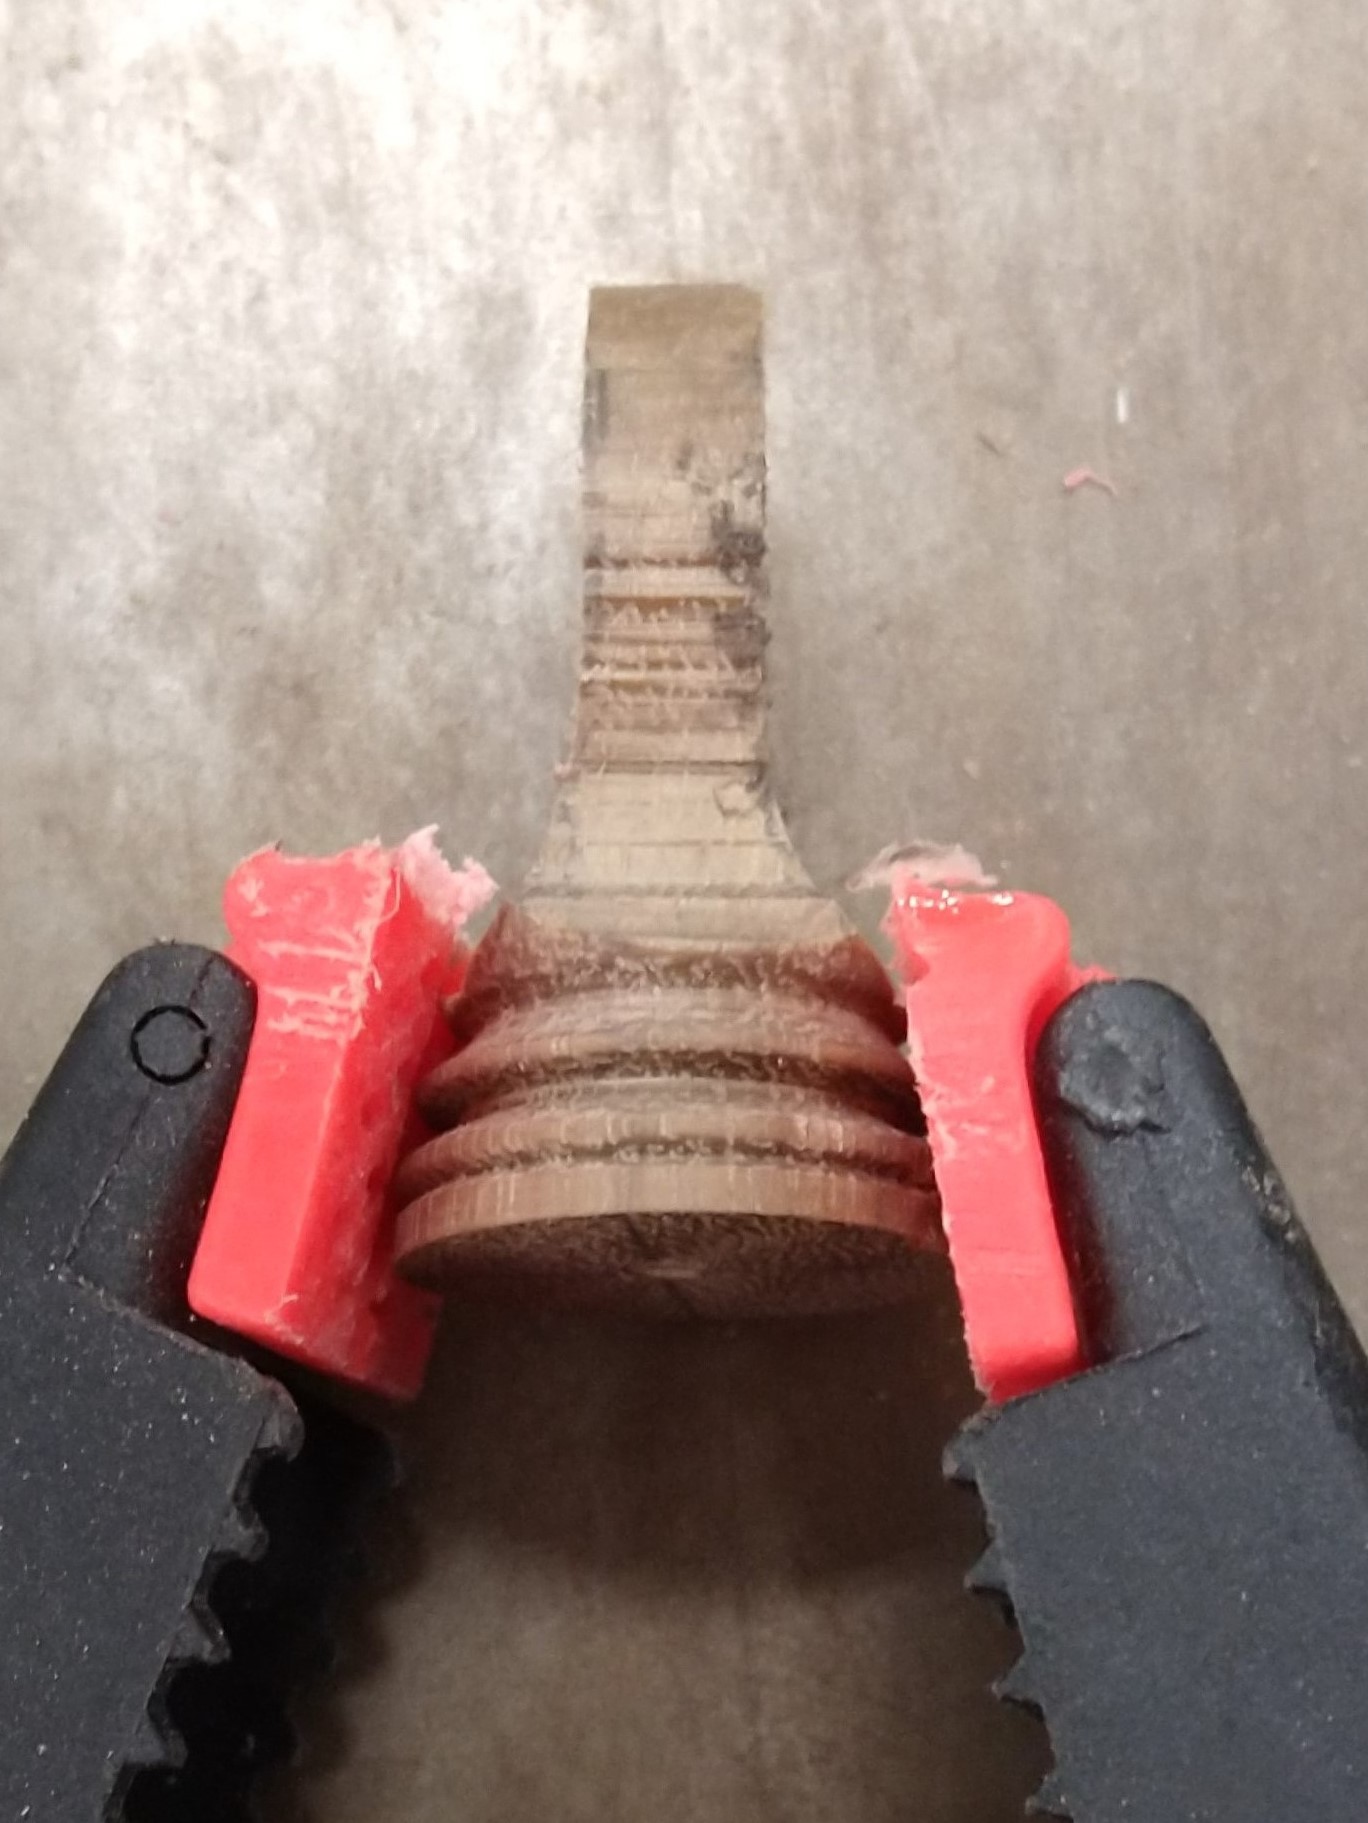
The knights were the most difficult piece to make because of all the extra cutting and shaping required. I did the main cuts on the bandsaw, from 2 directions. Then I used a dremel to round all the sharp corners and give it a nice smooth body.

Bishop

Queen

King

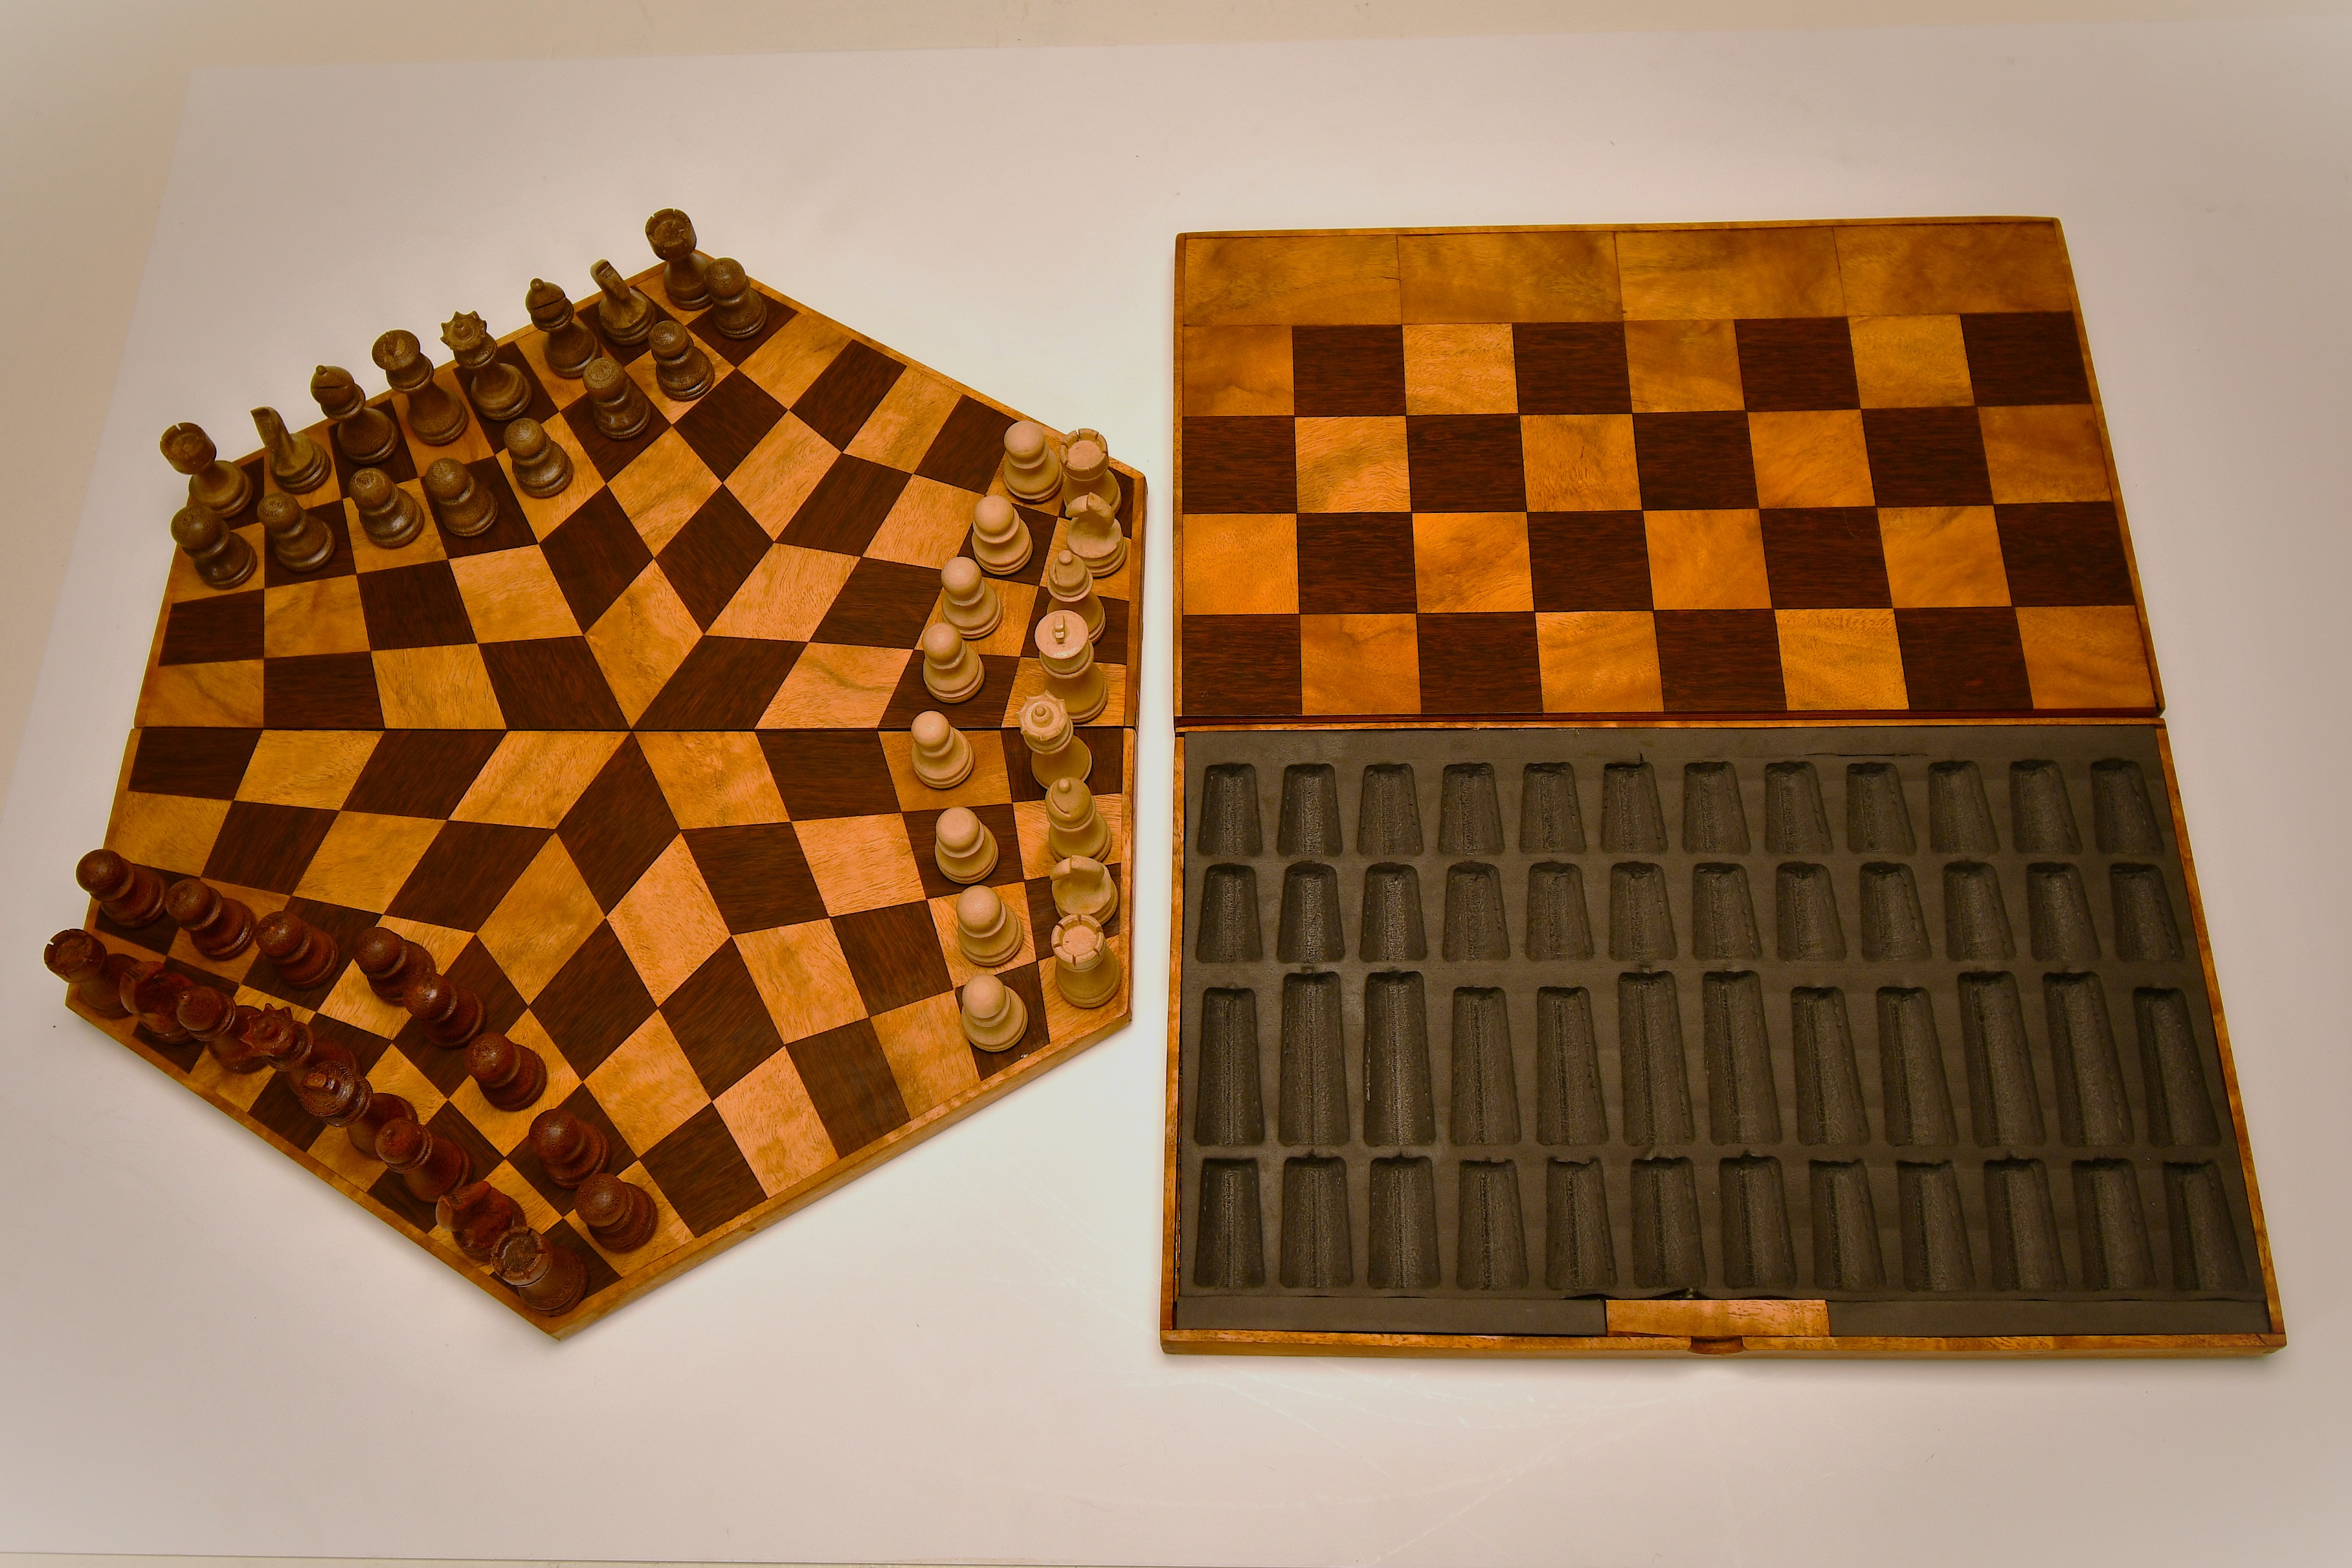
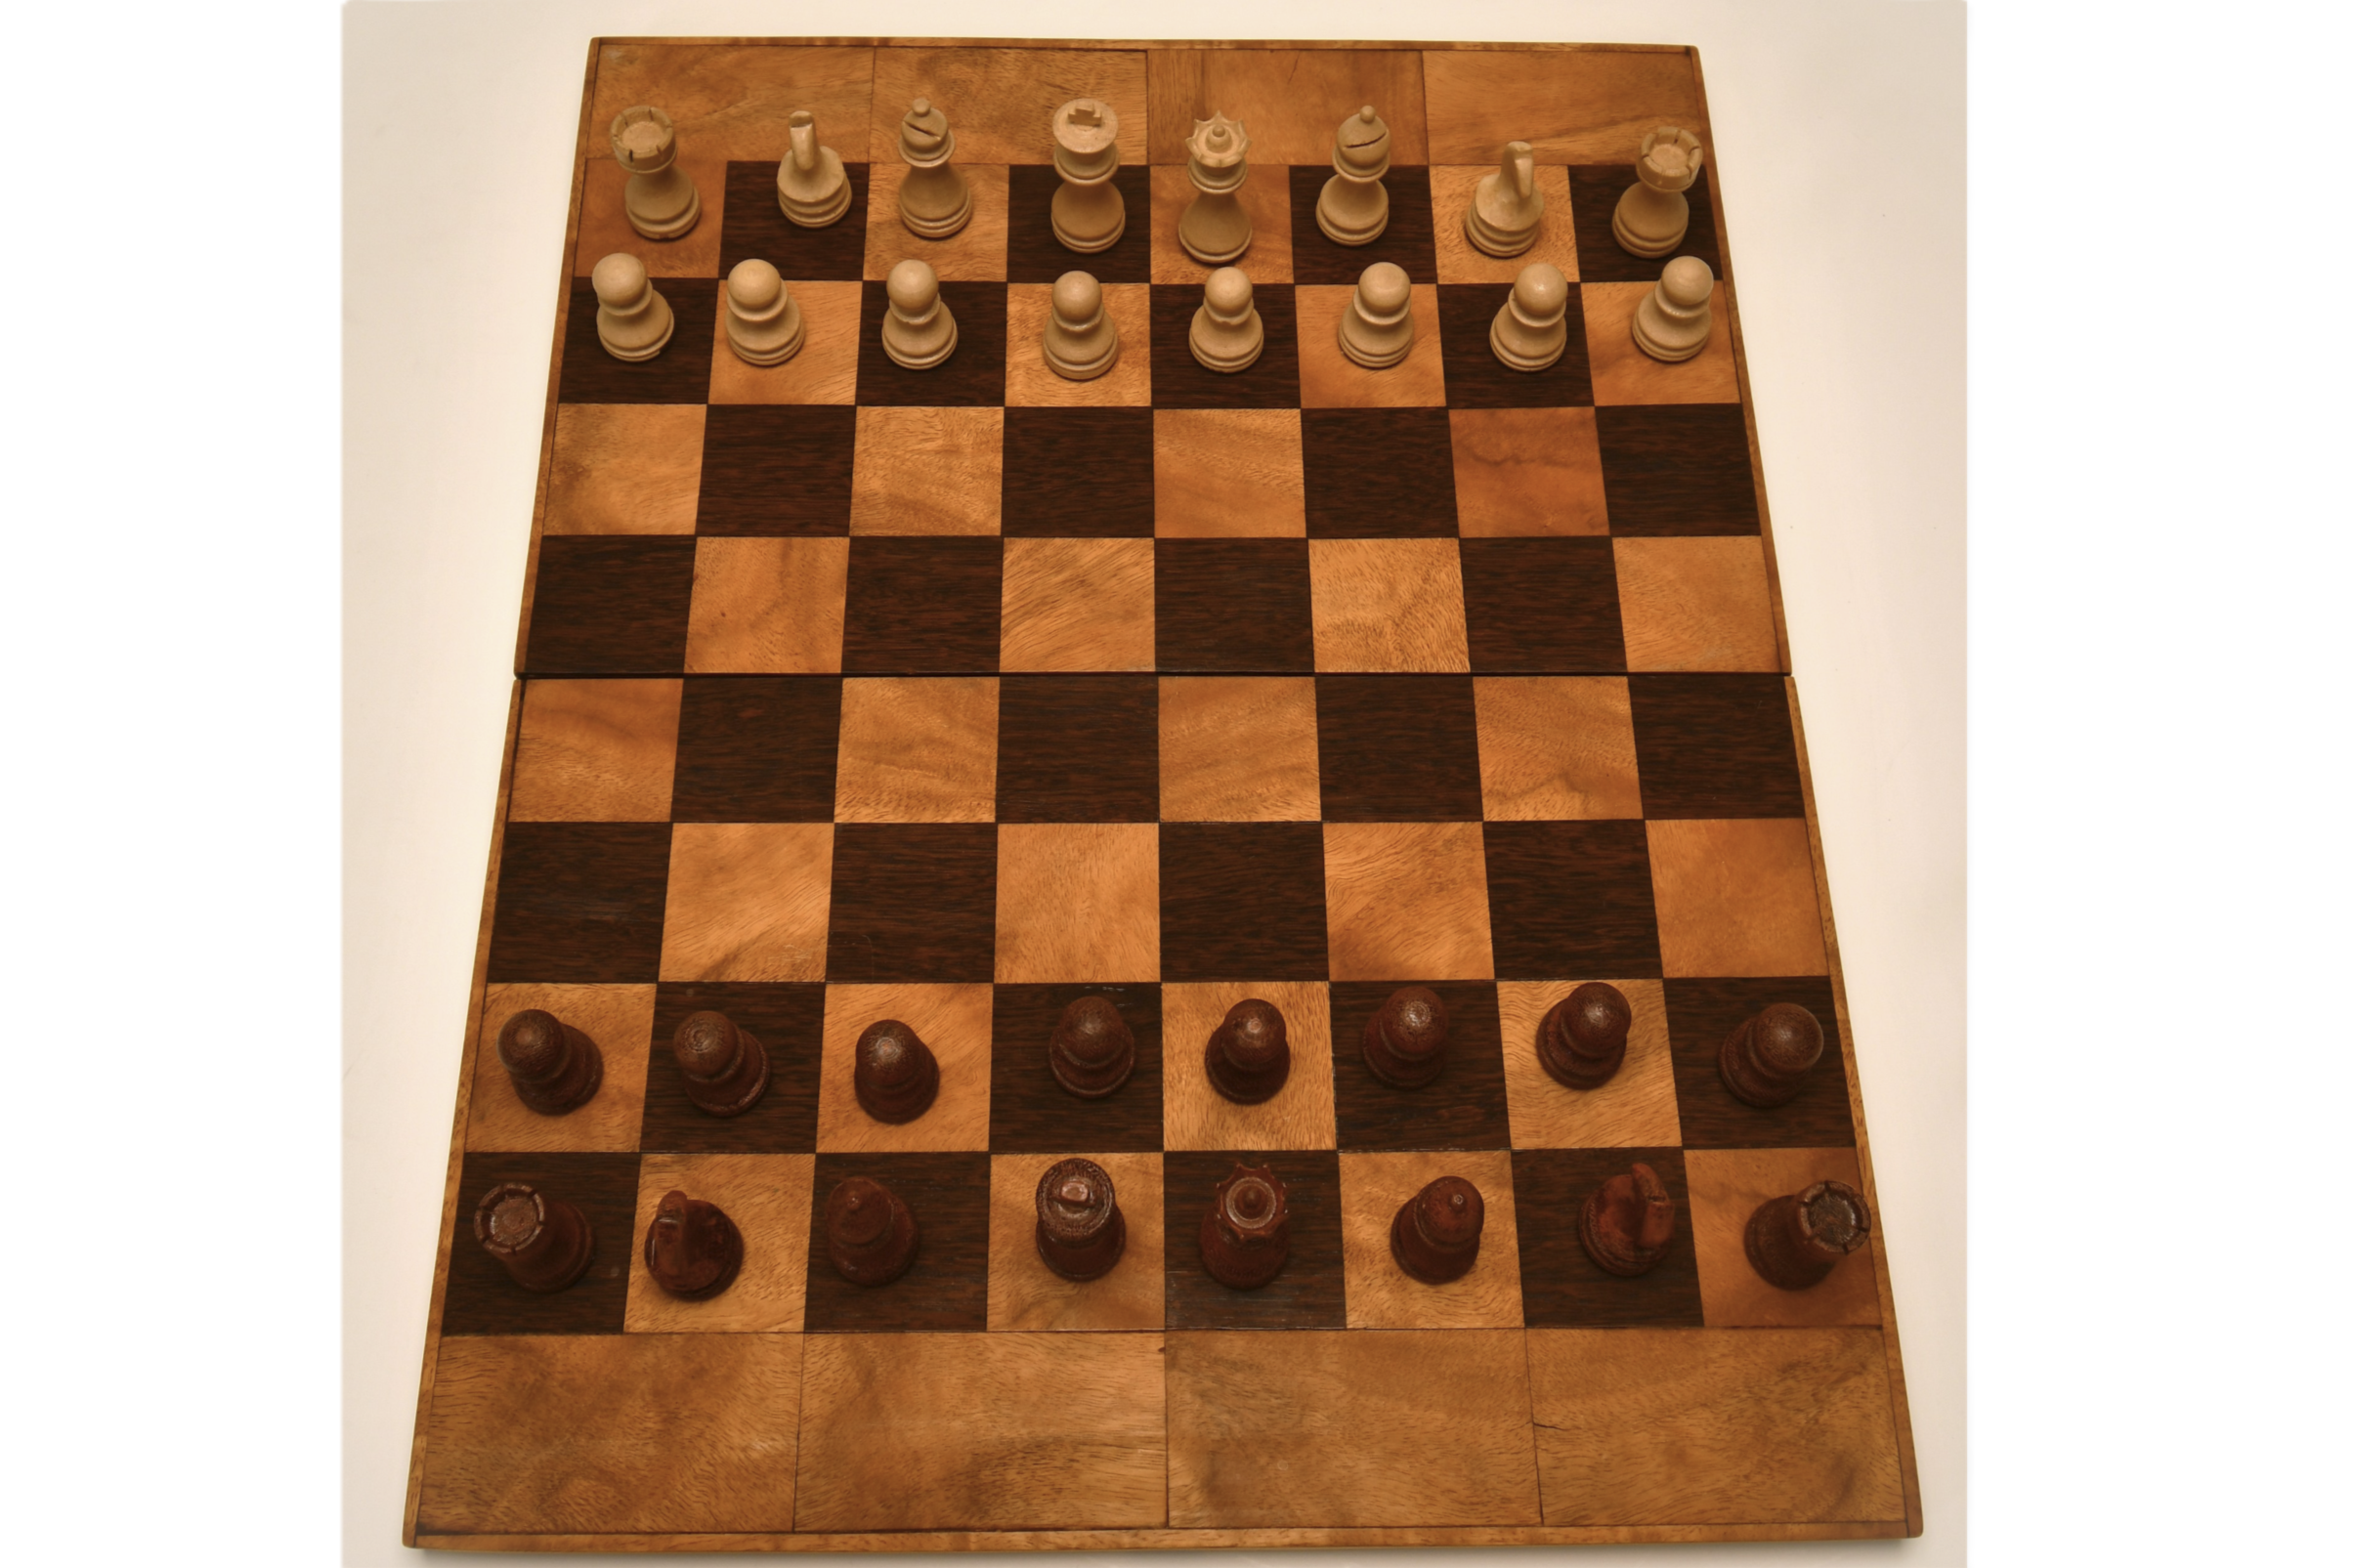
Regular board and piece storage
I wanted to be able to play regular chess with the set and I needed a way to store and transport the pieces so I made a hollow folding chess board with foam inserts to hold the pieces. I used some thin sheets of leftover wood glue to a plywood base to create the board. I had to add some extra blank area on either end of teh chess board to make the inside big enough to fit all the chess pieces. I milled EVA foam and glued it to the inside of the box to create a padded holder for the pieces.