Machinist Chess Set
My 5-axis CNC learning project
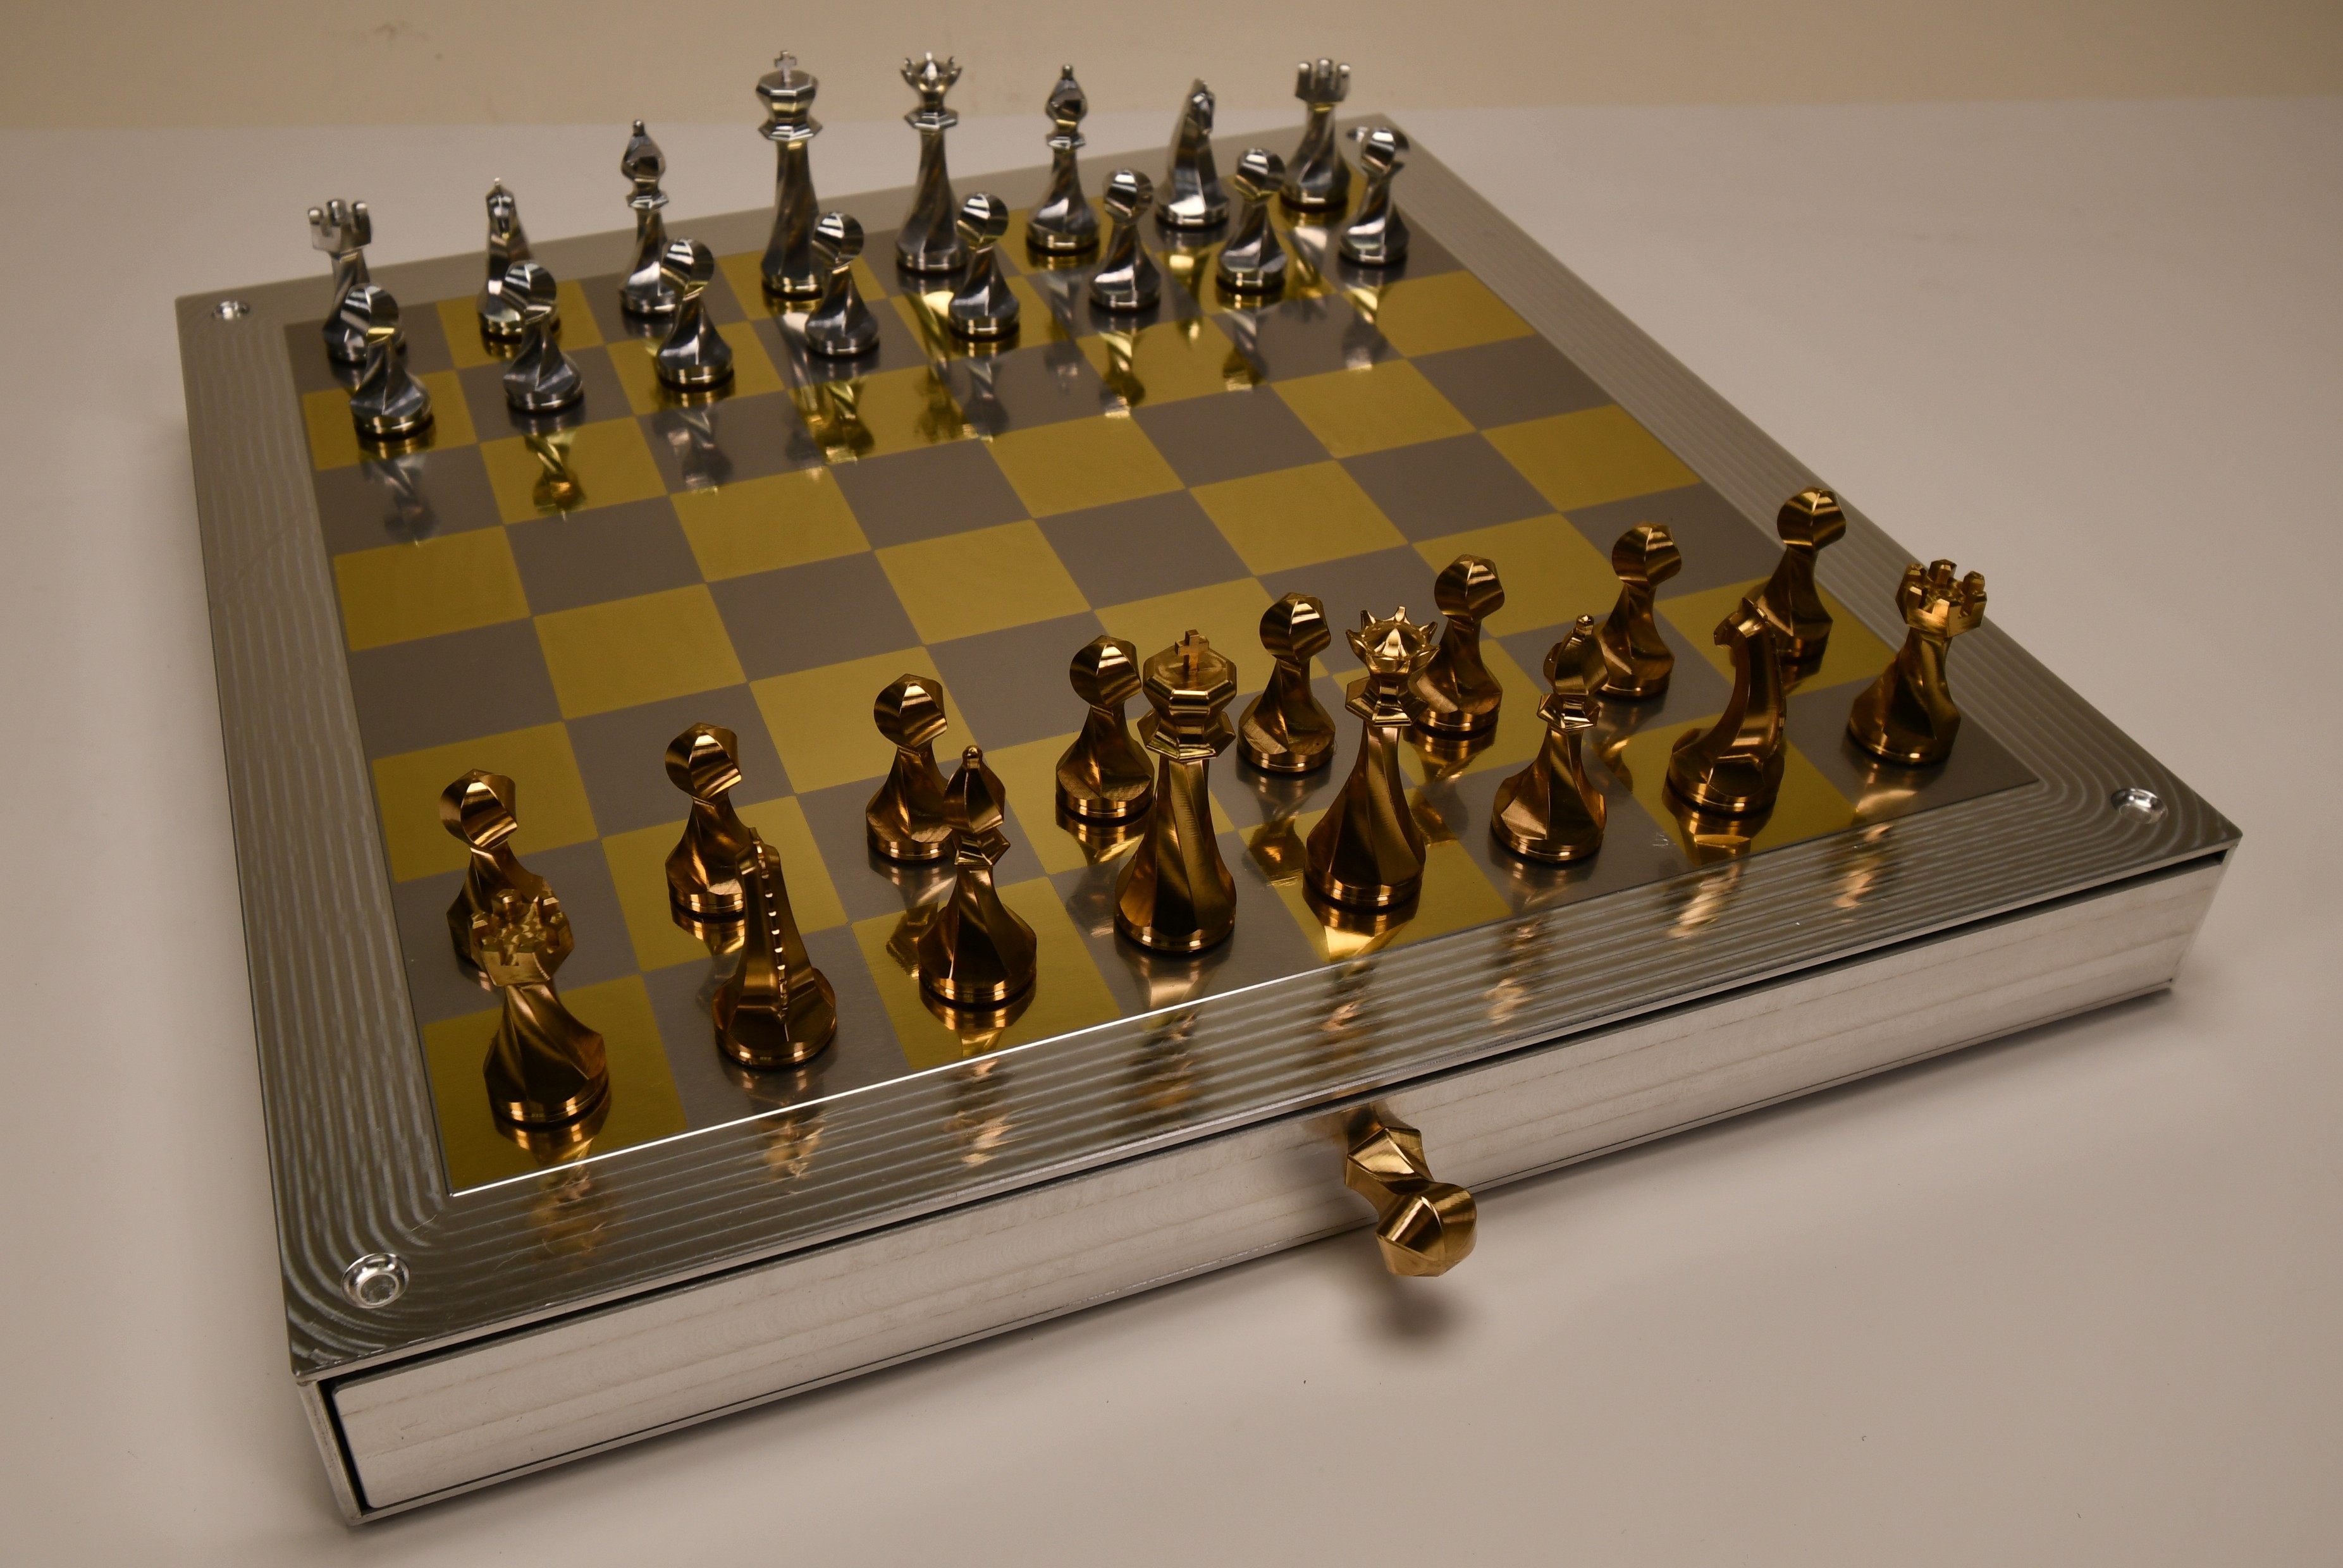
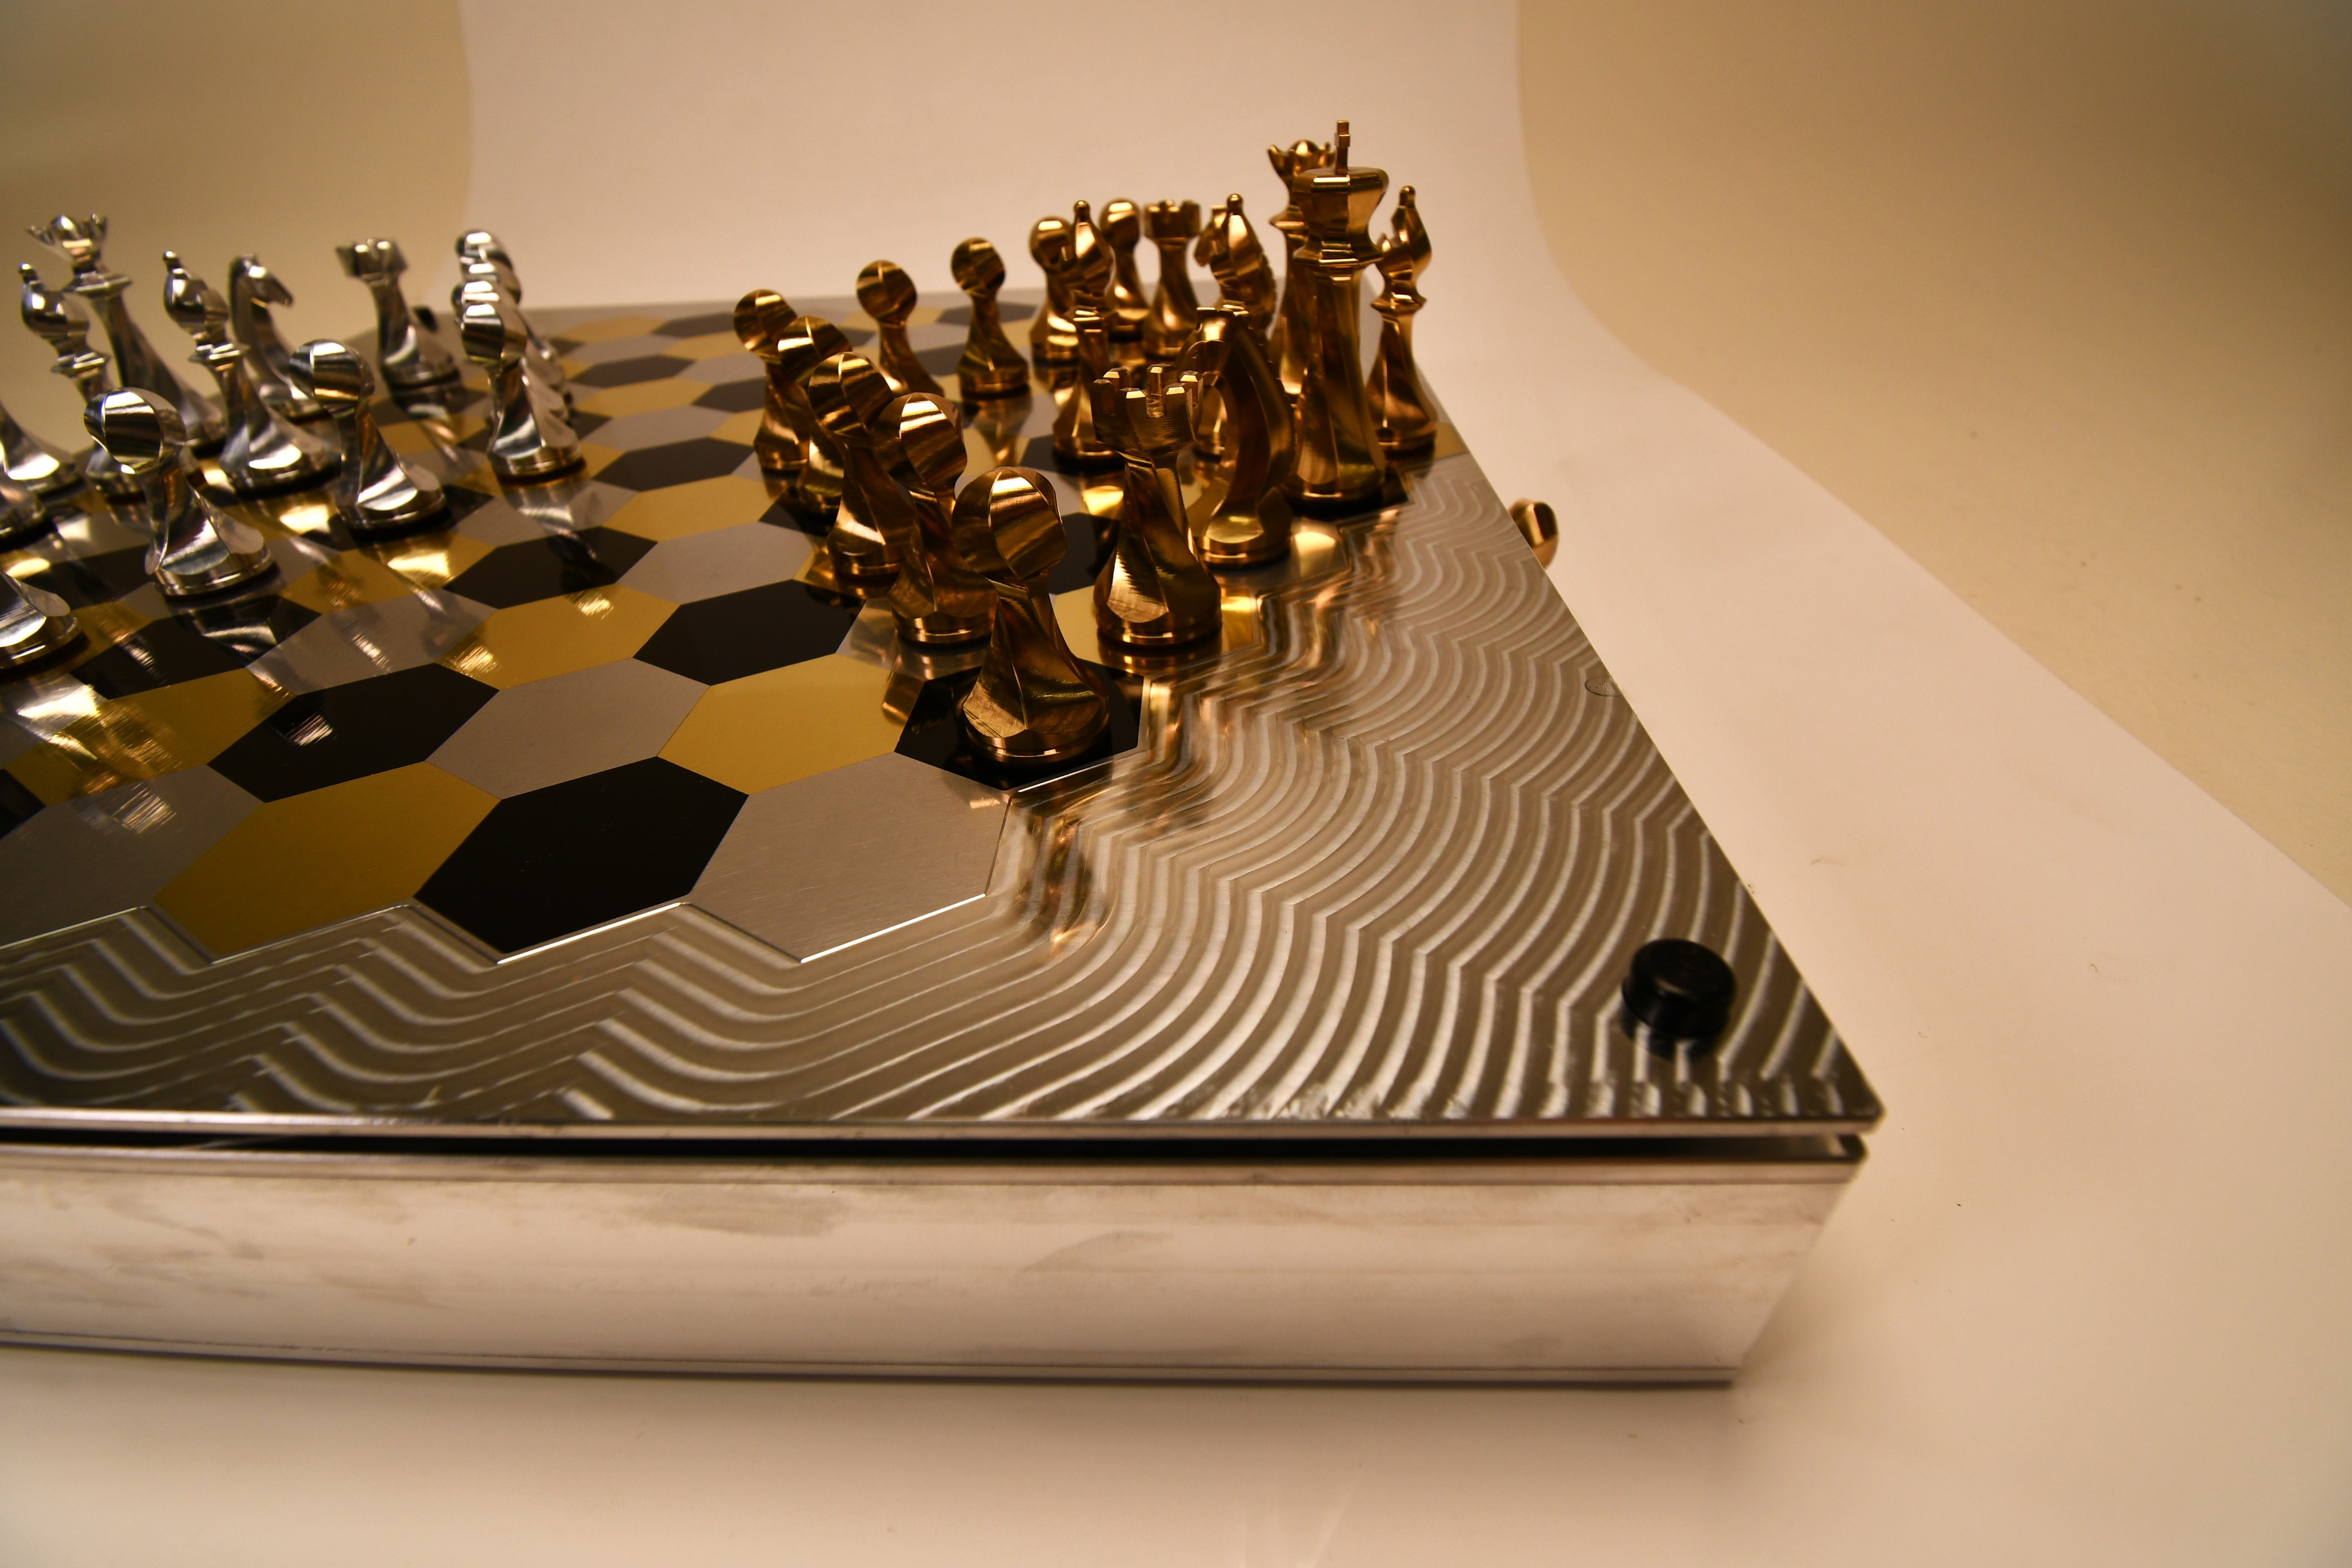
I machined a beautiful custom chess set using a 5-axis CNC mill over 18 months. This project is a great combination of engineering challenges and artistic detail. The pieces were machined from aluminium and brass using the 5-axis mill to create a unique spiral design. The complex spiral design was created because it helped me to learn how to use the mill for simultaneous machining, where all 5 axes move at once. Simultaneous machining is more complex than 3+2 machining, where 2 axes move to rotate the stock into position then a standard 3 axis toolpath is used.
The regular chess board was made in matching aluminium and brass inlay and houses a pair of drawers for storing the pieces. I also made 3 extra variant boards to play some unusual forms of chess: a circular board, a hexagonal board and a 10x10 board. The ability to customize to make unique designs like variant boards is my favourite part of making things for myself.
I started this project to learn how to use a 5 axis CNC machine, and it took me a year and a half to complete.
My youtube video shows the cool parts of how everything was made, and the rest of this article goes into more technical details.
Boards
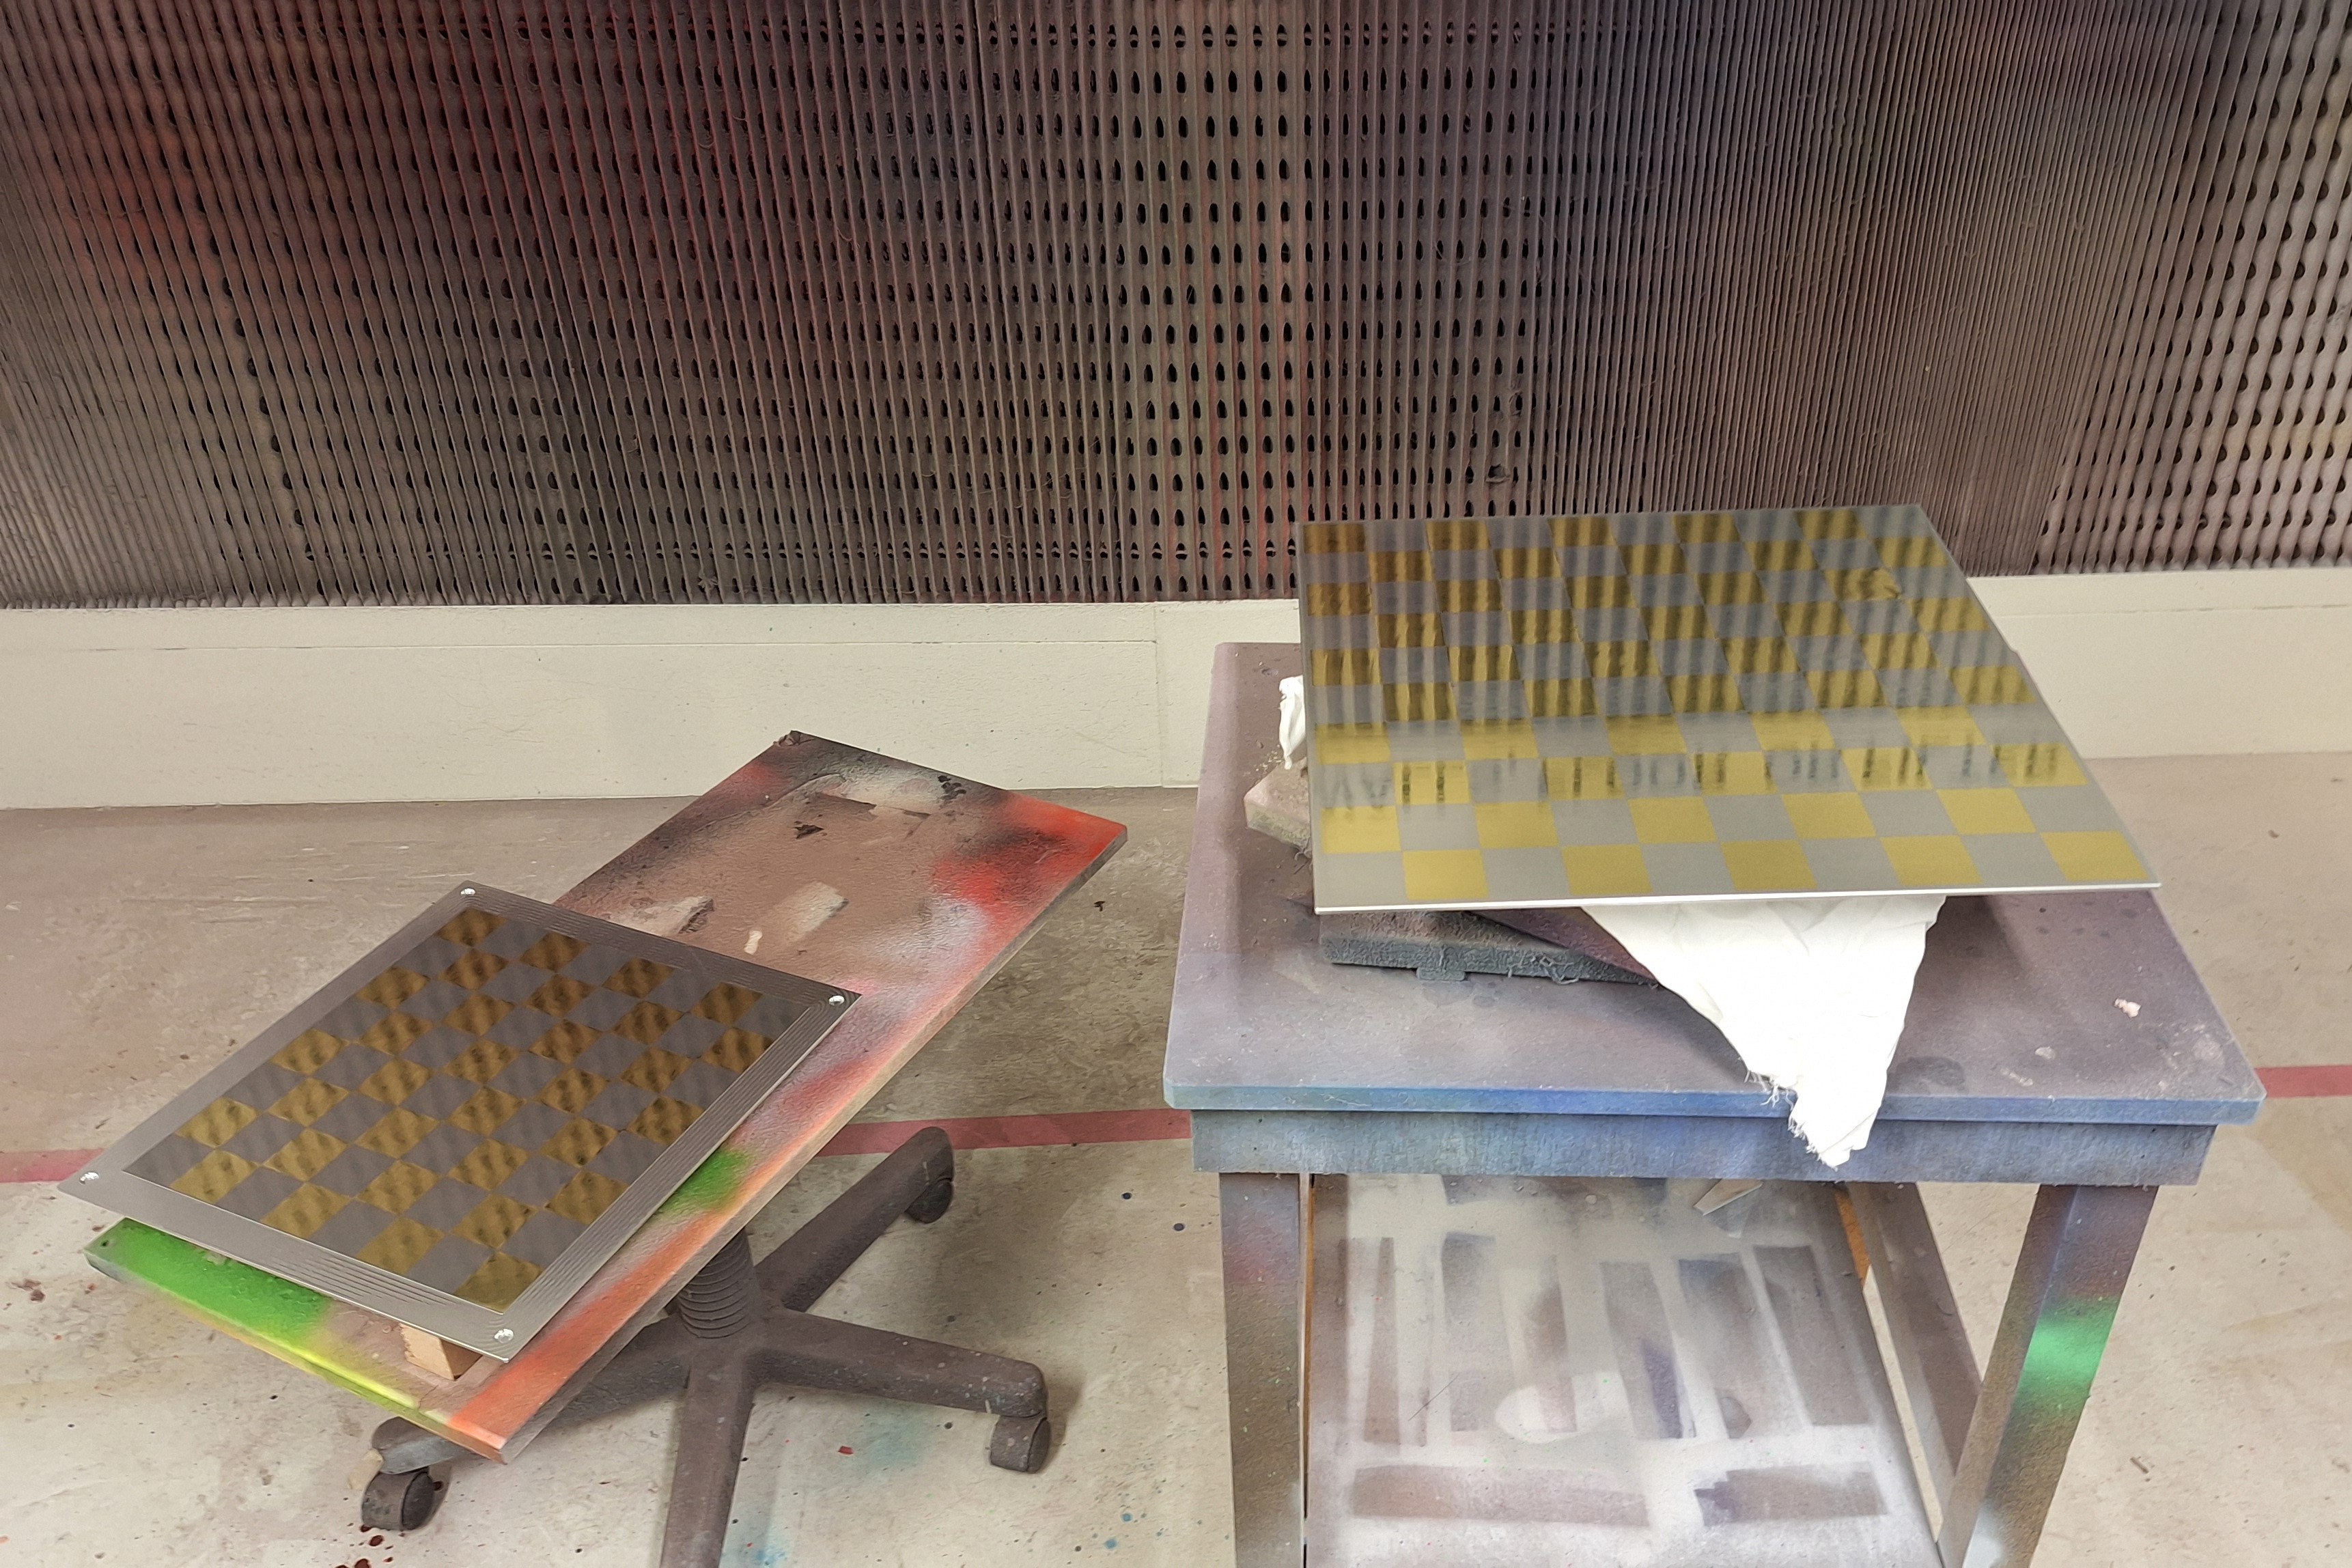
All the boards were made by cutting shallow pockets into a thick sheet of aluminium, then inlaying laser cut brass tiles. The main difficultly with this style of manufacture is that milled pockets can’t have sharp corners, so the brass tiles are fileted and don’t touch. However the hexagonal board could have some sharp cornered tiles because it had two colors being inlaid and the corners were mostly external.
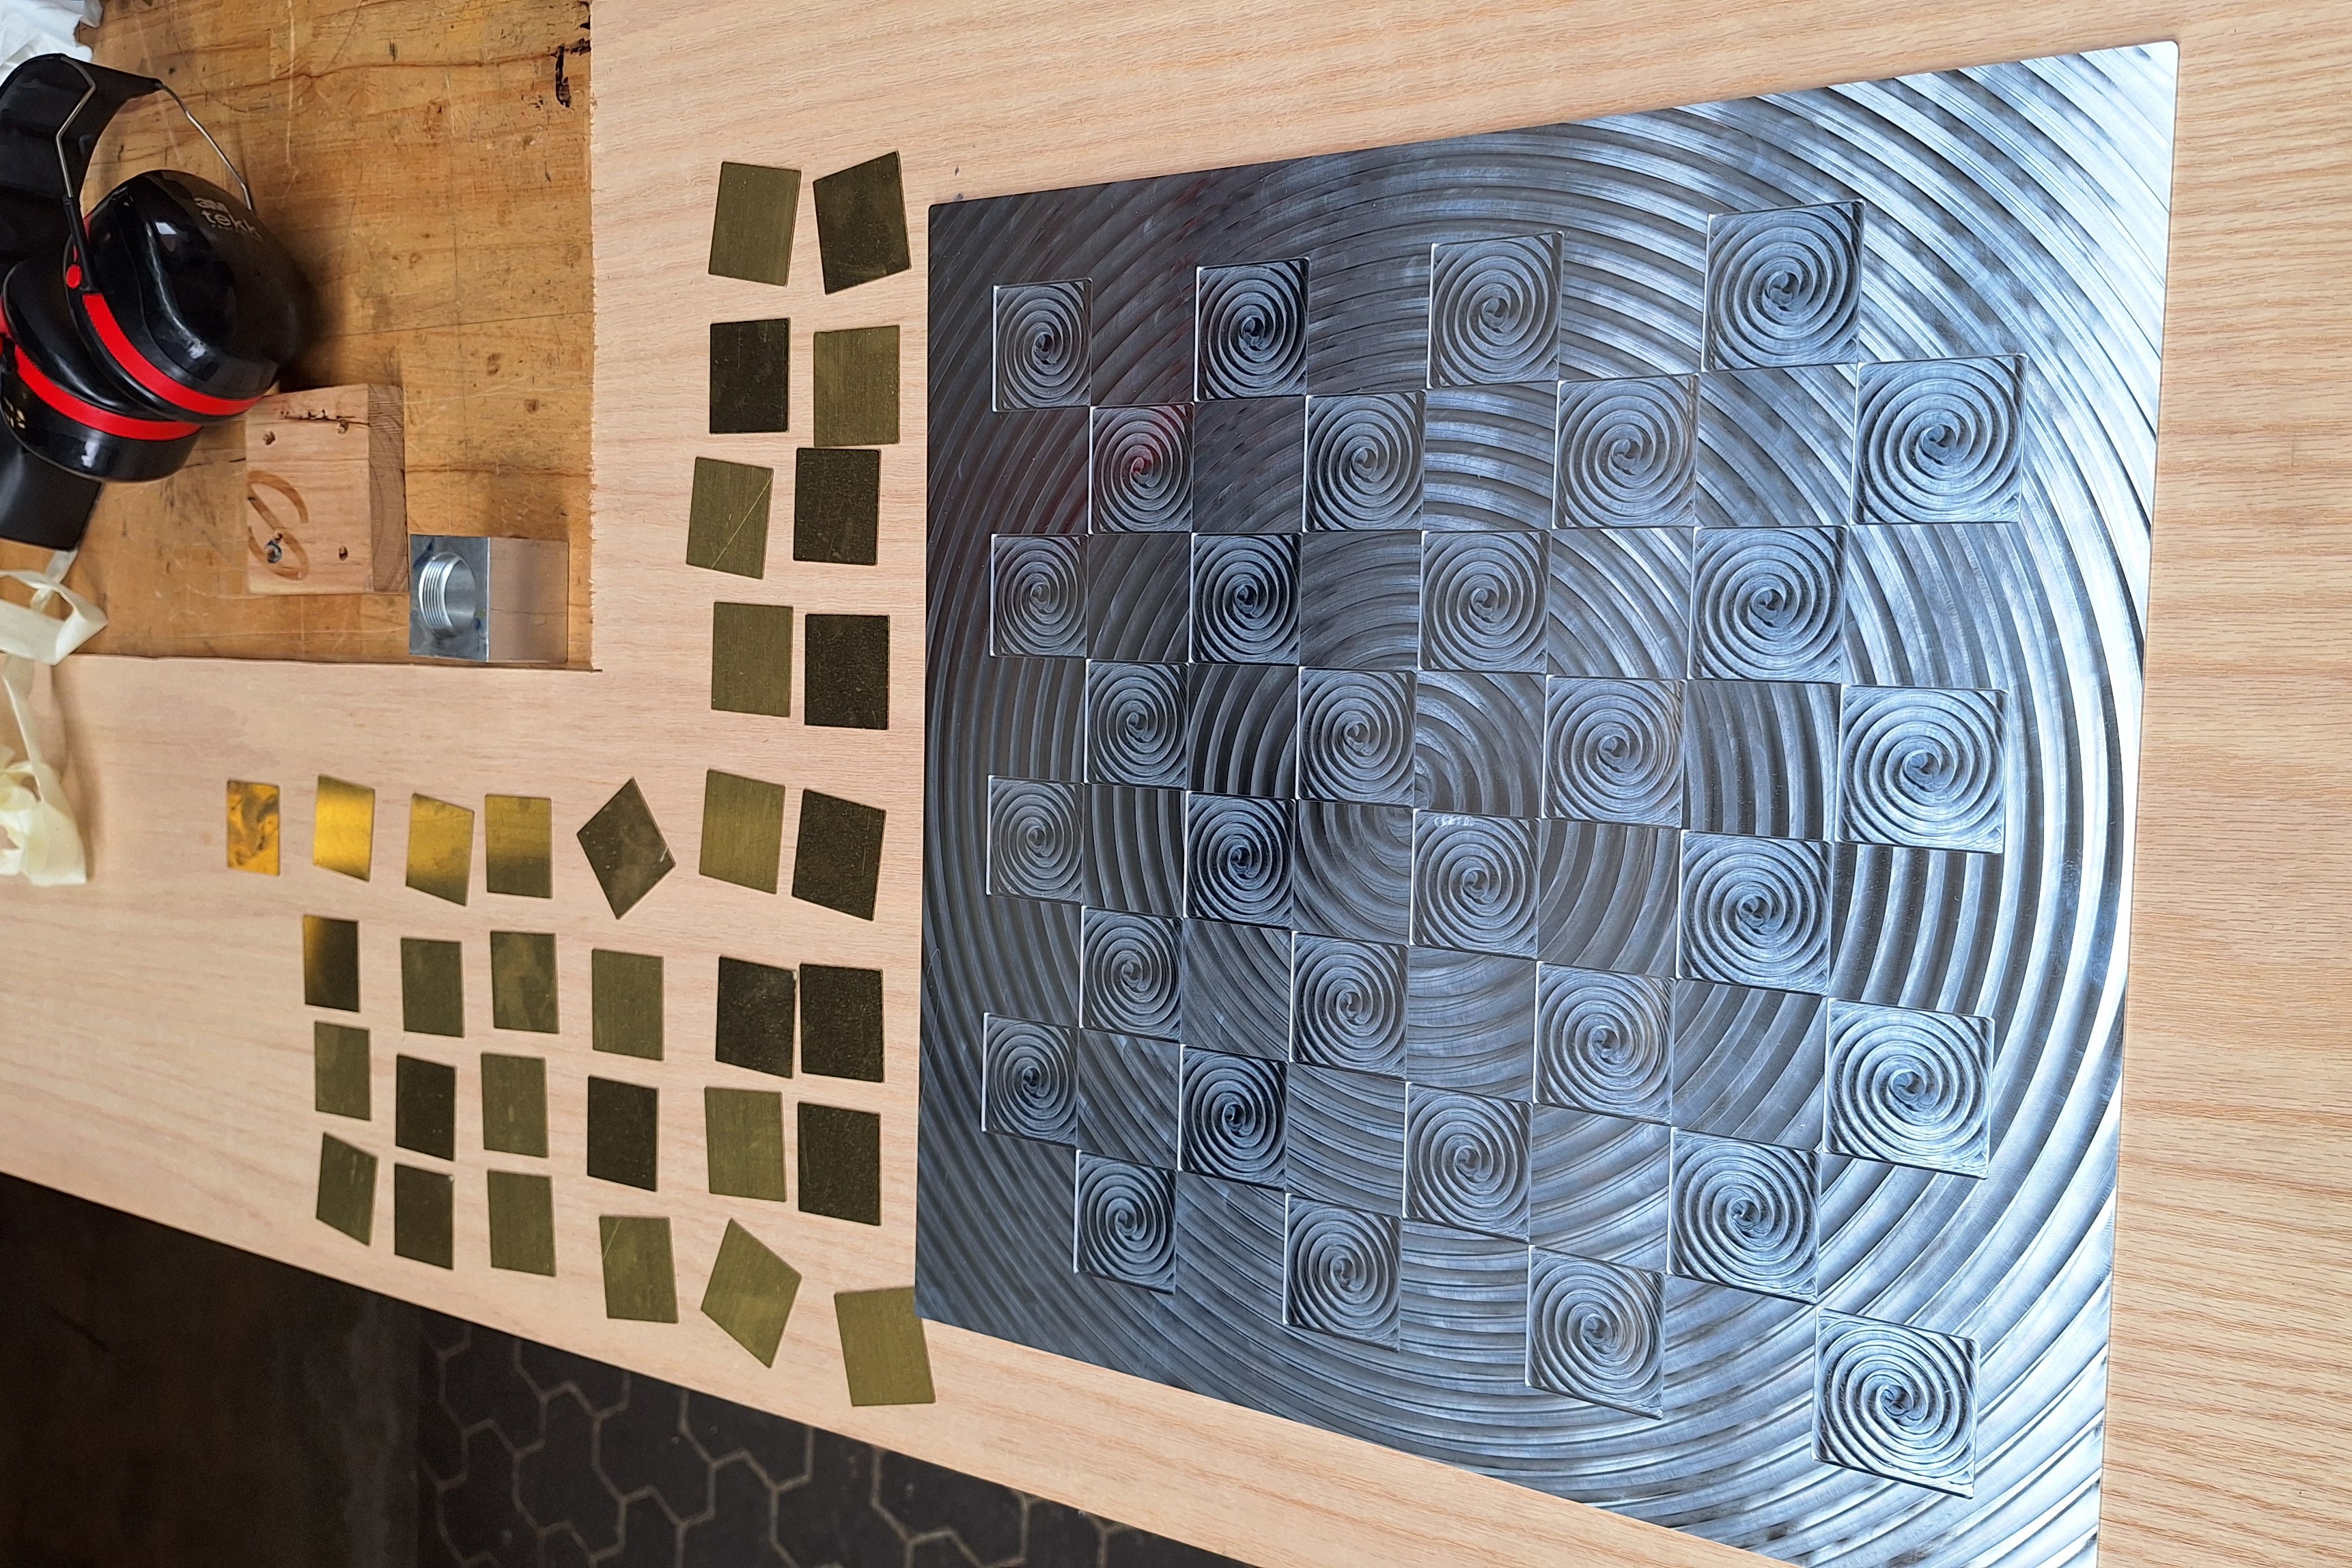
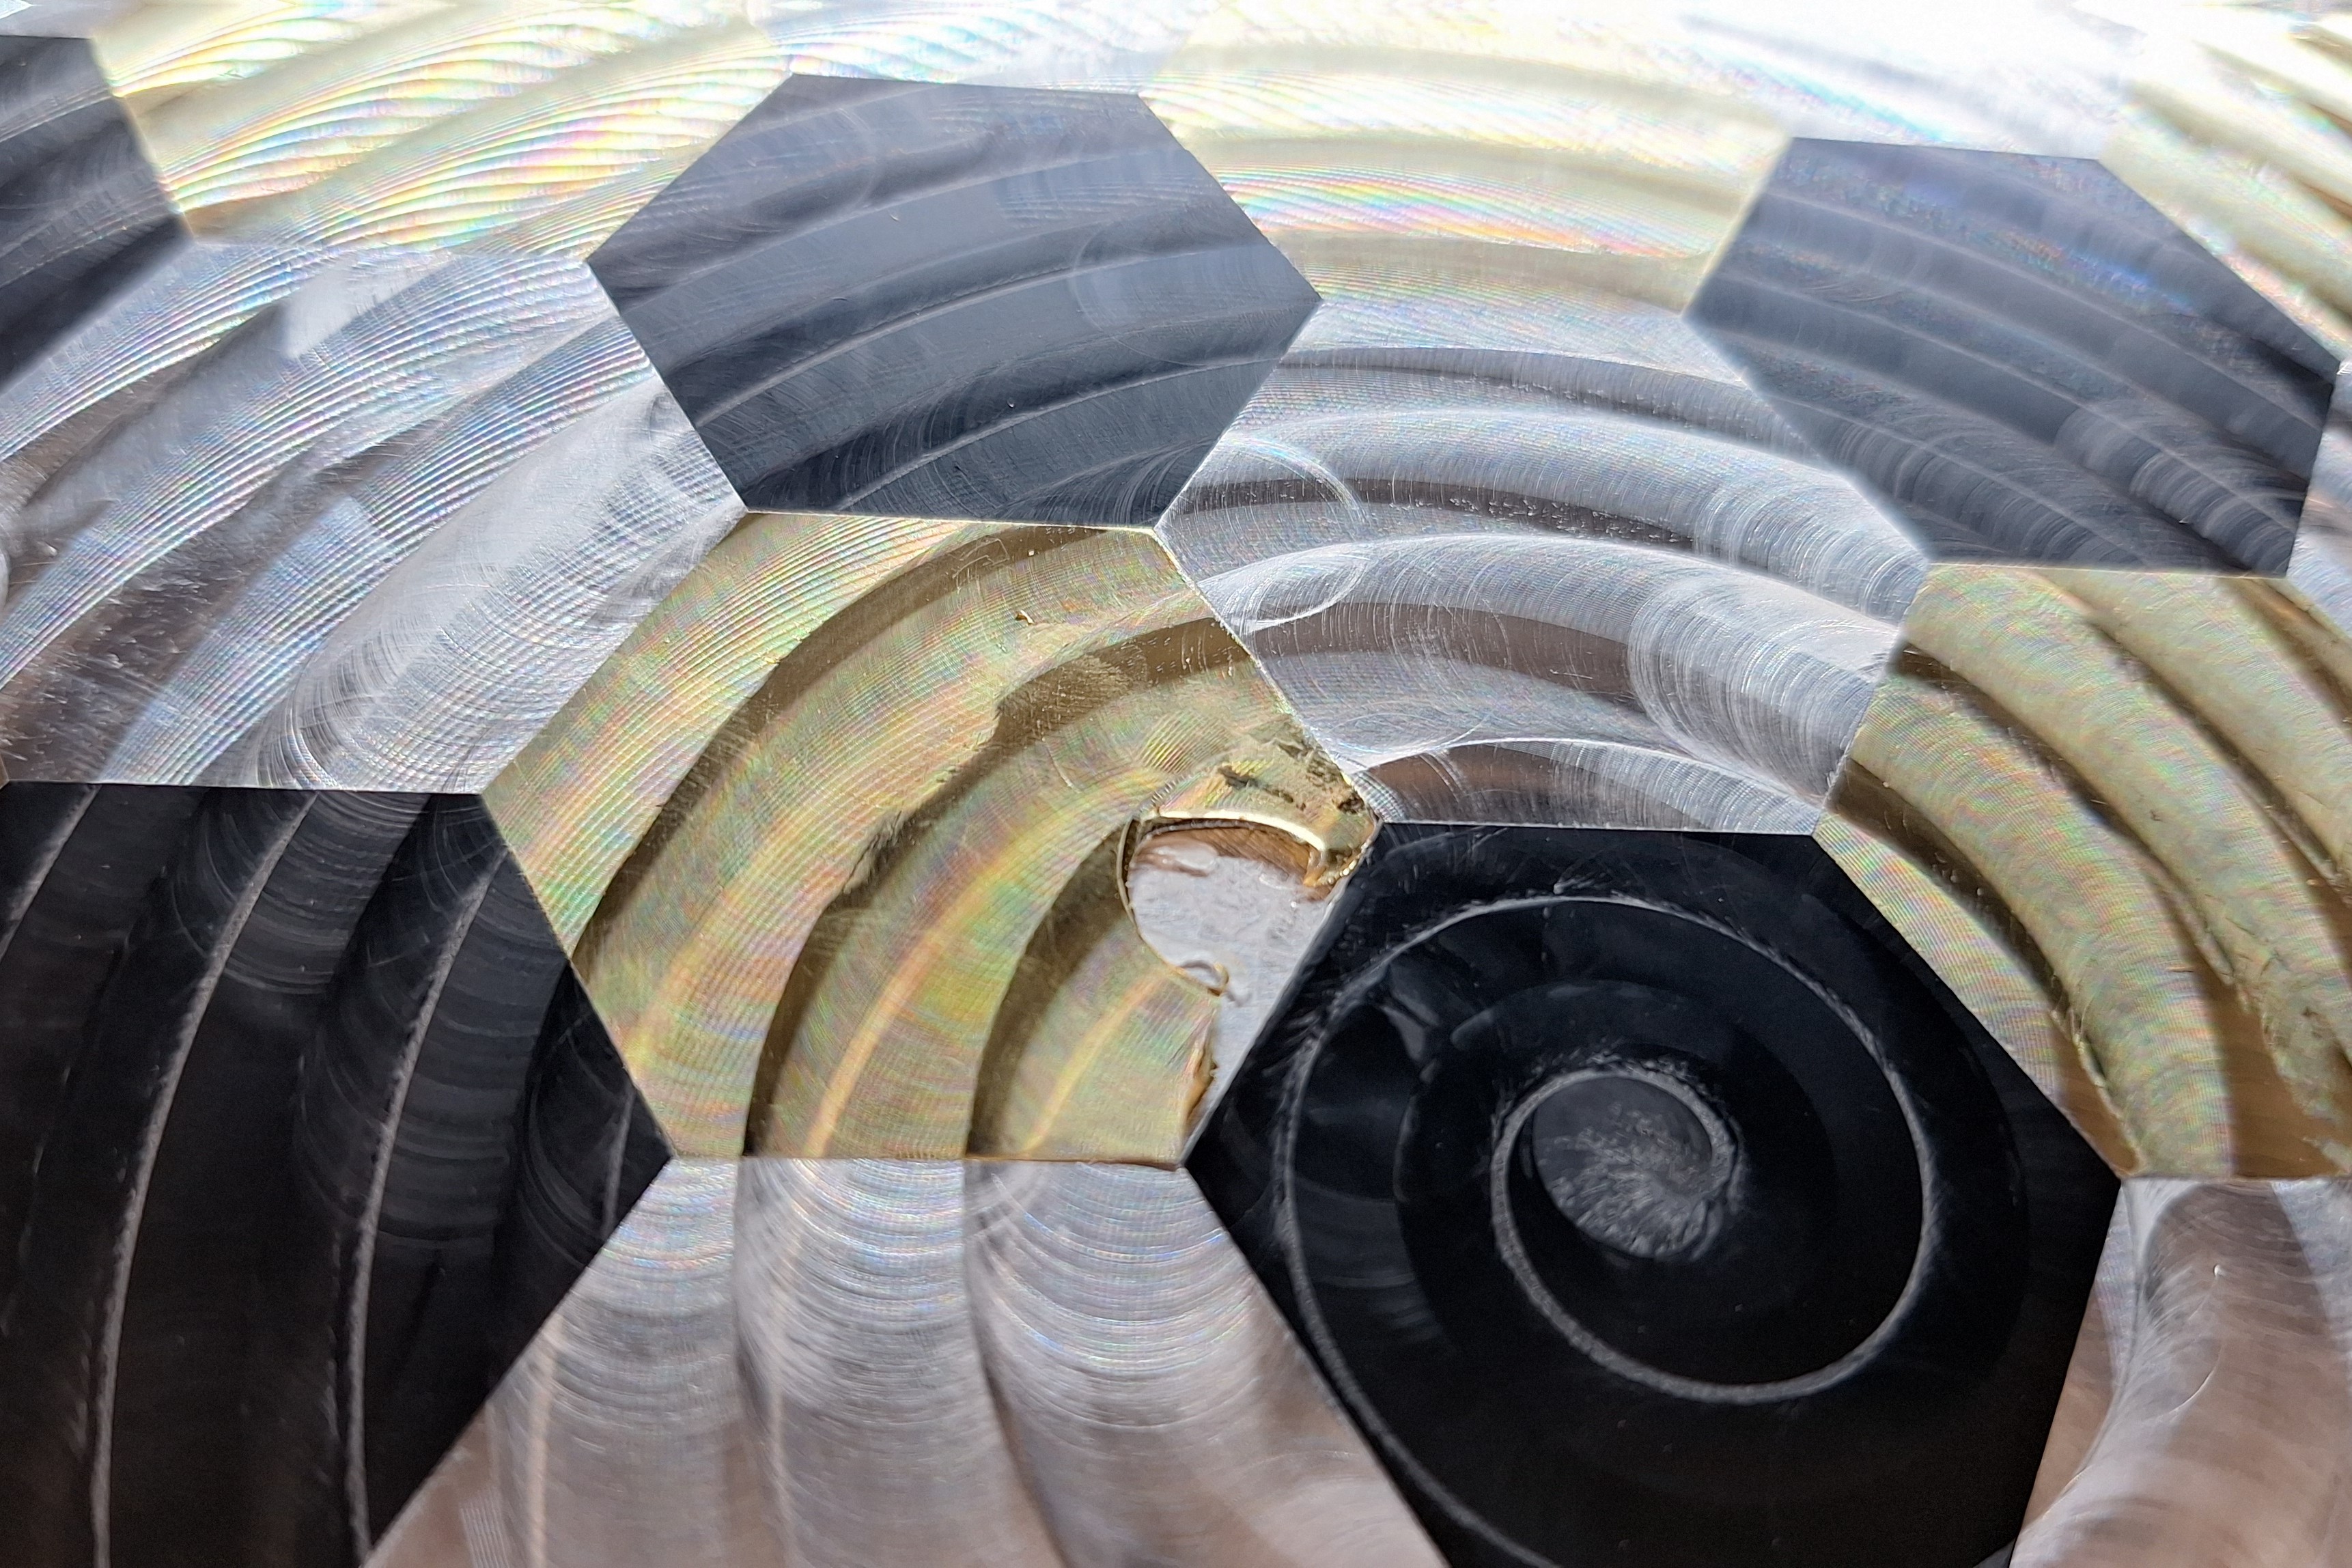
After gluing the brass tiles, I faced the chess boards flat. I used a fancy spiral facing pattern because some of the facing marks were still visible after sanding and polishing. When gluing the tiles in some of them pressed diagonally so the glue didn’t touch the entire bottom face. These tiles ripped out during machining, but fortunately I was able to machine the pocket 0.1mm larger and put in a new brass square.
I chose to sand and polish the boards after facing because the faced surface was distractingly shiny and I didn’t like the machining marks. I polished one of the boards to a mirror finish but that was also distracting while playing so I polished it back to a dull reflective.
To differentiate between the board and the outside border I machined the border after polishing. This was most important for the hexagonal board because some of the aluminium tiles on the corners were ambiguous.
After polishing and machining the borders I coated them with a clear lacquer to prevent tarnishing.
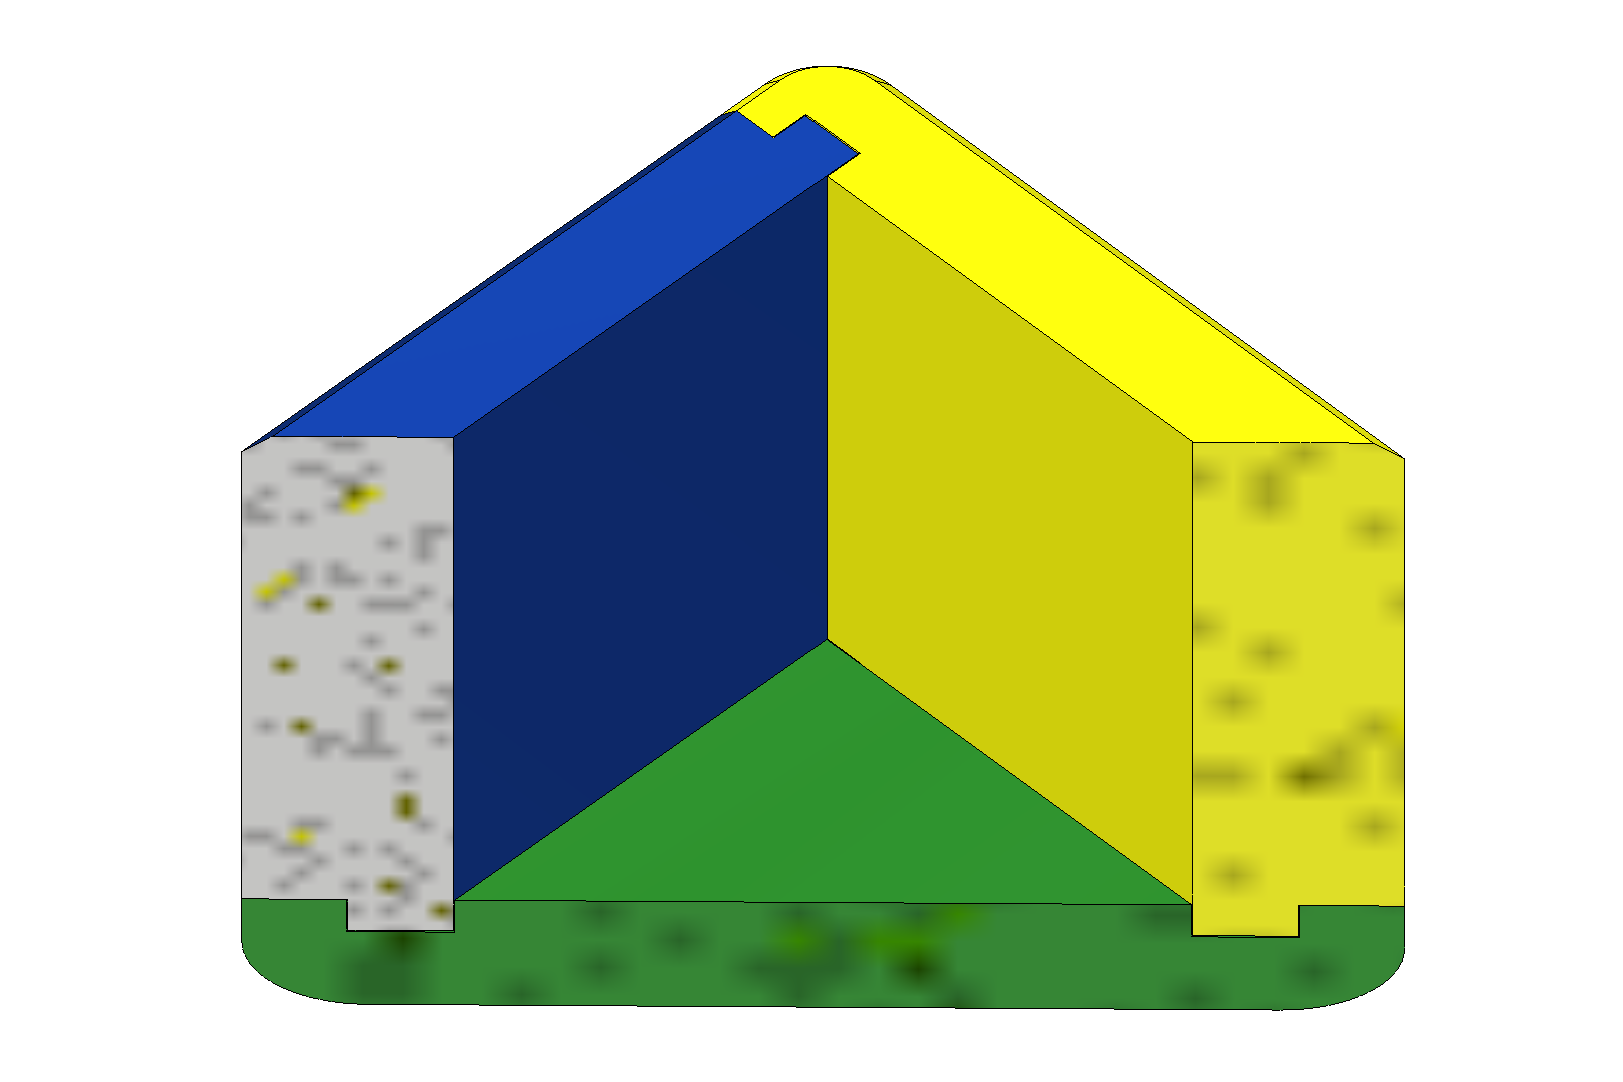
I designed the extra variant boards to stack with the main box so they could all store together. The box has four curved grooves in the top and bottom that fit and locate the Delrin feet of the variant boards. The circular and hexagonal boards are on opposite sides of one sheet of aluminium, with feet on both sides, so it can stack on the top or bottom of the box. The 10x10 board only has feet on the bottom, so it can only be put on top of the box. The box itself also has 4 thinner feet on the bottom to avoid scratching the table.
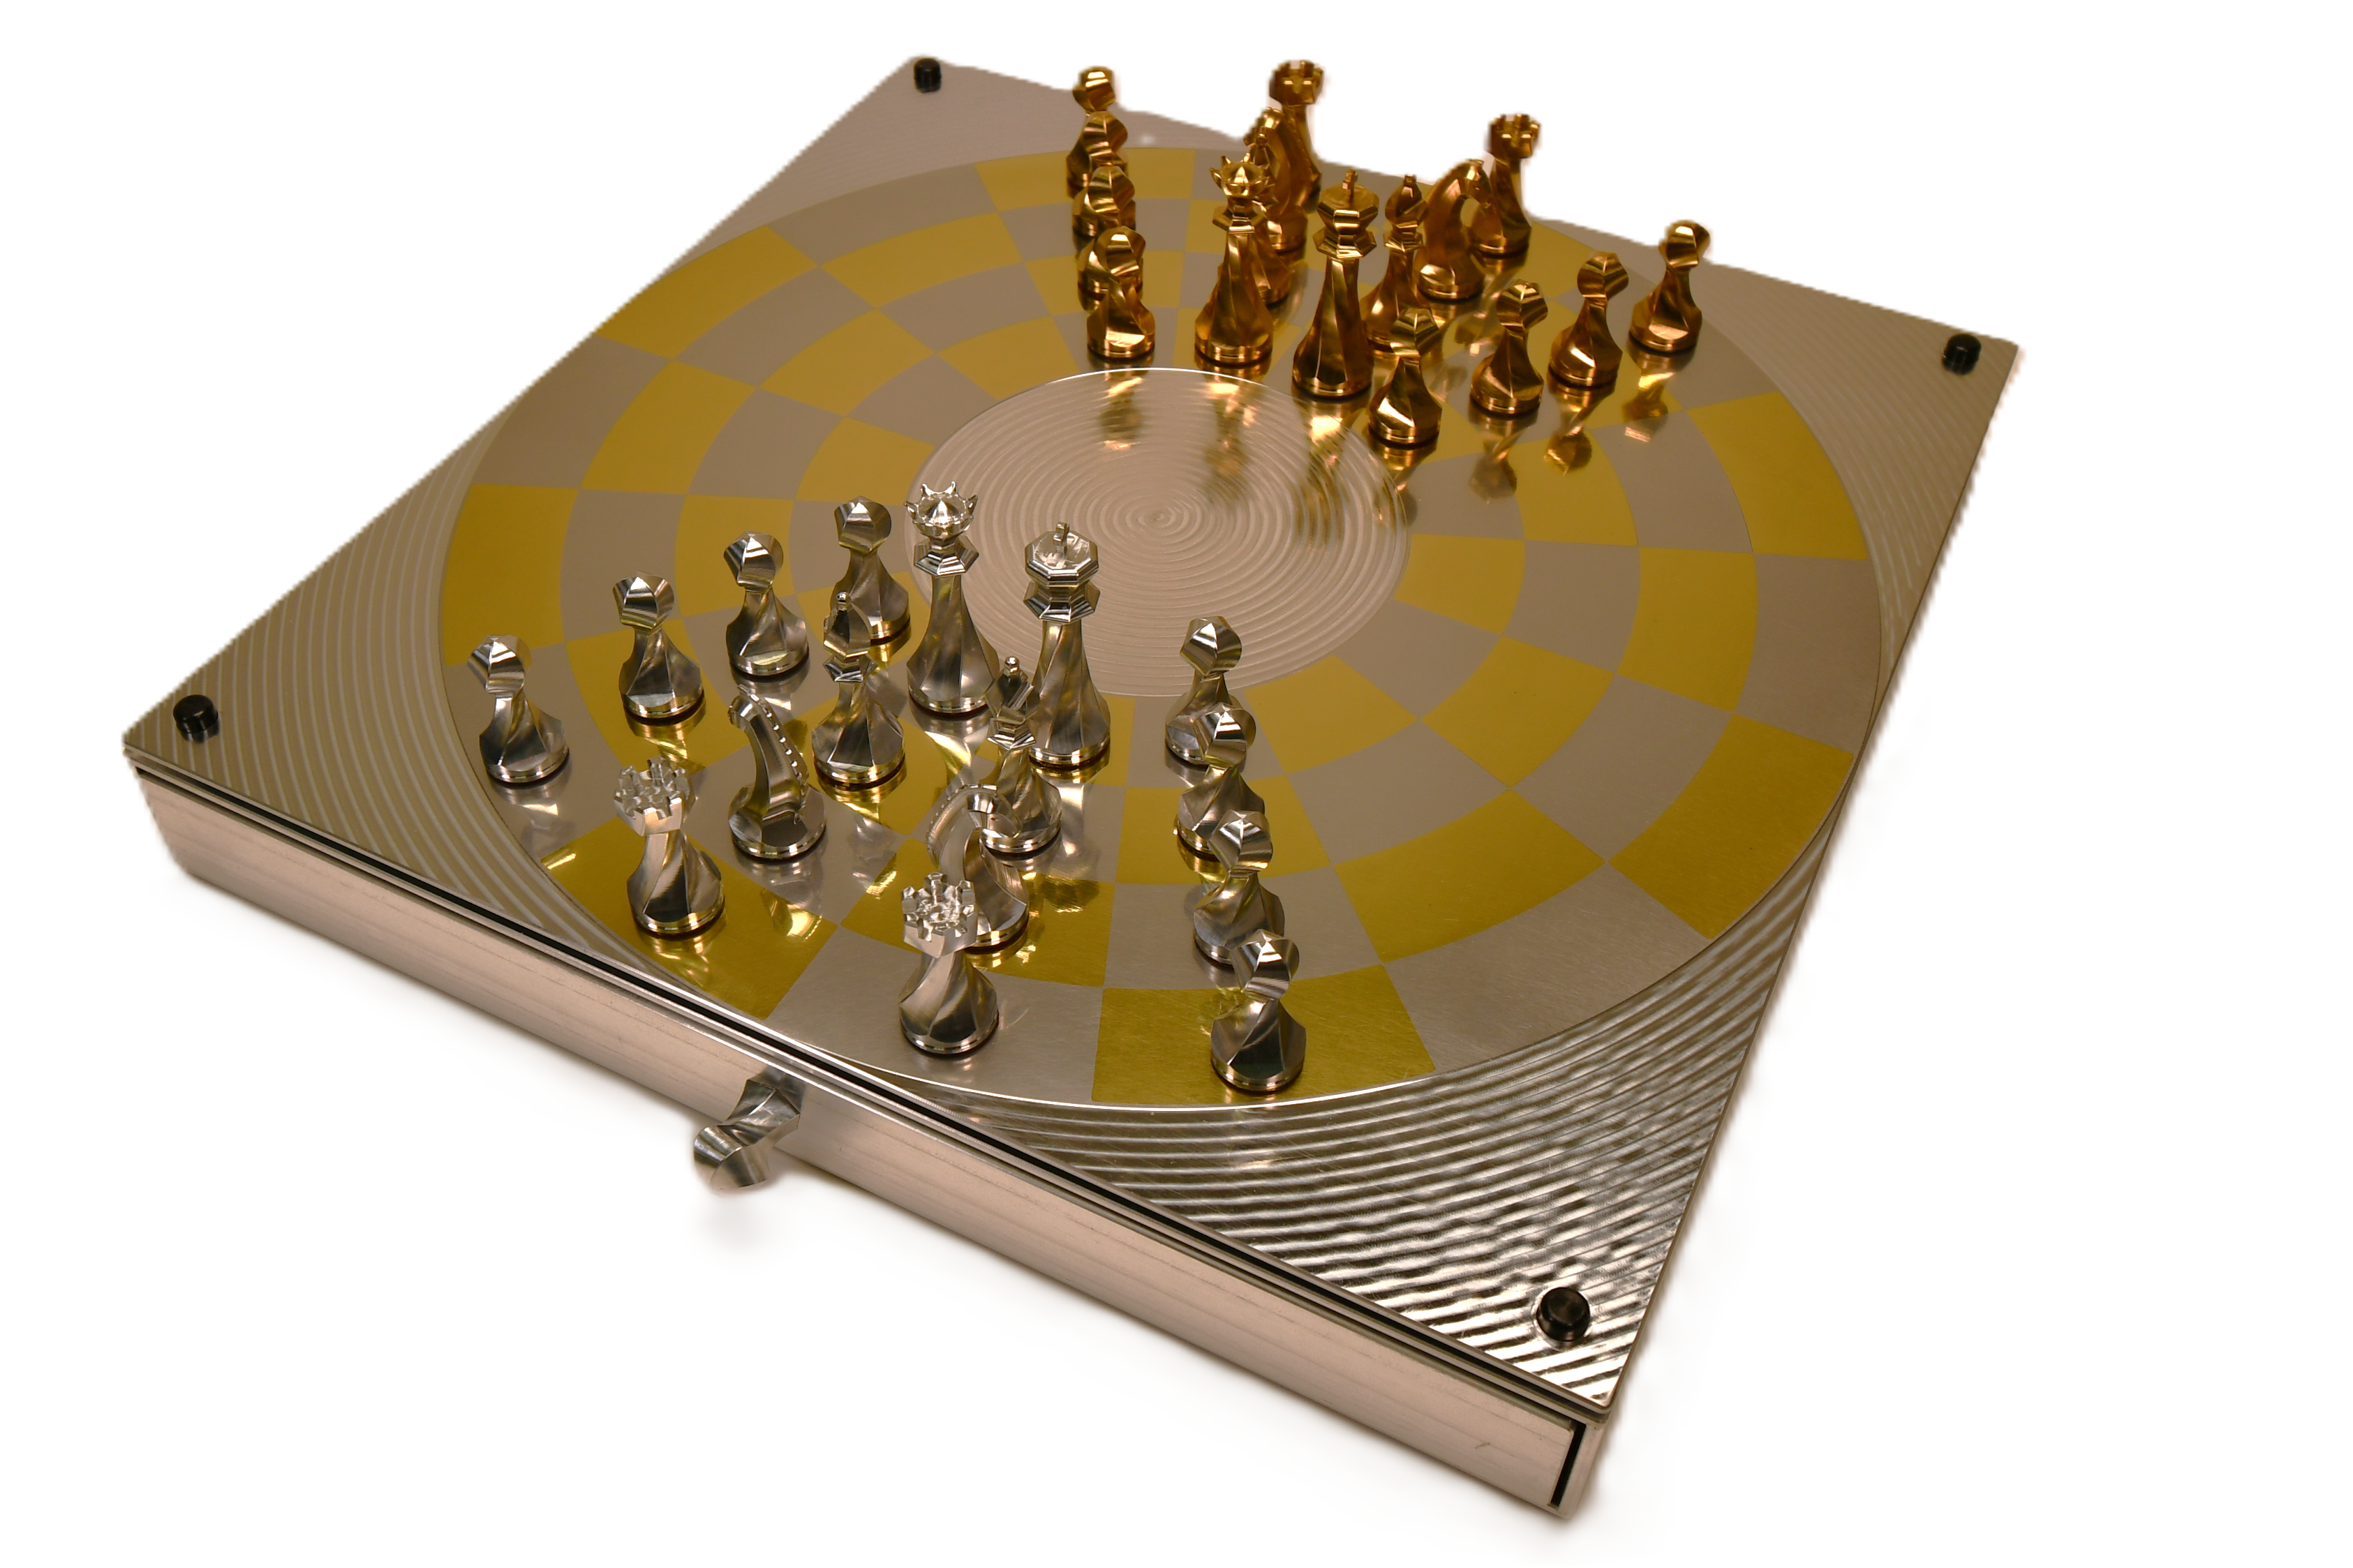
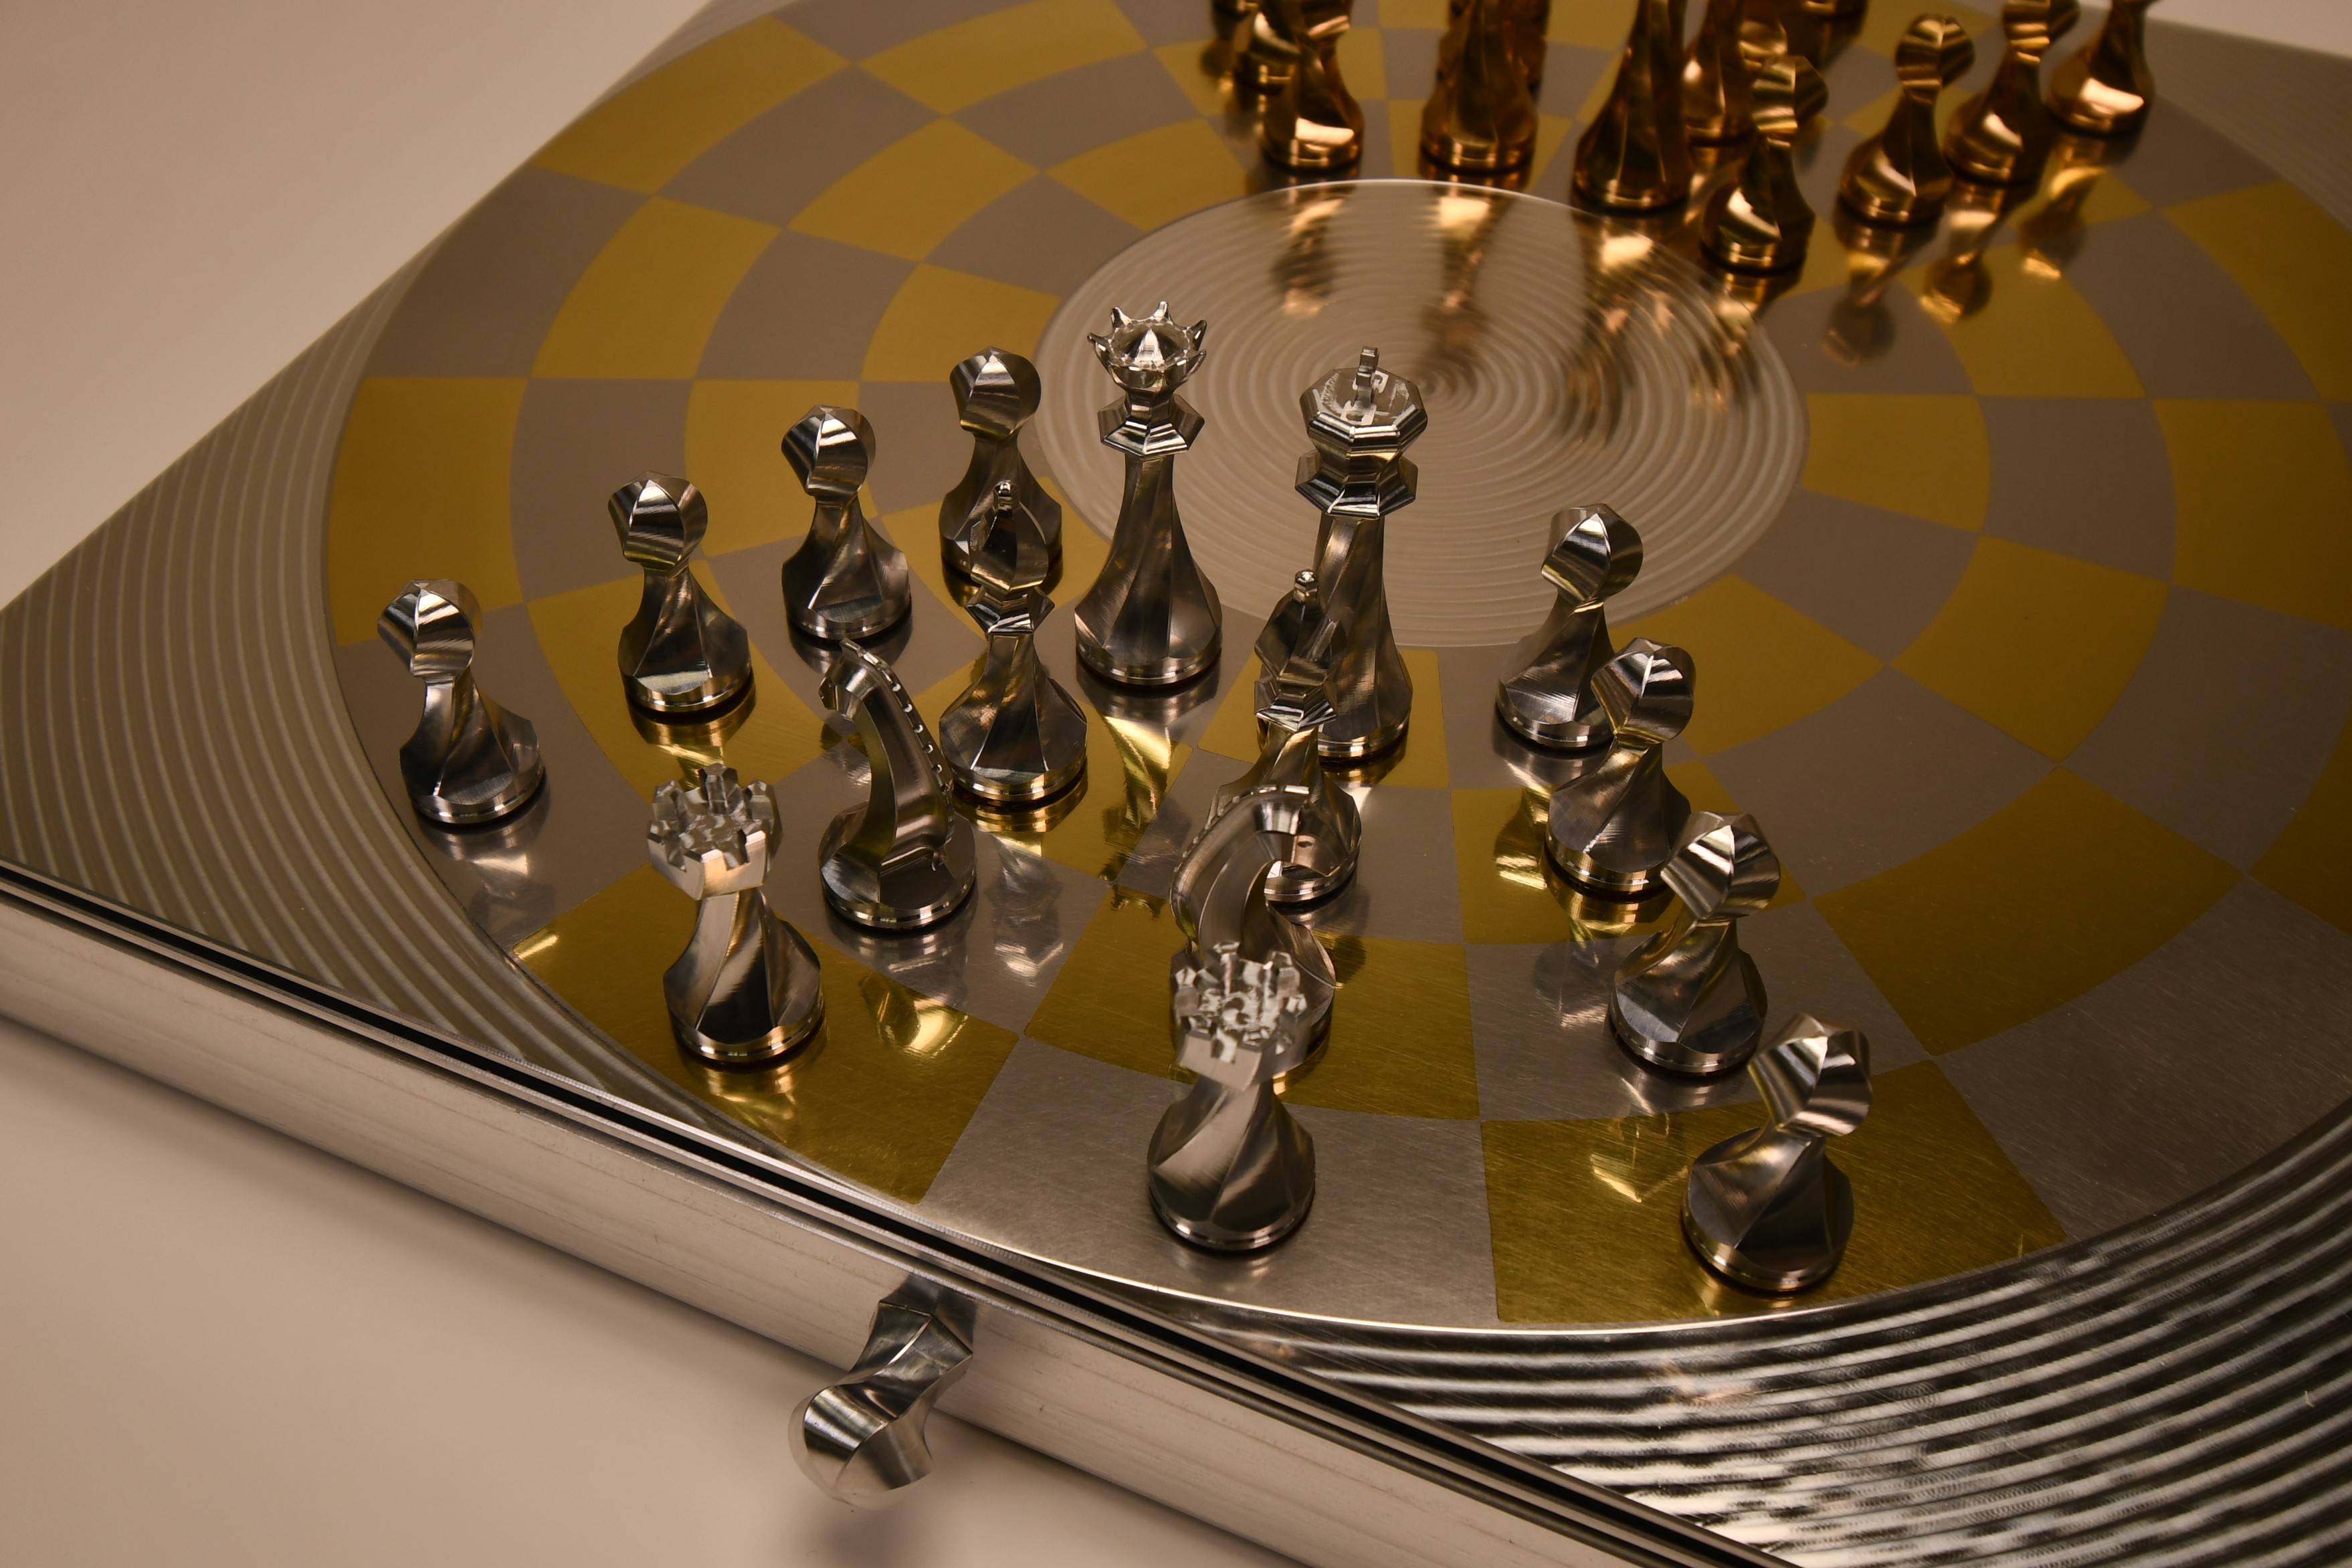
Circular board
Circular chess is the easiest of the 3 variants to understand, making it quick to play with friends. It is also a simpler game than regular chess, because it has the same number of squares, but they are less interconnected so there are less possible moves each turn.
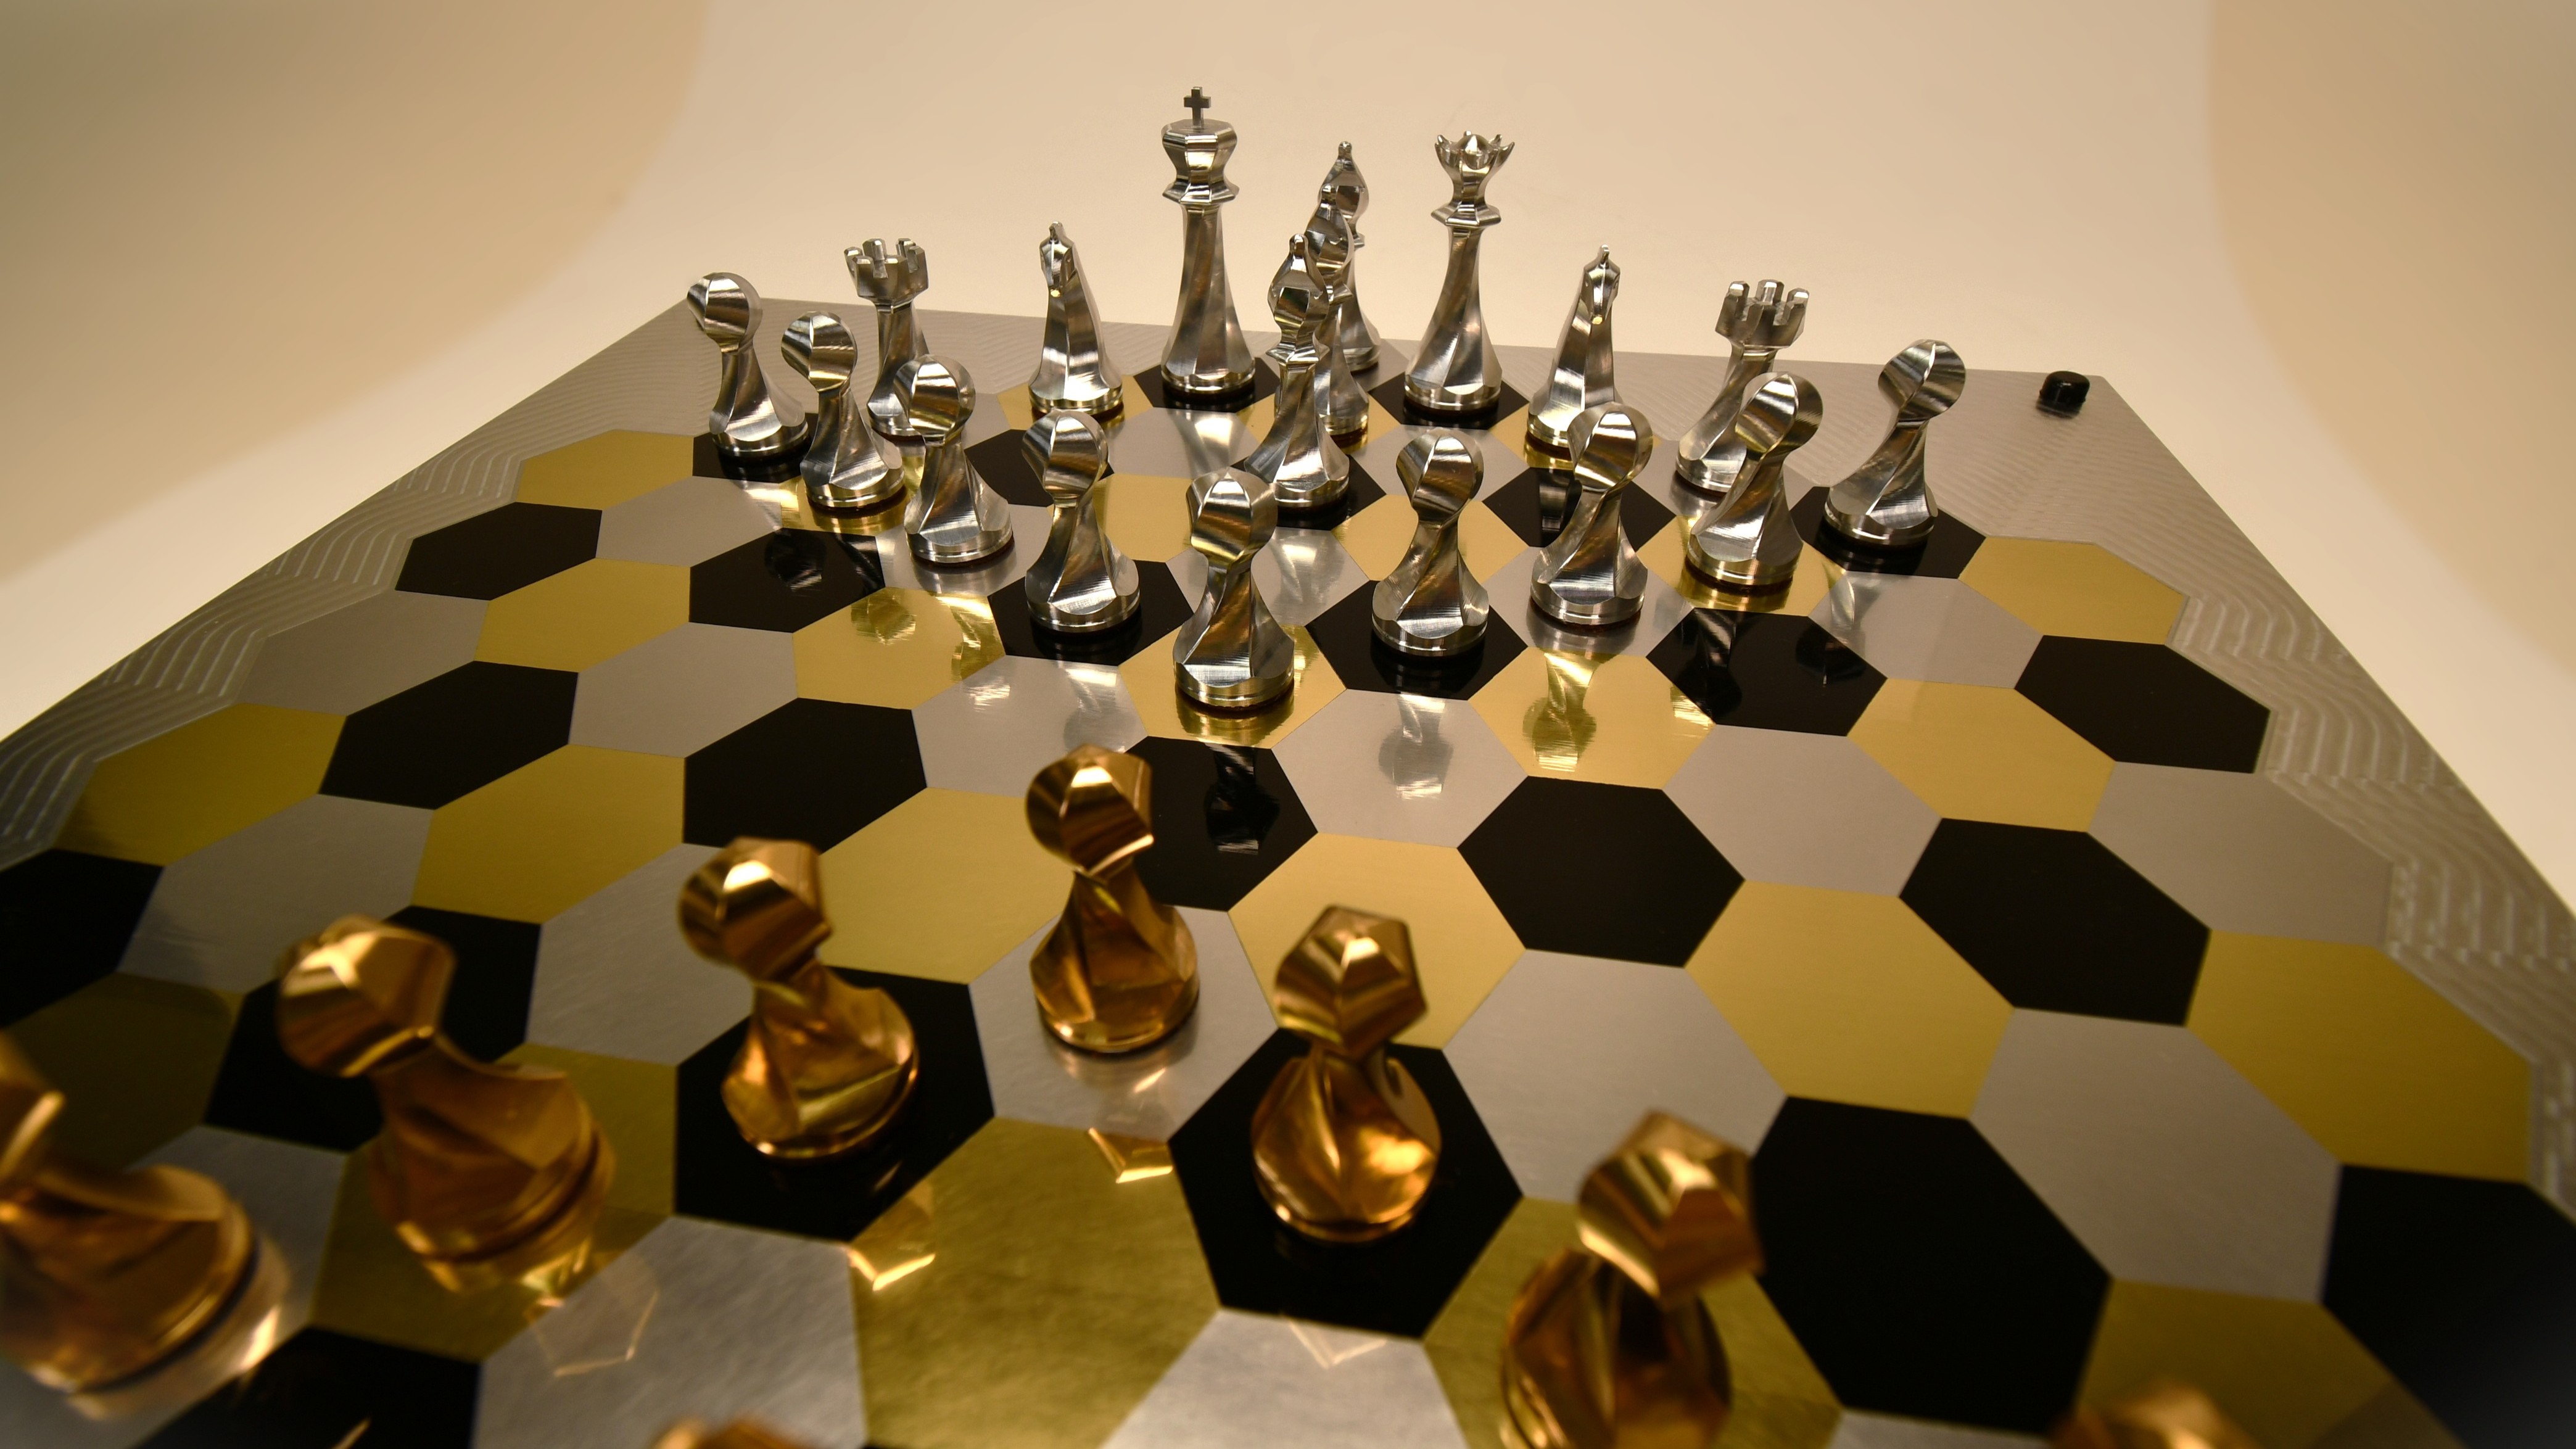
Glinski’s hexagonal board
Glinski’s Hexagonal chess looks the coolest and is quite fun to play but the adjusted piece moves takes some time to get used to. The game tends to play slower and longer than regular chess because the Pawns start protecting each other with optimal structure. This creates and instant ideal defence so the player that attacks first tends to lose.
10x10 board
The 10x10 board can be used to play Capablanca chess or Grand chess. Capablanca chess was originally invented with a 10x10 board but Capablanca later decided to change to a 10x8 board and that is what modern Capablanca chess uses. The rules are simple to learn but much more complicated than regular chess with more powerful pieces and more possible moves each turn. I really like the Cardinal and Empress pieces and an easy way to get used to them is to play on the regular 8x8 board and swap the queen for a Cardinal or Empress.
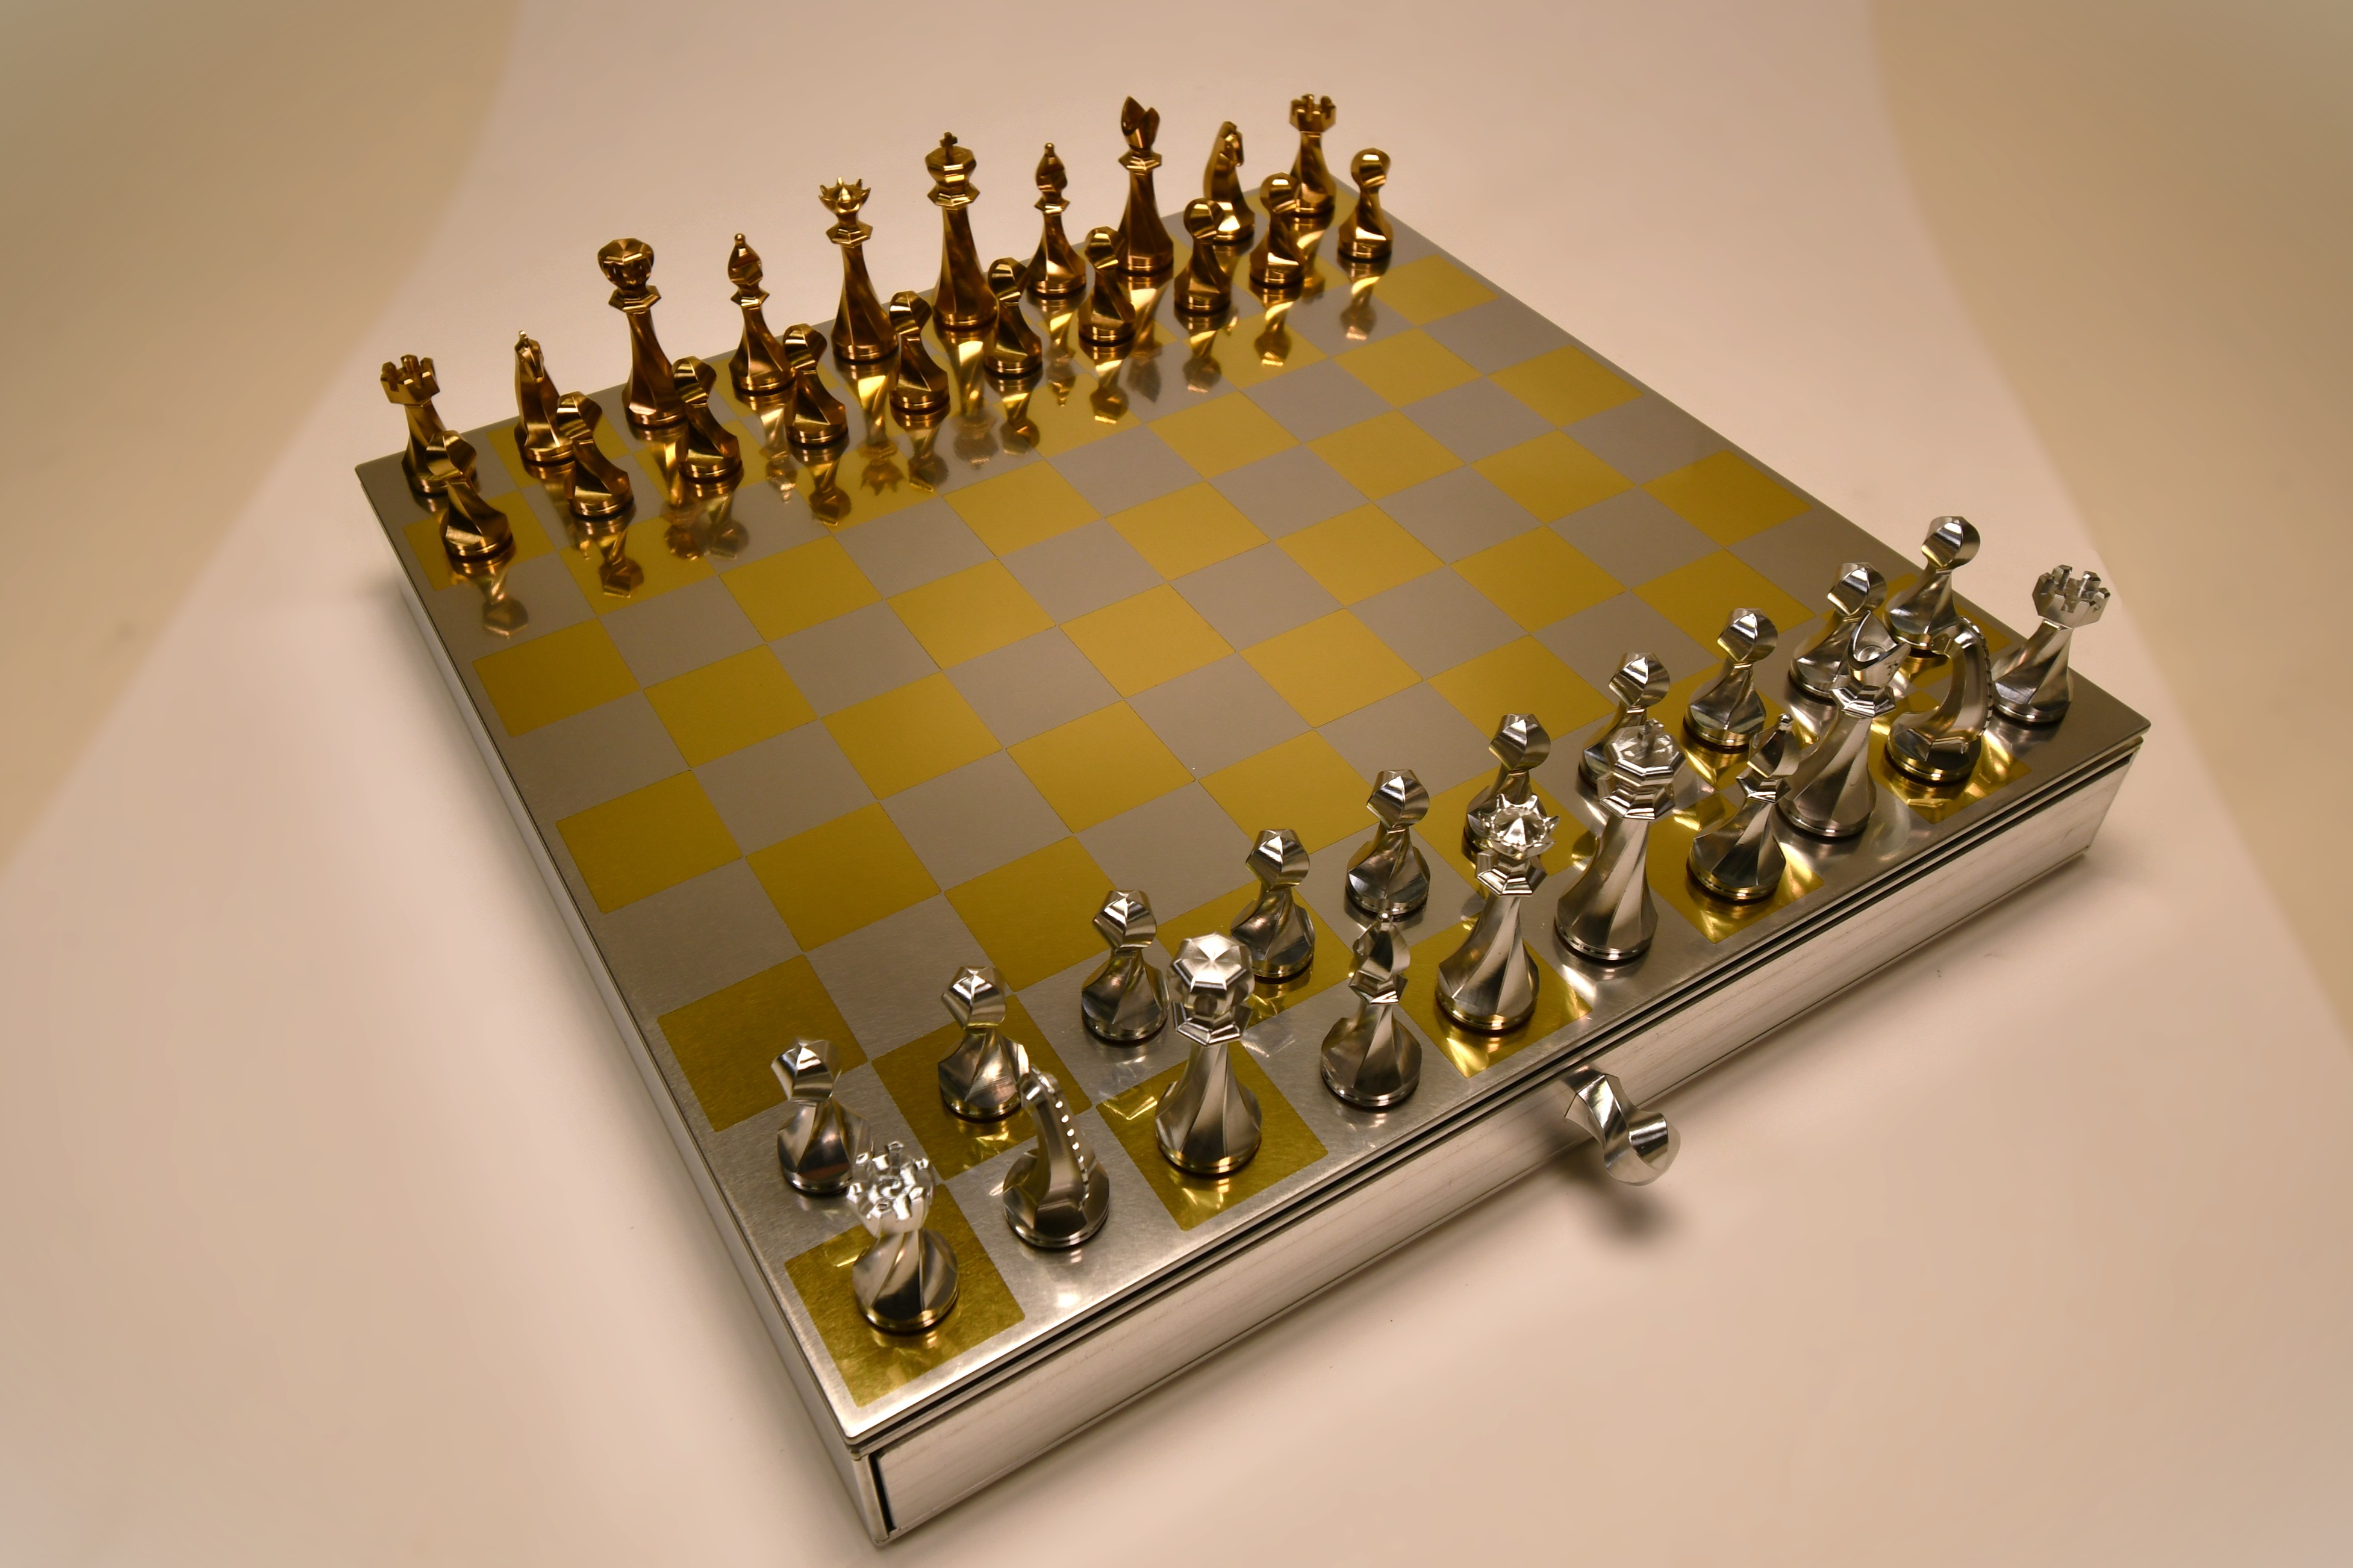
Box and Drawers
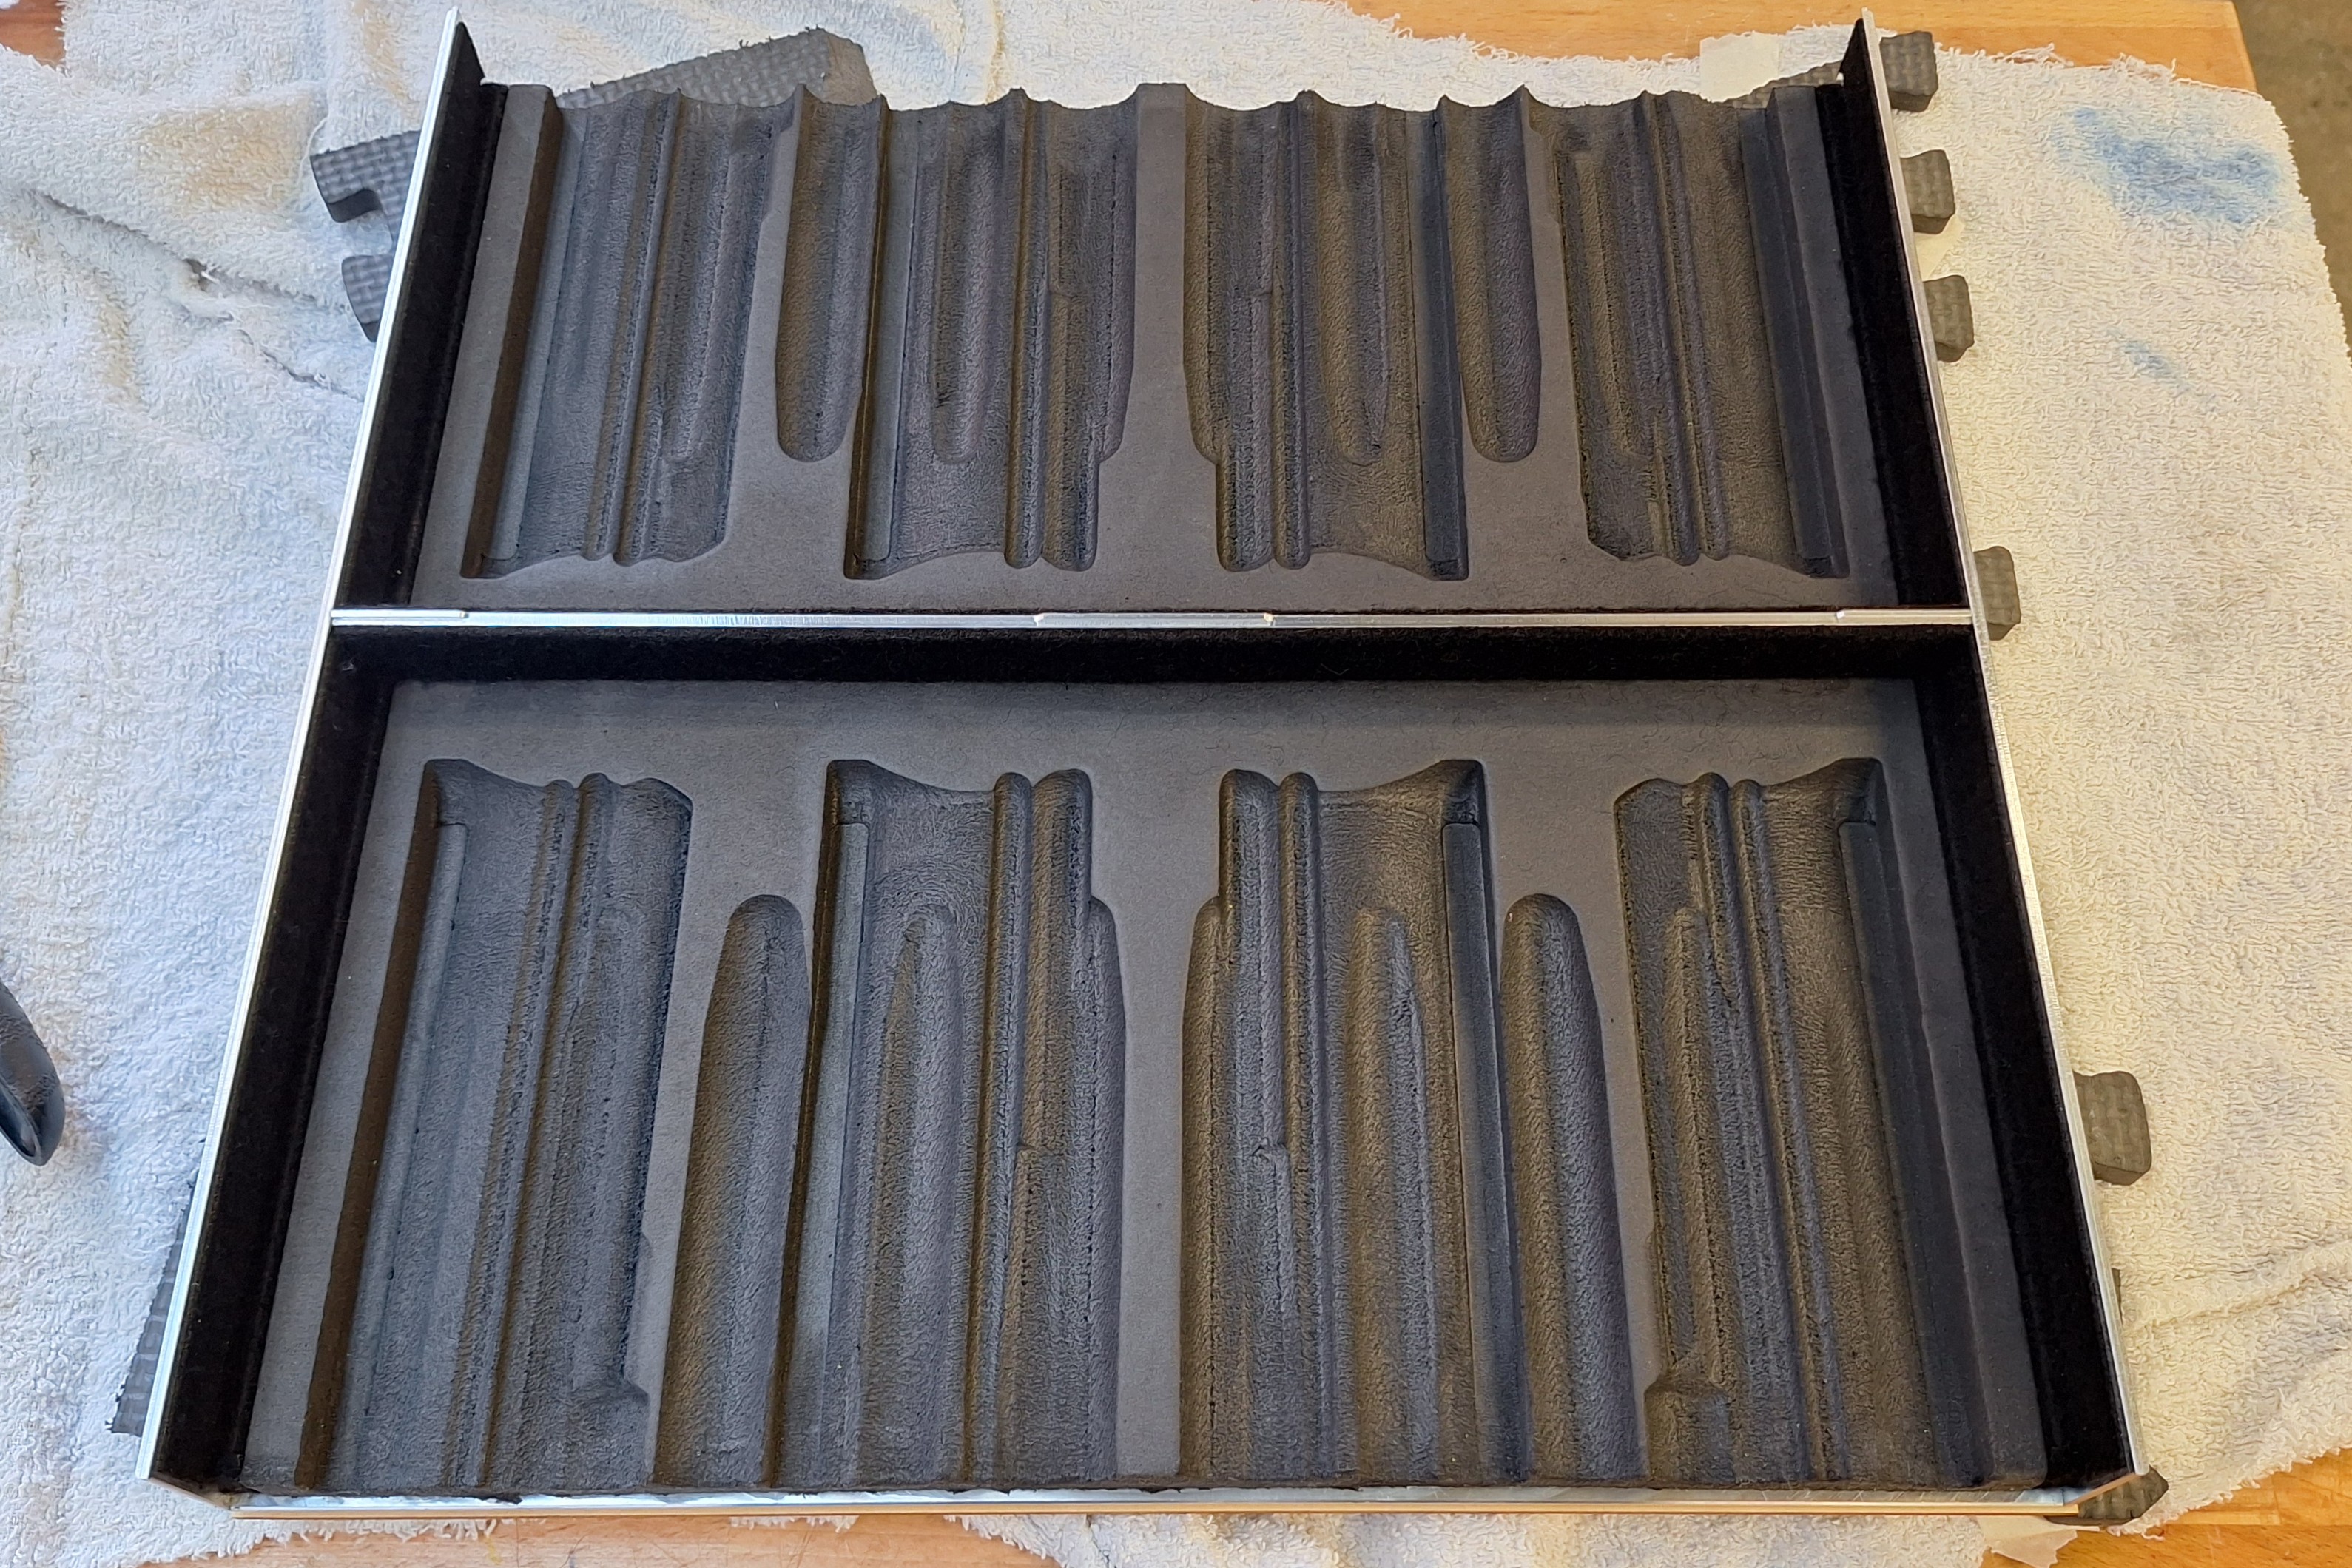
The normal 8x8 board is built on top of a box with drawers to store the pieces. I debated using regular draw slides but decided to make smooth metal drawers that would slide over felt lining the inside of the box. This worked well, but I had to spend some time working the correct thickness of felt to avoid it getting stuck.
I designed the box and drawers from flat panels that slot together using tongue and groove joints. These joints locate all the panels accurately and give the box a stable structure even before glue.

I hid magnets in the middle wall and the backs of the drawers to make the drawers stay in when fully closed. They are glued into thin pockets with felt and foam covering them.
I made the drawers with fillets on the outside corners to help it locate and slide smoothly. After the drawer was glued together, I machined foam to hold the pieces safely in the drawer. Machining foam is surprisingly hard, because foam tends to rip and create fuzzy surfaces when machined in particular ways. I found spiralling up from the centre of the pocket and cutting in the conventional direction created the cleanest surfaces.
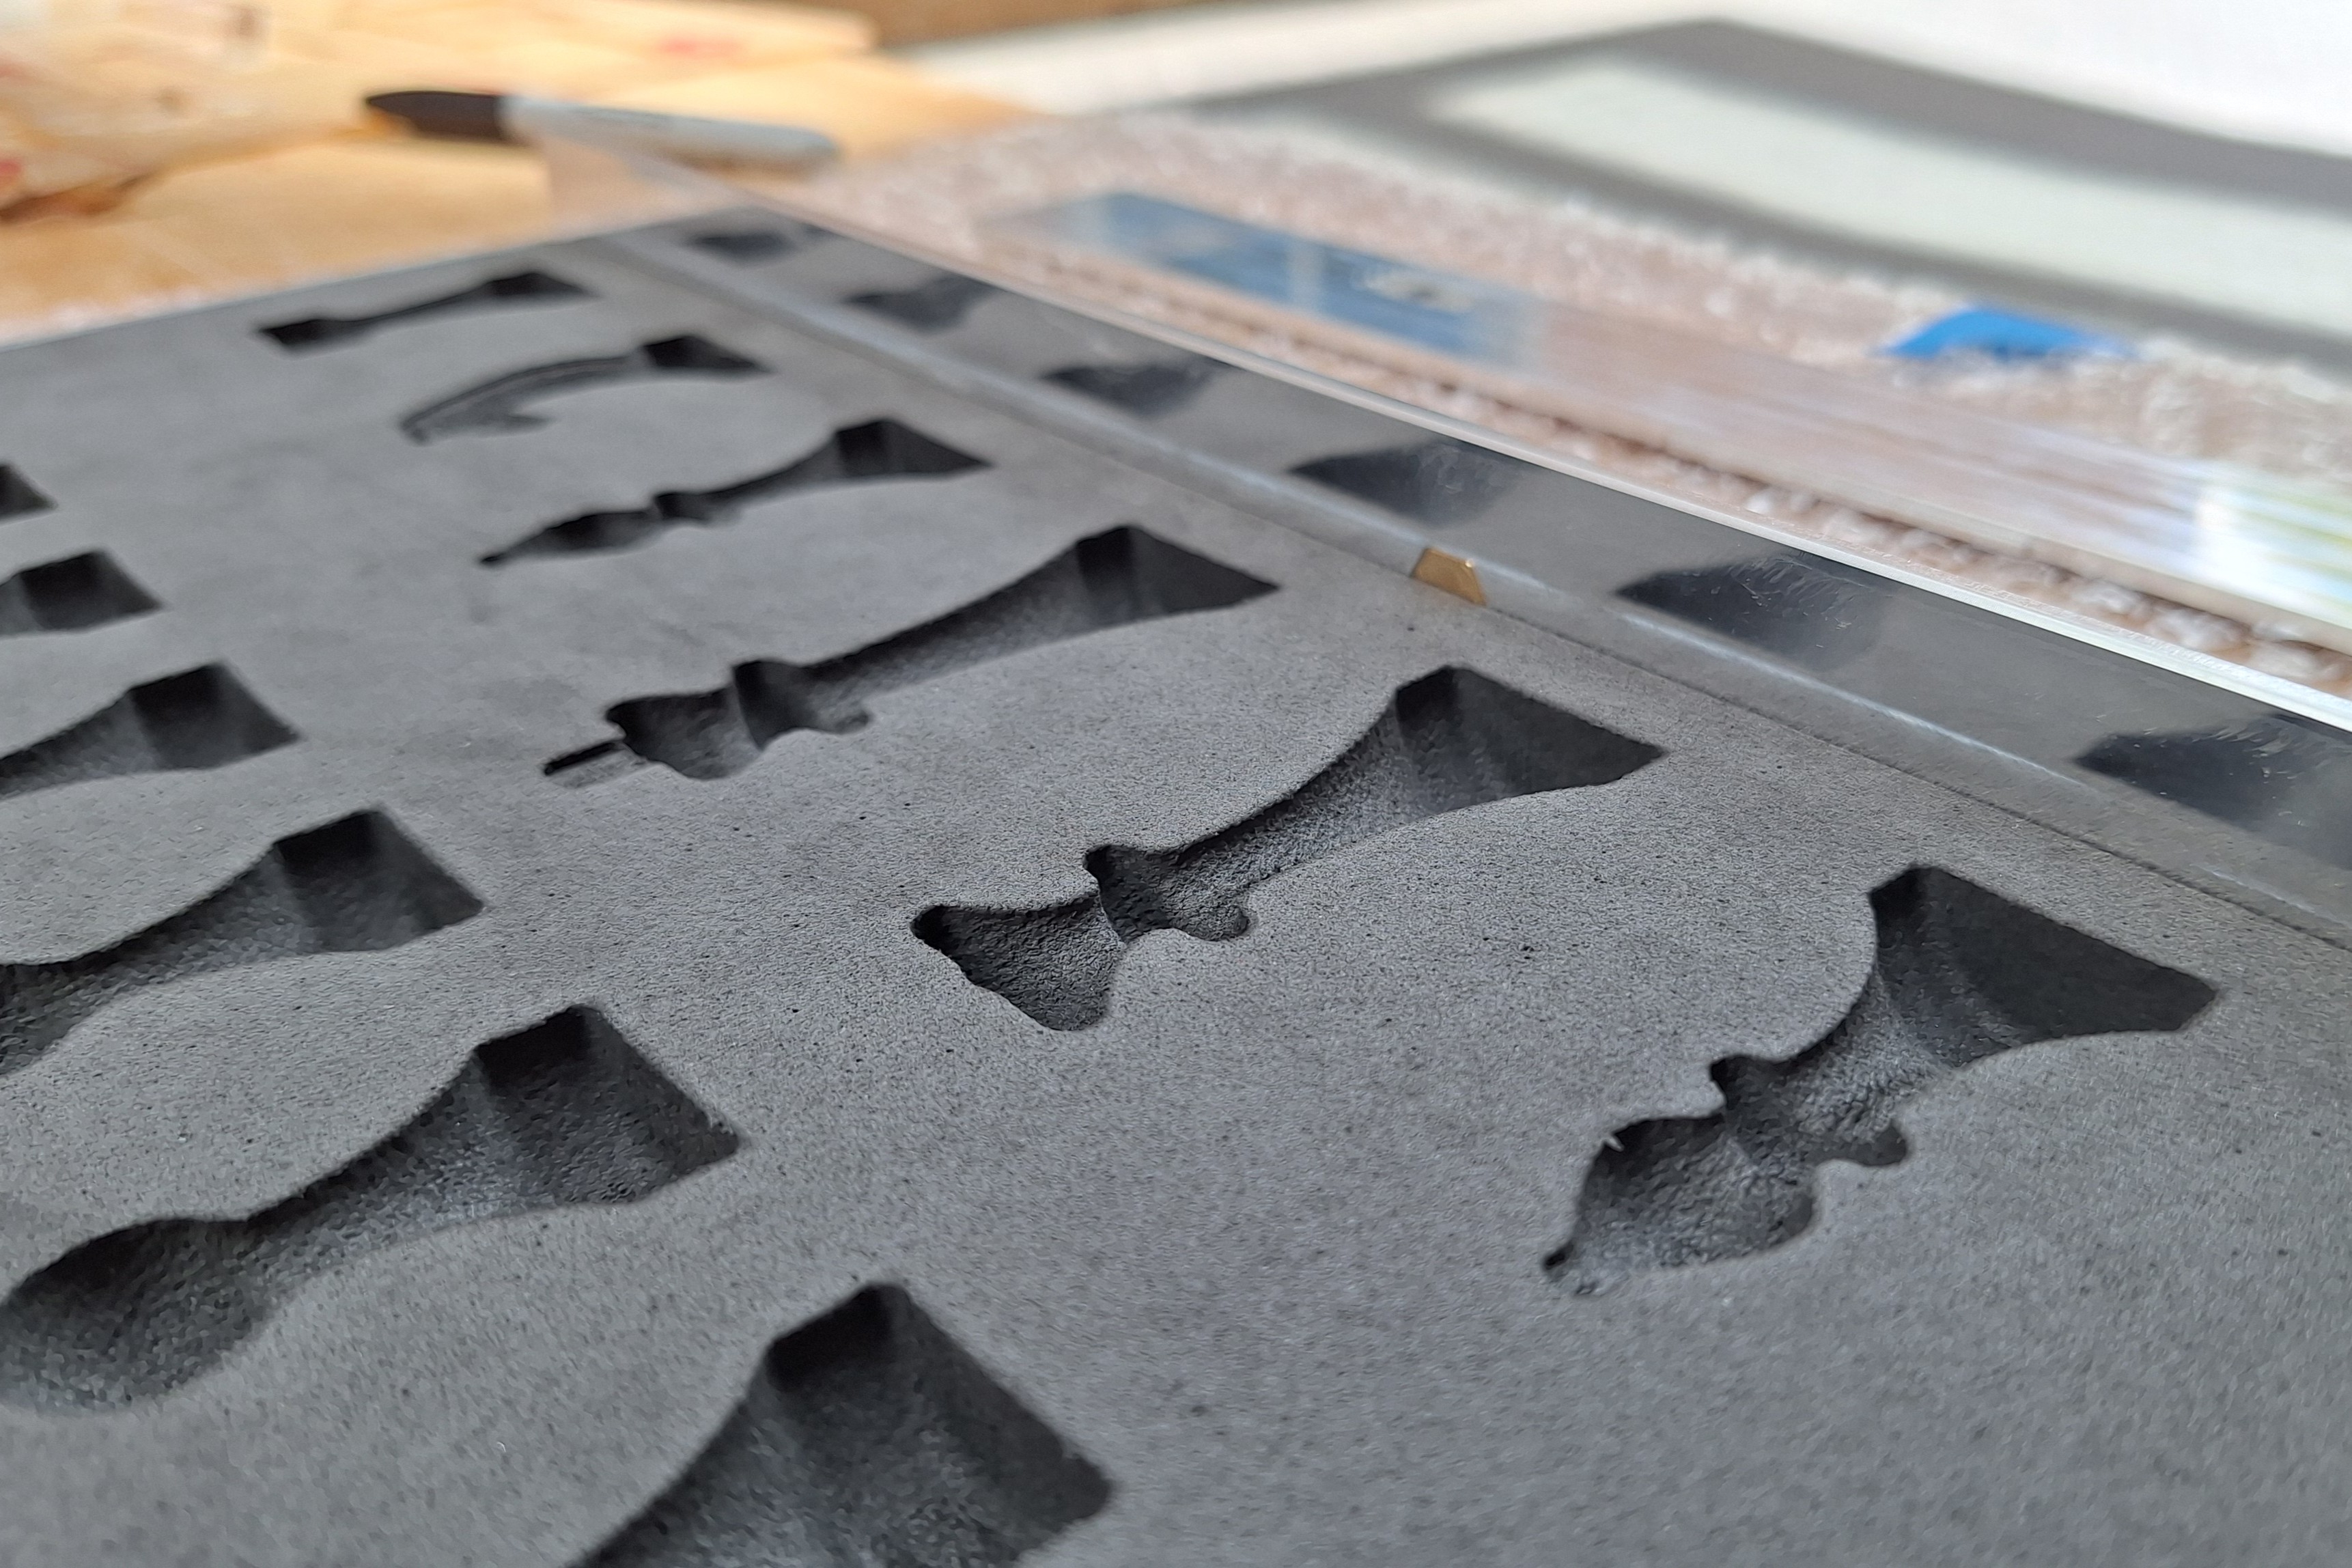
I had to glue the top and walls of the box together without the bottom so that I could attach felt and foam to the inside of the box. The felt creates a soft sliding surface for the aluminium drawer, and the foam holds the pieces in place if the box is inverted. I didn’t add an end stop so that the drawers can be taken out during a game to store/display the taken pieces.
I made spiral brass and aluminium drawer handles to match the sets and identify the drawers. I also mirrored the foam in each drawer so that the layout of the pieces in the drawer matches how they should be setup on the normal board.
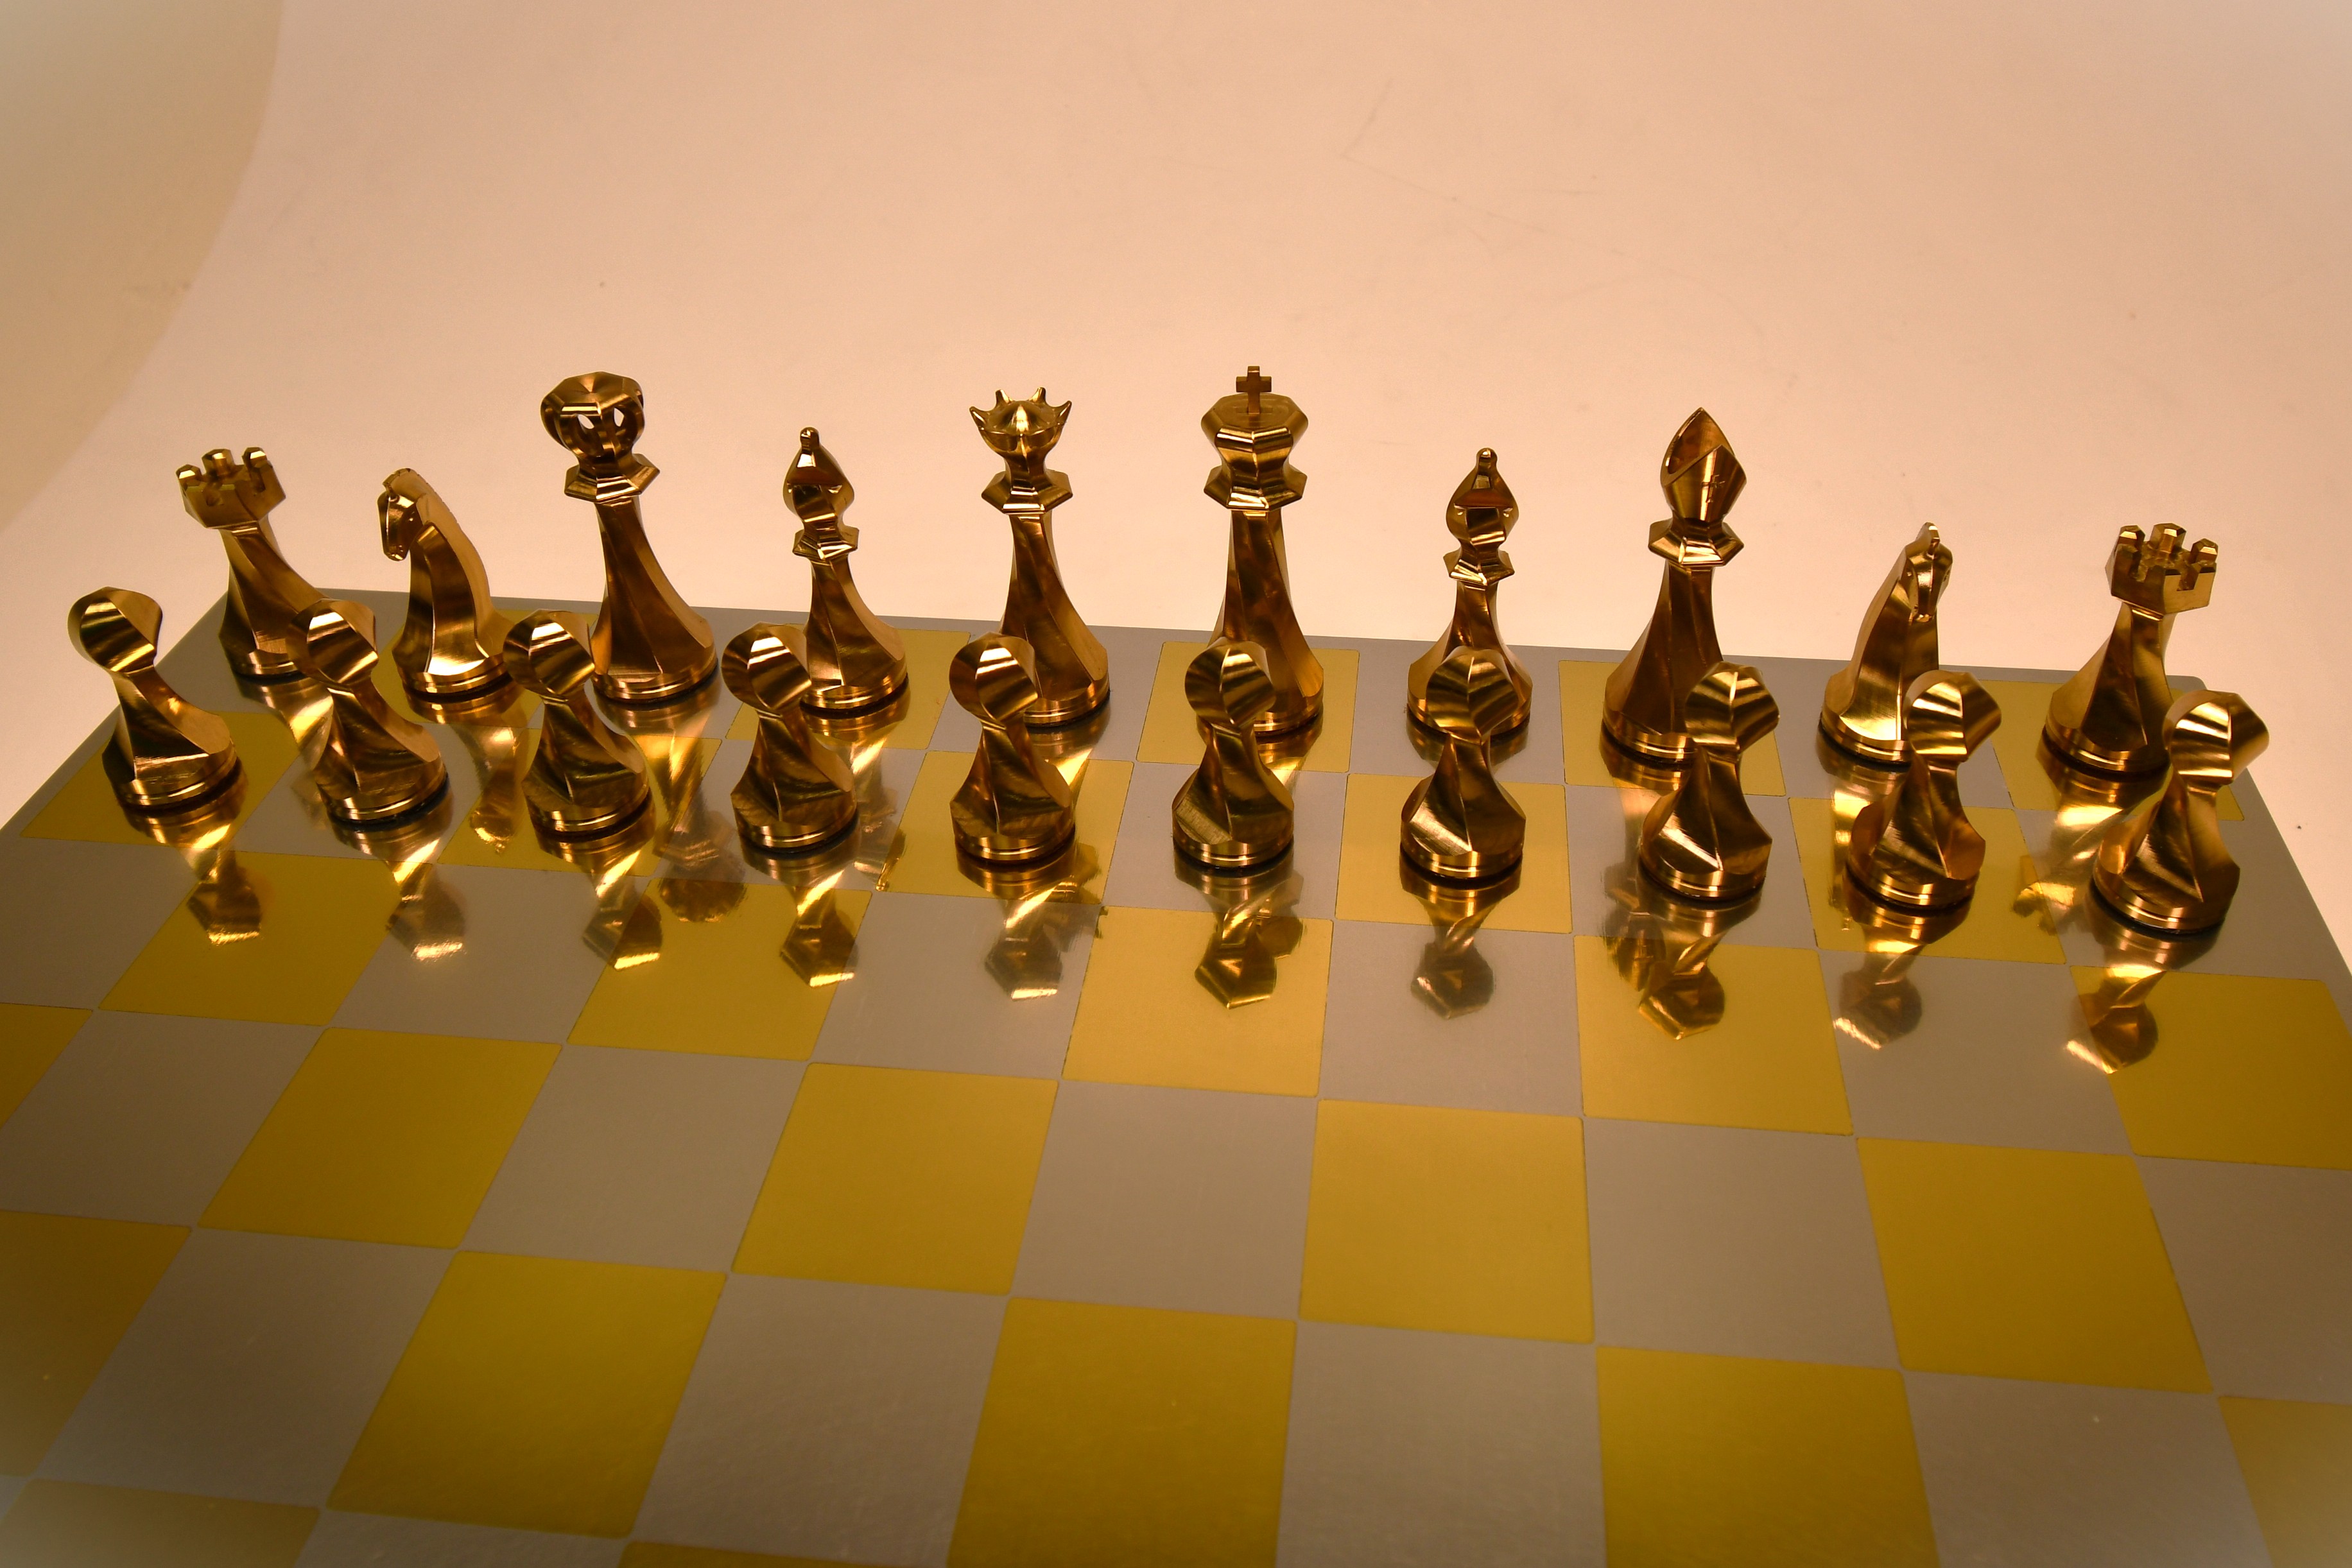
Pieces
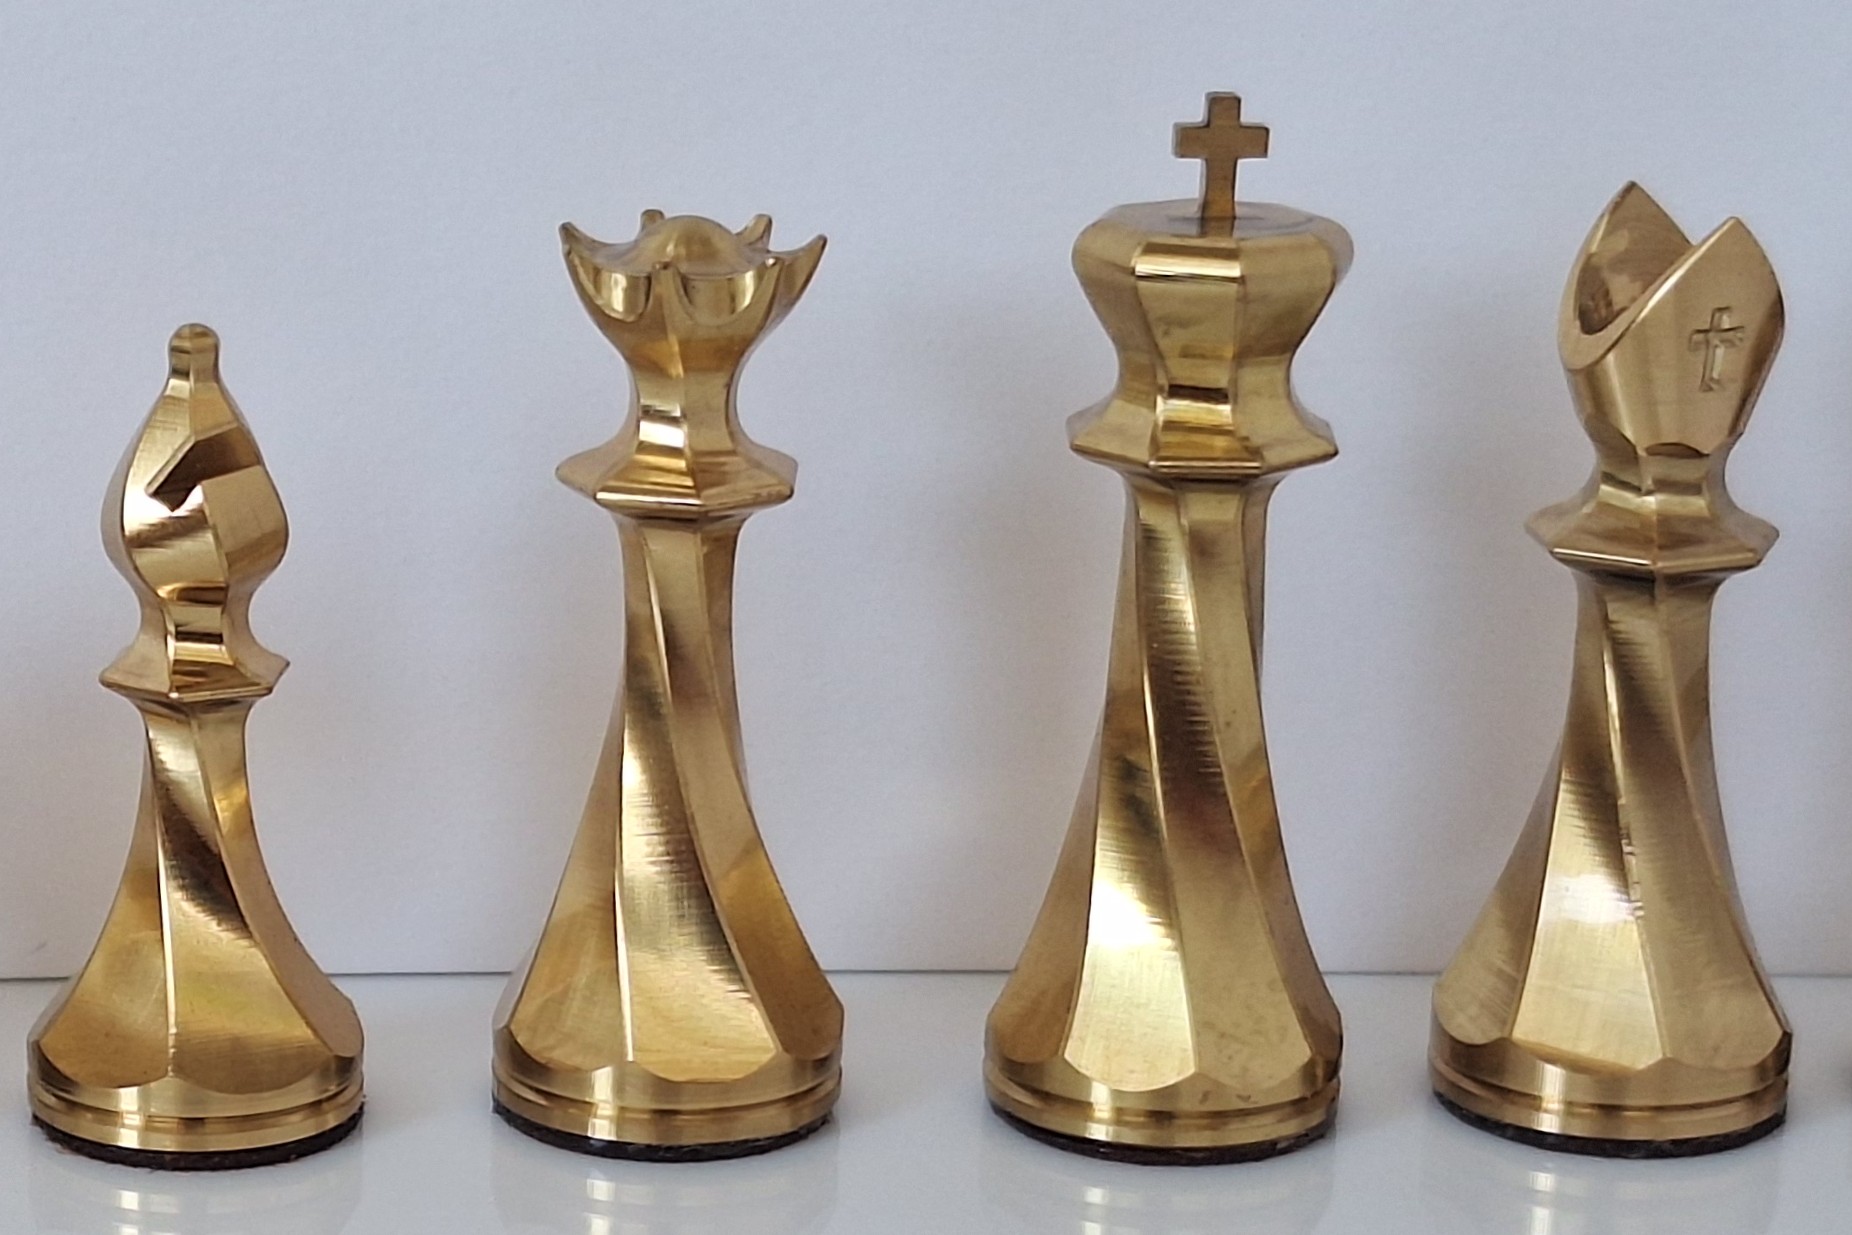
Each piece was designed with flat spiralling sides that could be swarf milled with the side of an endmill. This leaves an excellent surface finish and is fast to machine. I chose the flat spiral design because it is only possible with a 5-axis CNC machine: traditional chess pieces are always smooth round profiles because they are made on a lathe.
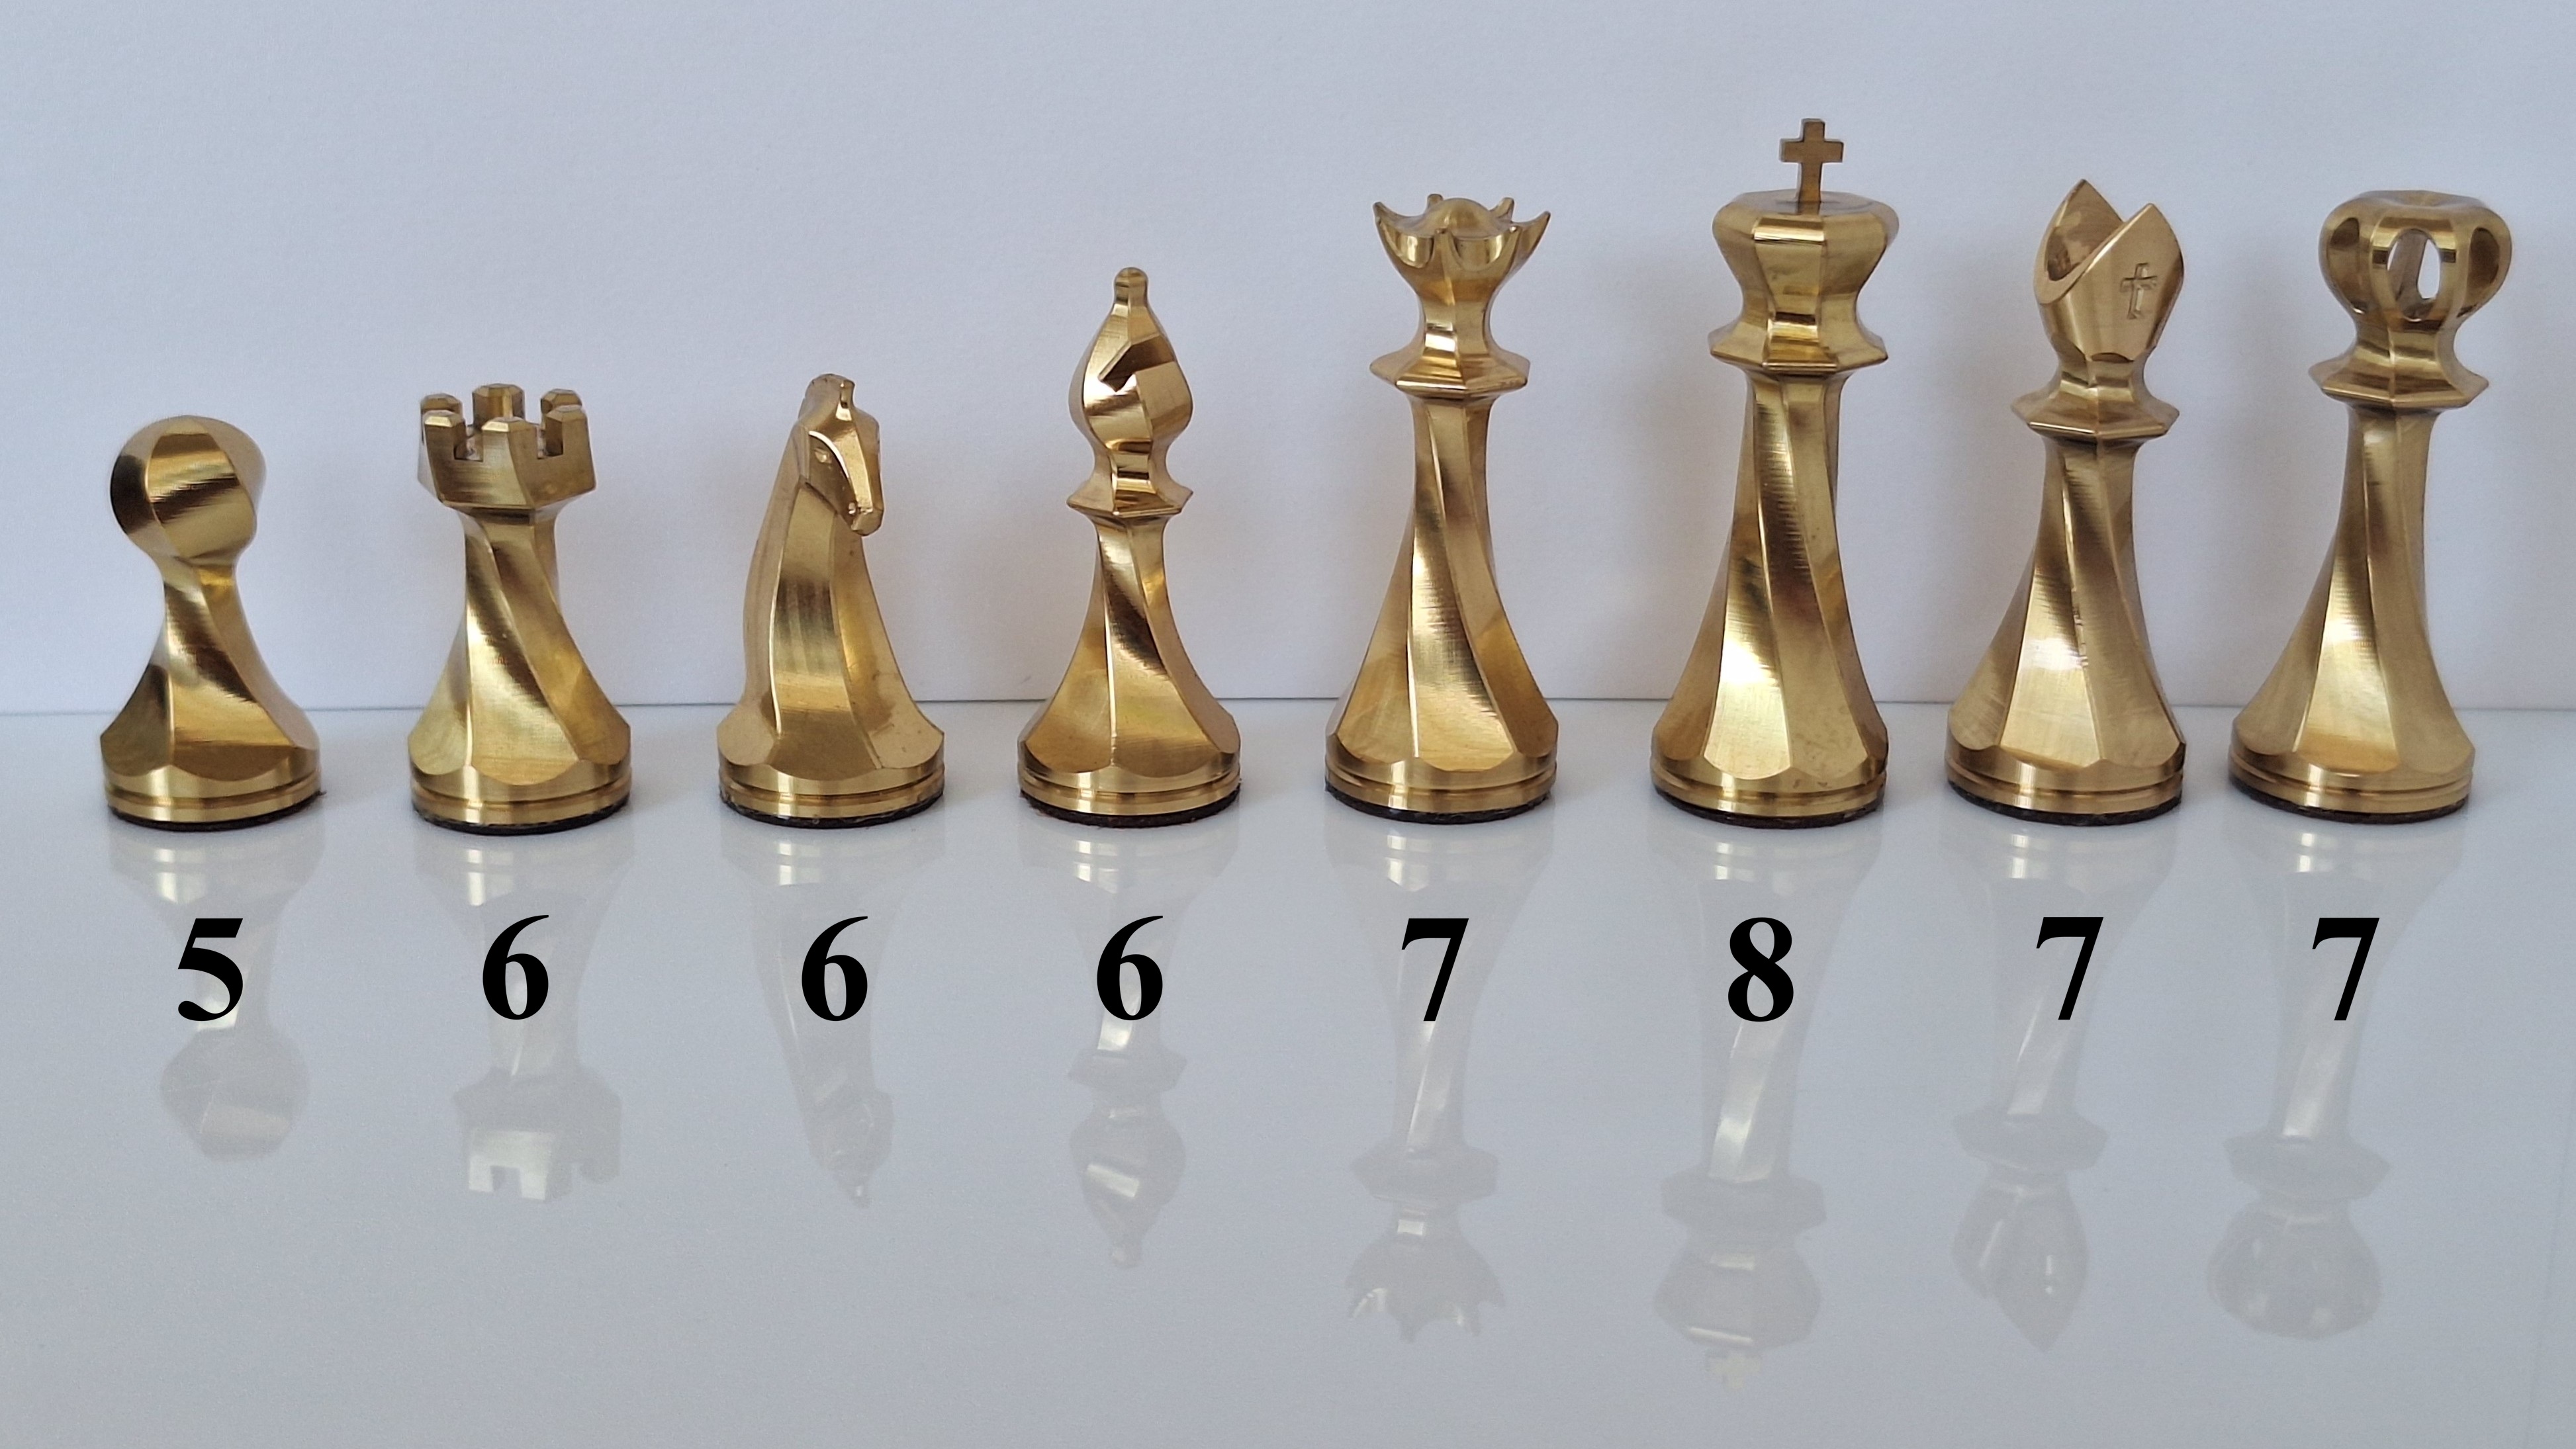
I designed the pieces with more facets based on their importance. Pawns are pentagons, the minor pieces (Rooks, Knights, and Bishops) are hexagons, the major pieces (Queen, and for grand chess the Cardinal, and Empress) are heptagons, and the all-important King is an octagon. The pieces were made in Rhino by sketching their side profile, then lofting the profile between several rotated copies. I used Rhino because it has a twist command, allowing me to make the pieces spiral after lofting.
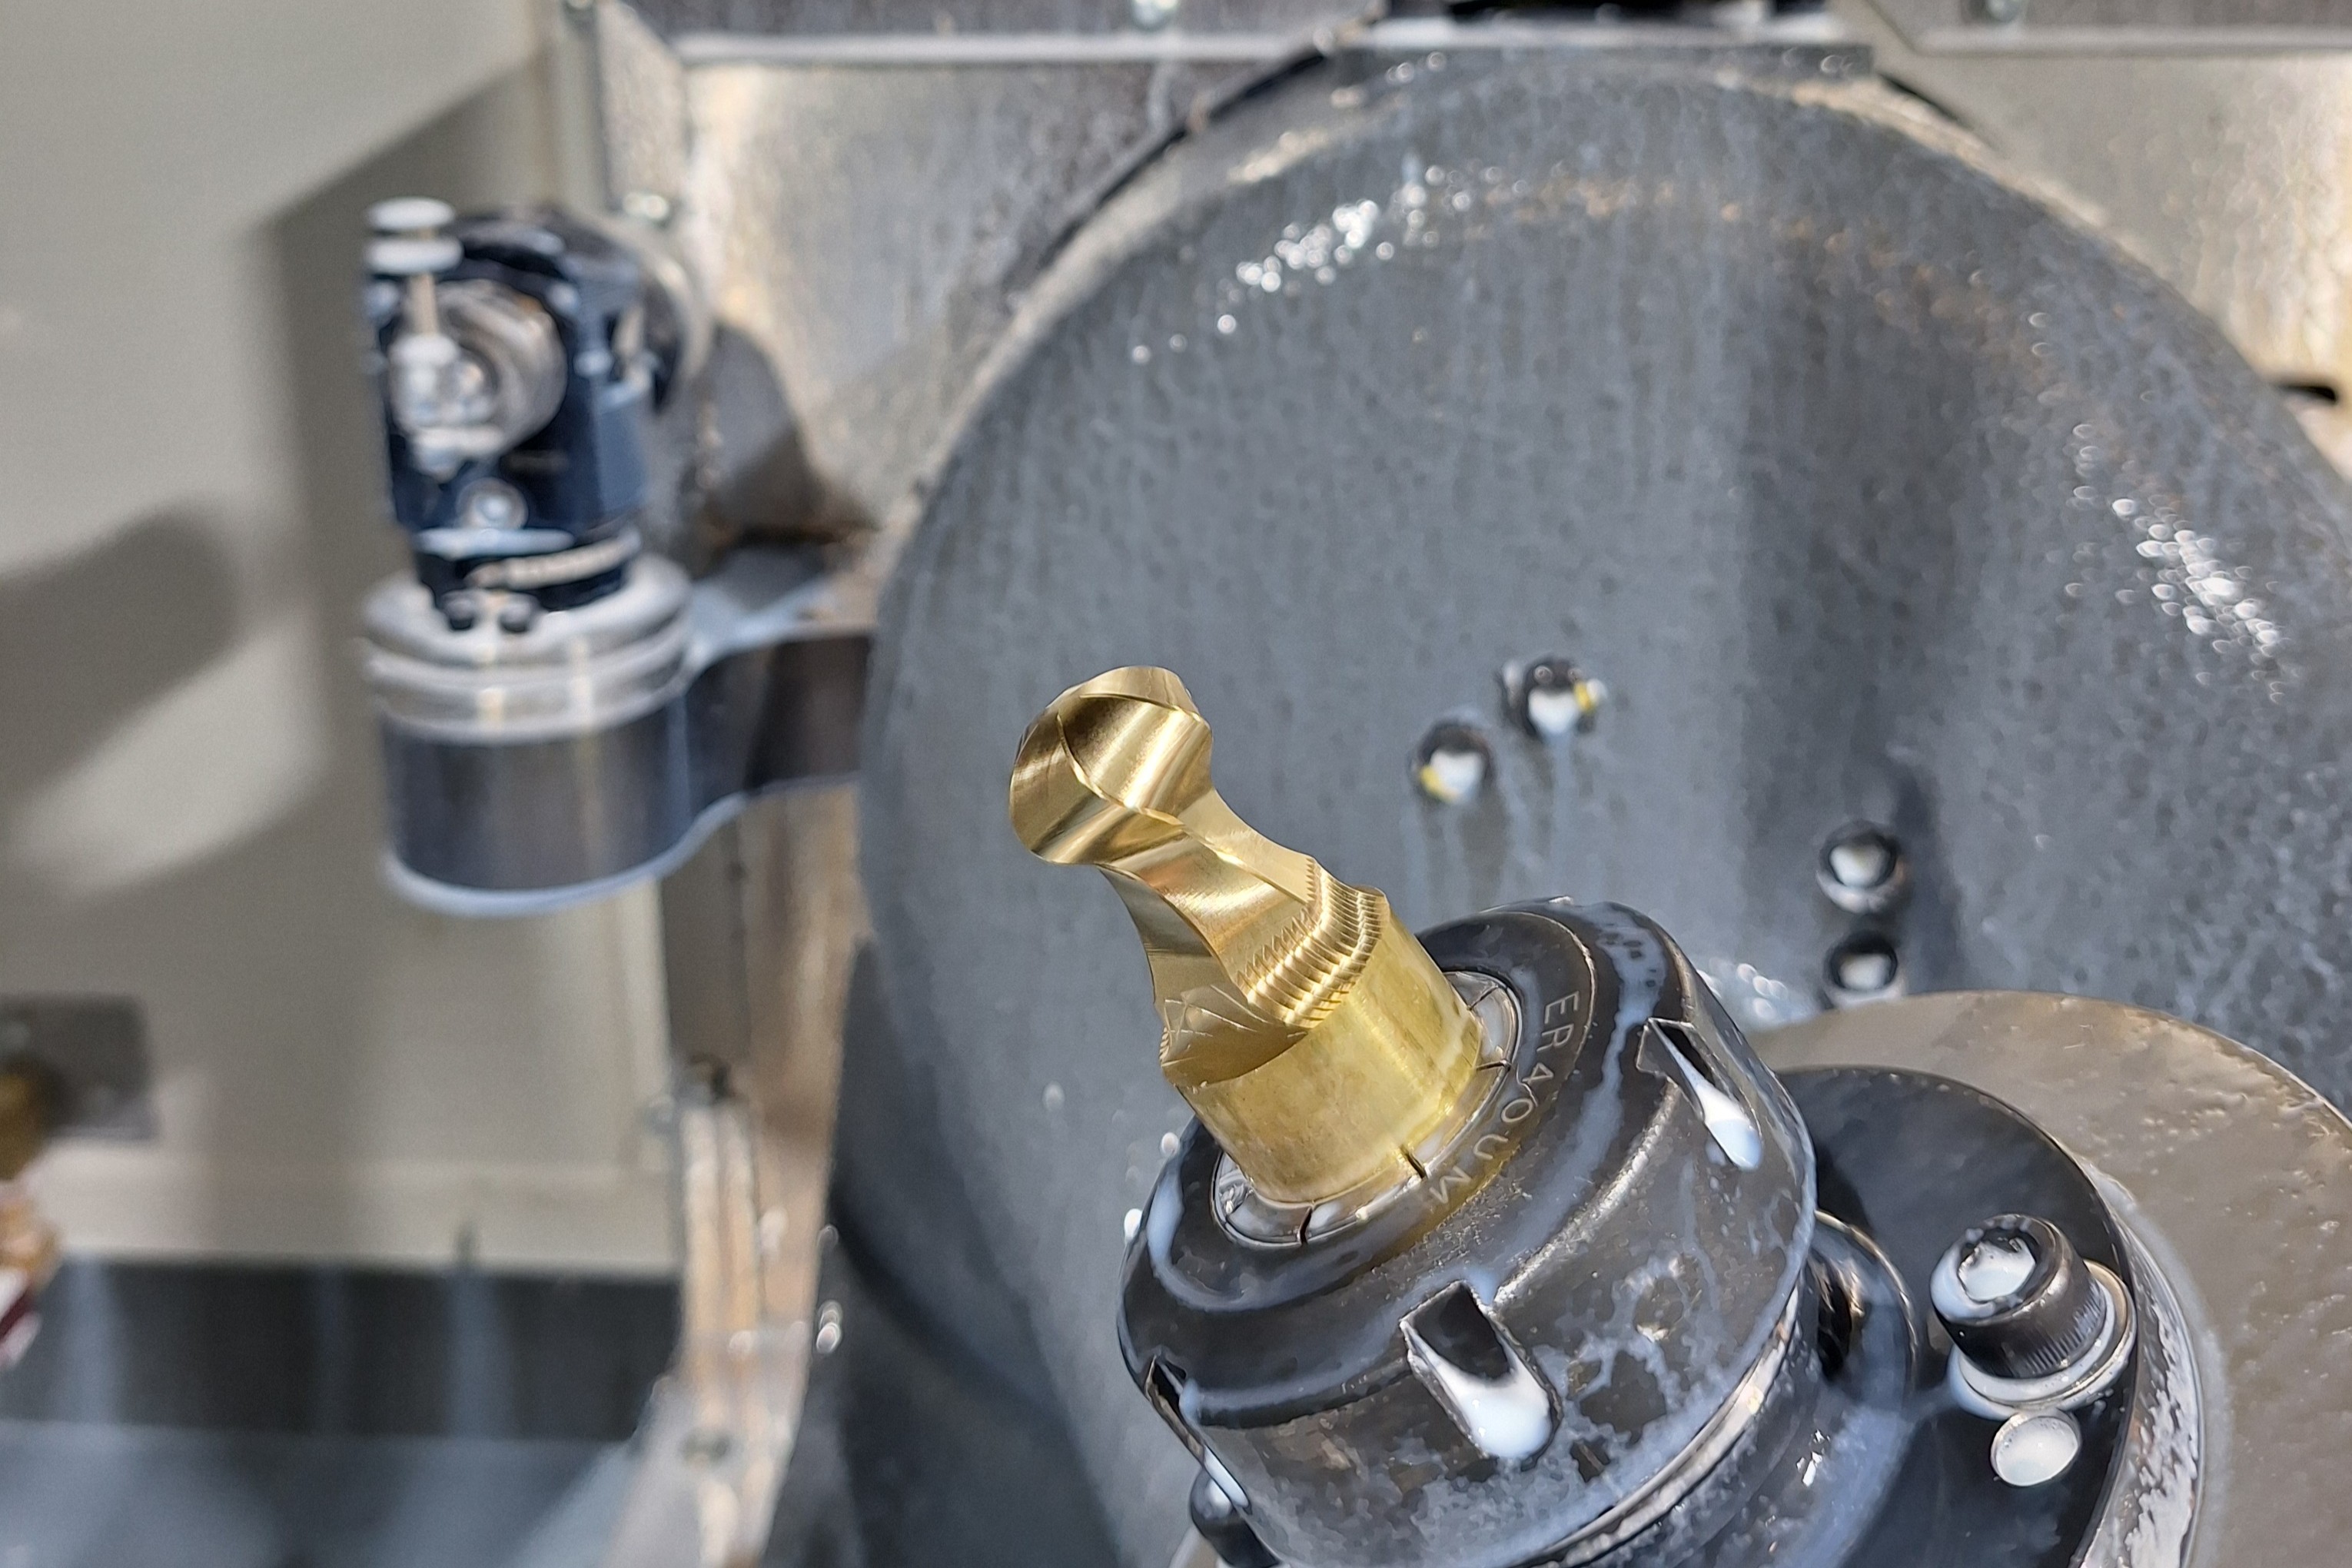
All the pieces were finished in one operation on the 5-axis CNC mill, parted to a small tab that can be broken by hand and filed away. To protect against tarnishing the pieces were dipped in a clear lacquer. I tried spraying lacquer but couldn’t get a clean surface due to complex curves or my bad technique. I glued thin laser cut leather to the bases of the pieces to prevent them from making loud noises or scratching the chess board. I chose leather instead of felt because it has a more premium feeling.

For Grand chess I had to make two extra Pawns and two new pieces: a Cardinal (Bishop + Knight) and an Empress (Rook + Knight). With the Queen (Bishop + Knight) these three pieces are all the possible combinations of the minor pieces. I designed the Cardinal and Empress last and they have more intricate detail than the other pieces, making them harder to machine. For Glinski’s hexagonal chess I made an extra Bishop and Pawn. I also included a spare Queen for promotion.
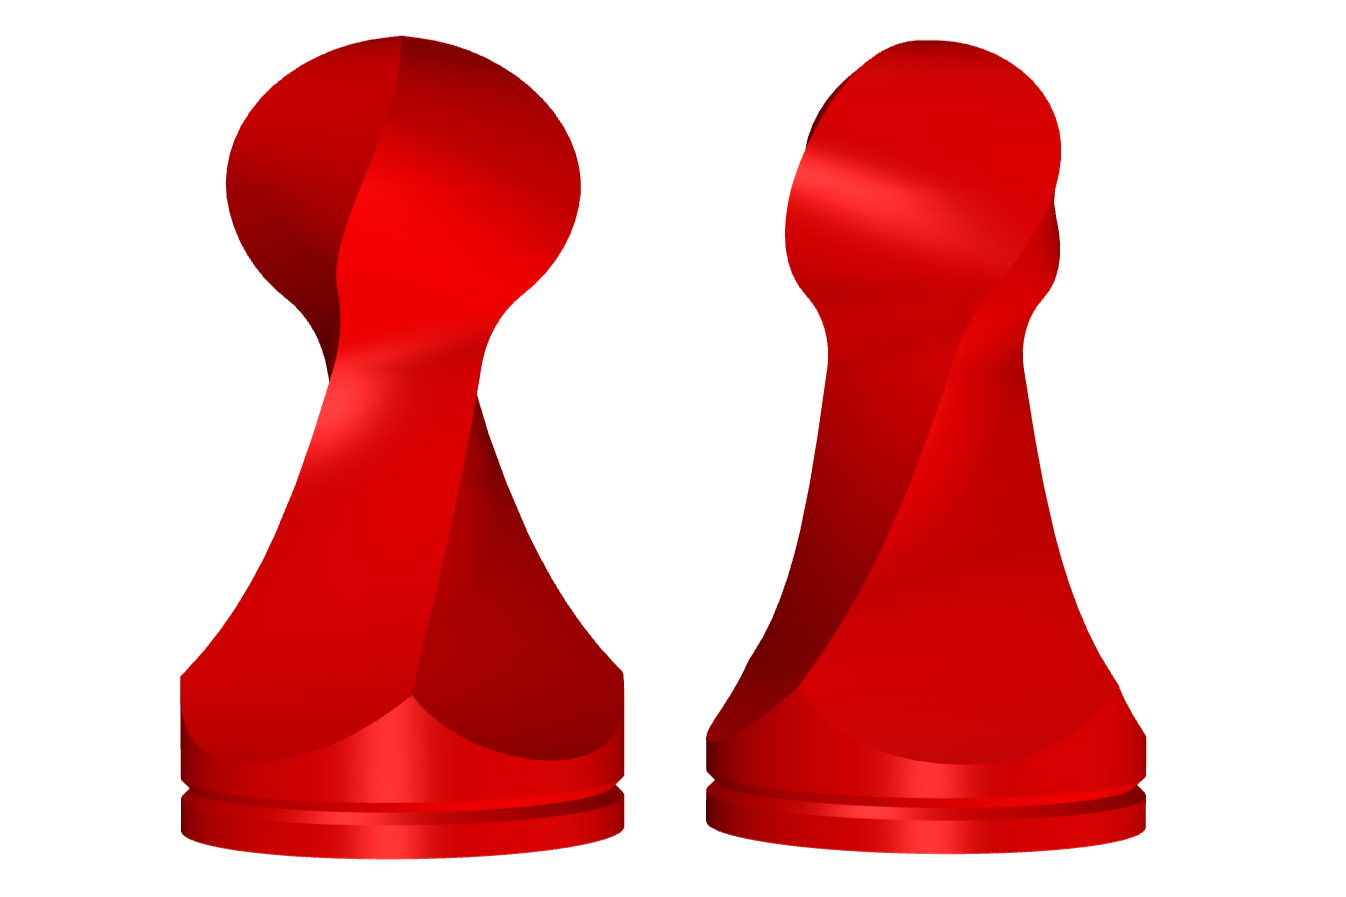
Pawn
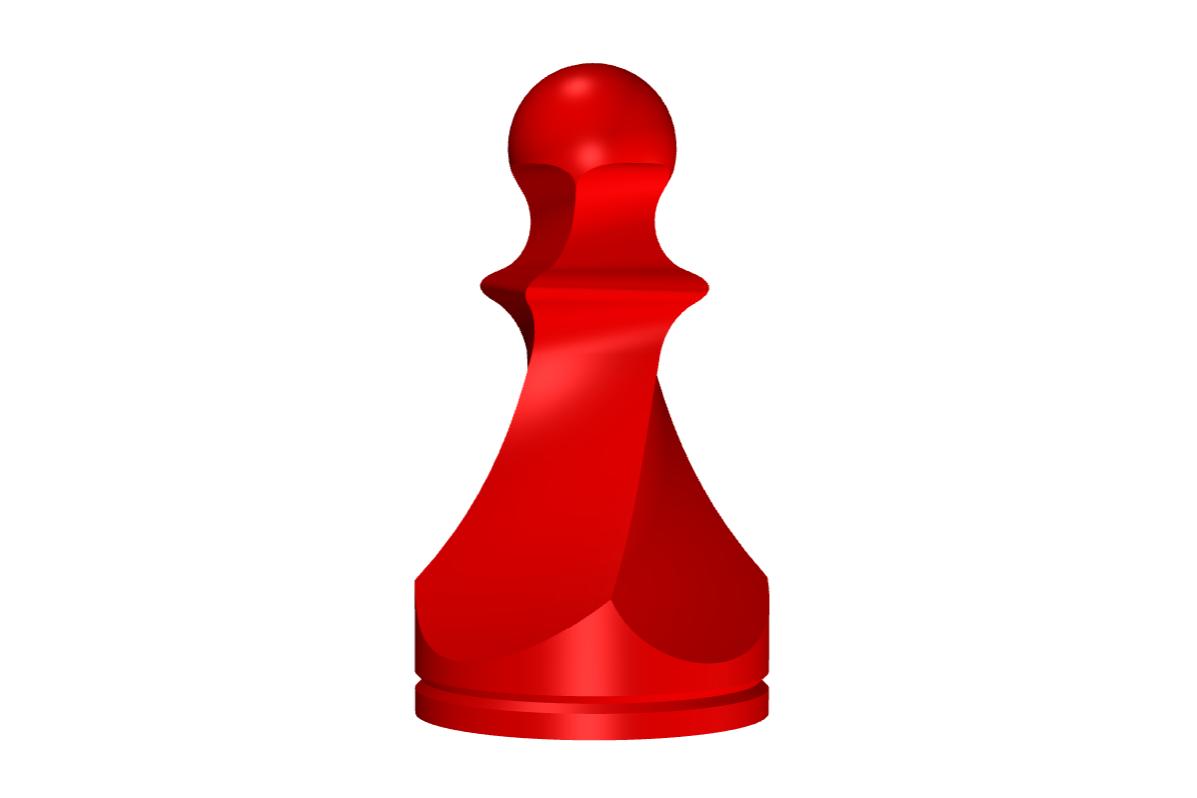
The Pawns are a simple pieces but they are distinctive and look clean. For the 10x10 board I had to make four more pawns than a regular set.
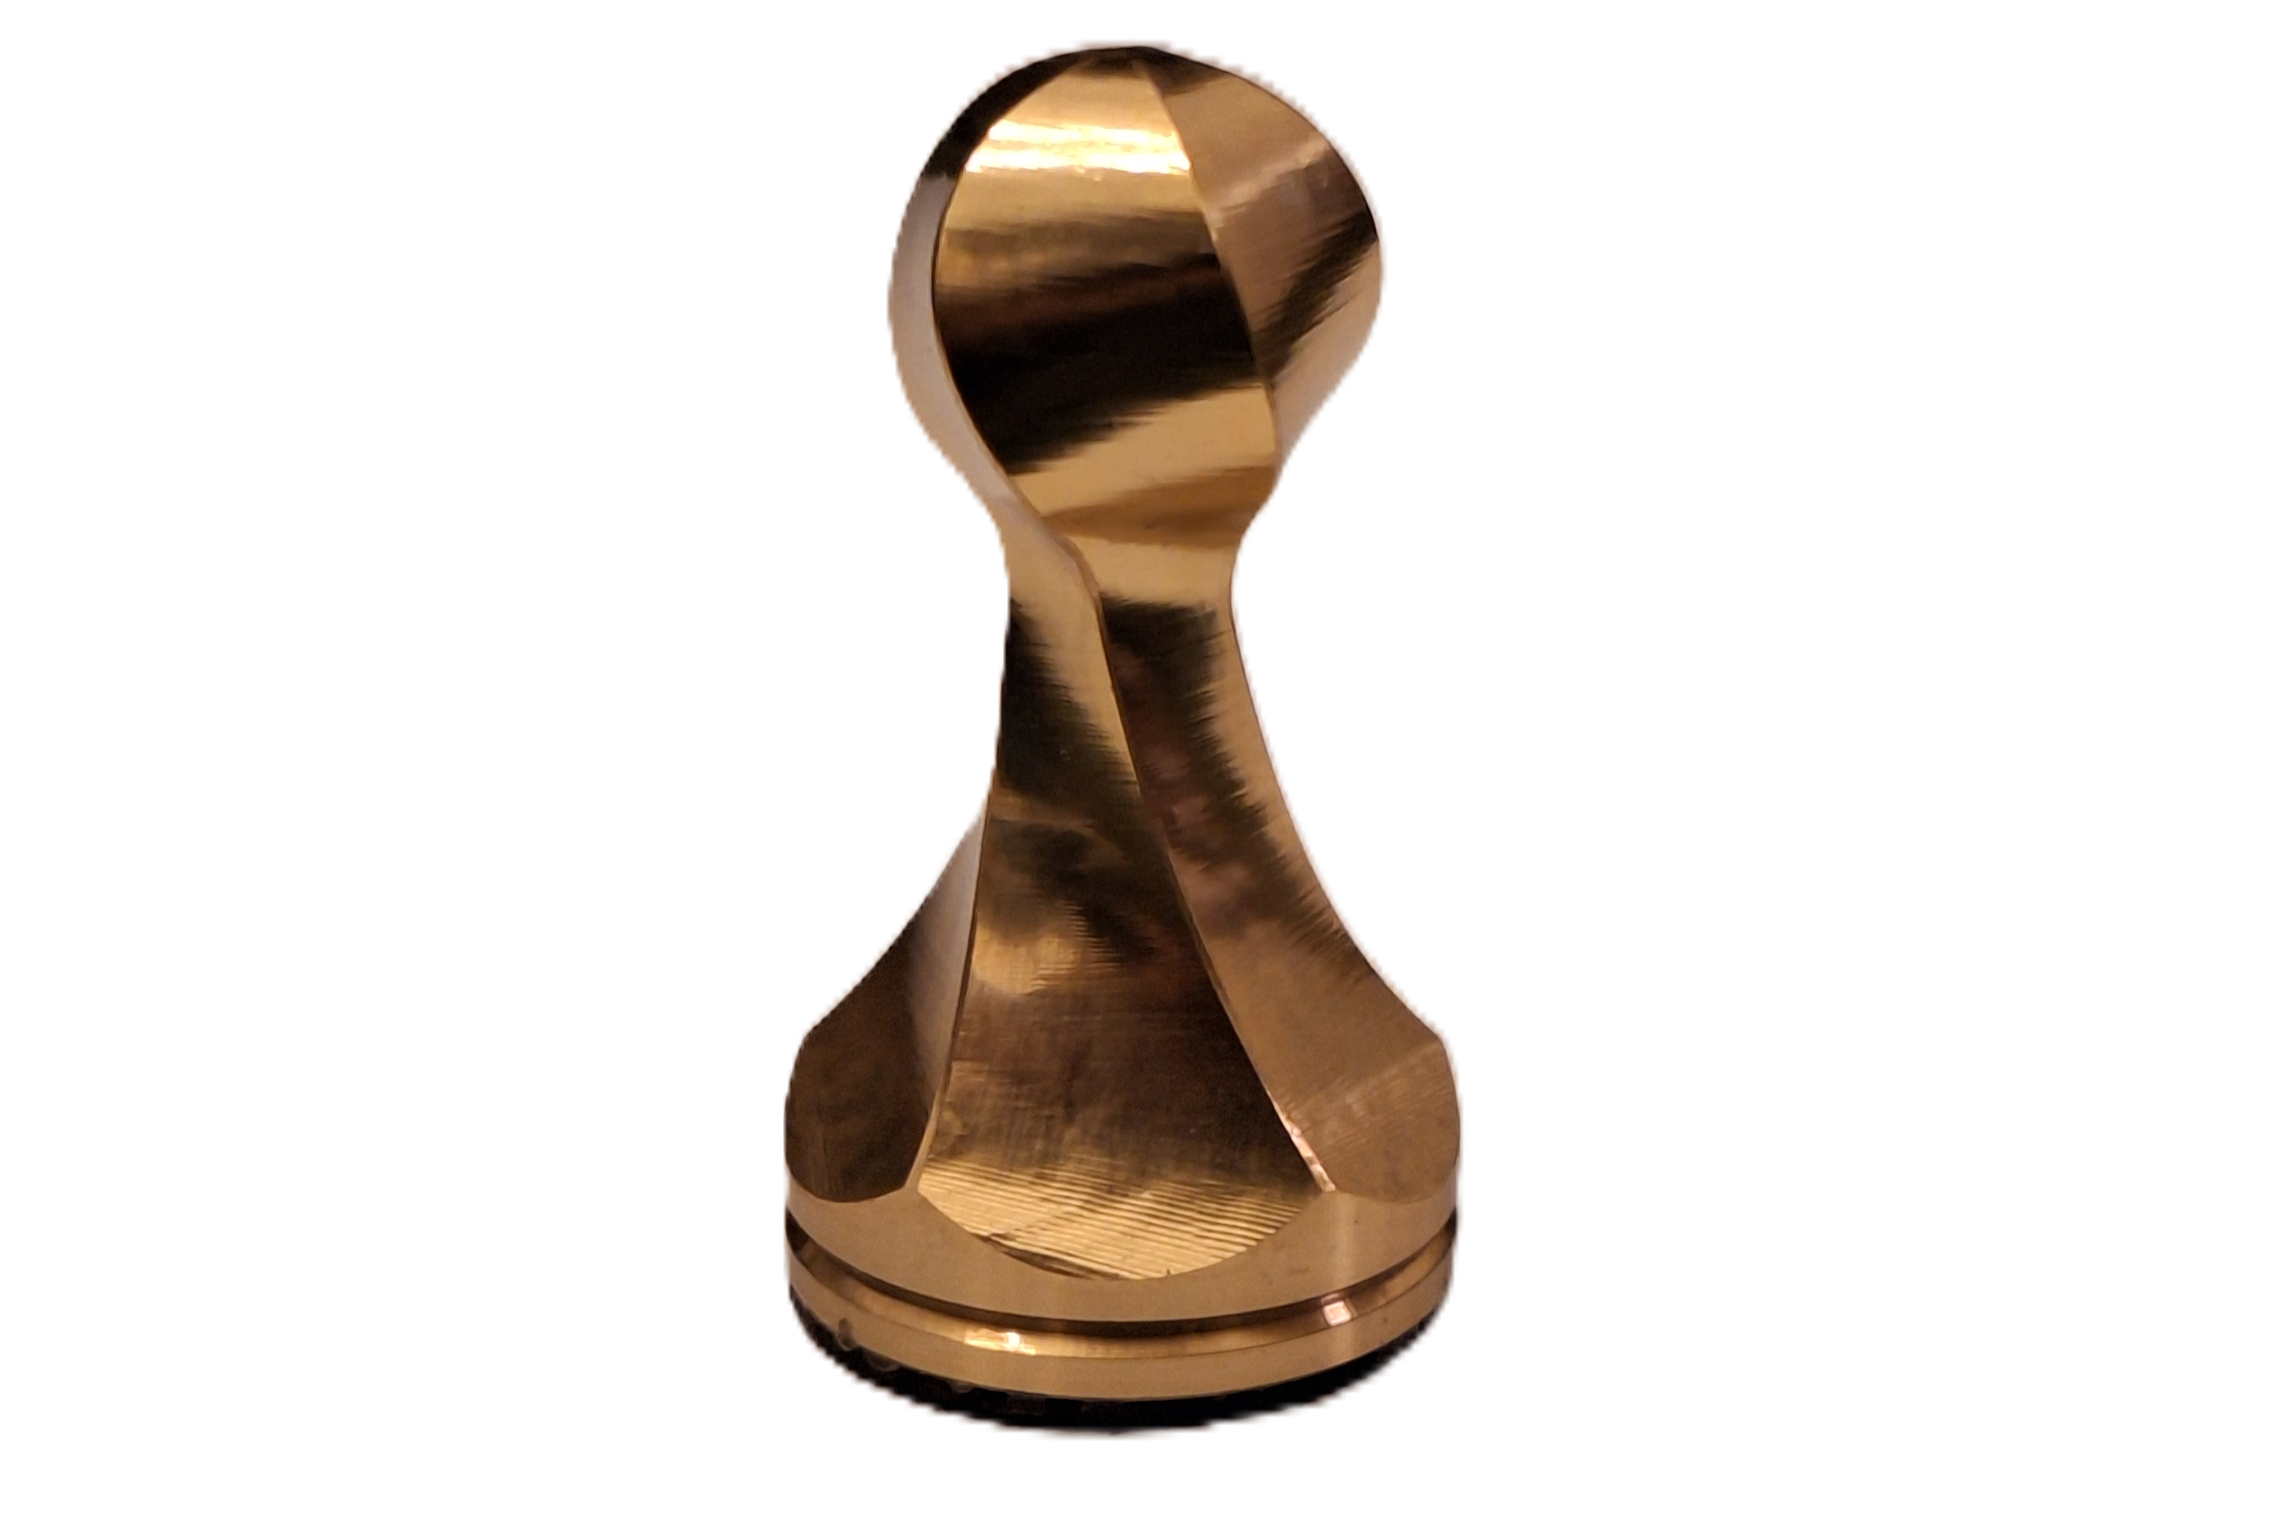
The Pawn typically has a collar just below its round head, but I wasn’t able to include this detail on my Pawns because of machining constraints. A mill uses round cutting tools which means it can’t cut any feature with a smaller radius than the tool. Of course, there are tools with tiny diameters which would allow cutting smaller features, but smaller tools are also shorter and wouldn’t be able to reach deep enough. So the Pawns with collars I designed had small heads, and awkward collars with a large gap to the head.
I initially tried designing Pawns with only 4 sides, but they looked ugly because from one direction they head was too small and the other the head was too large. The five sided Pawn is more balanced because the head is always about the same size from any direction.
I was able to automate the probing of my stock in order to speed up machining of all 20 Pawns. This mean I only had to replace the finished Pawn with new stock and press play on the program. The cycle time of a Pawn was only about 10 minutes including setup!
Rook
The rook design is pretty simple, with big castellations and large decorative chamfers. When machining I cut the top of the Rook before machining the main body it maximises the rigidity and minimise vibration.
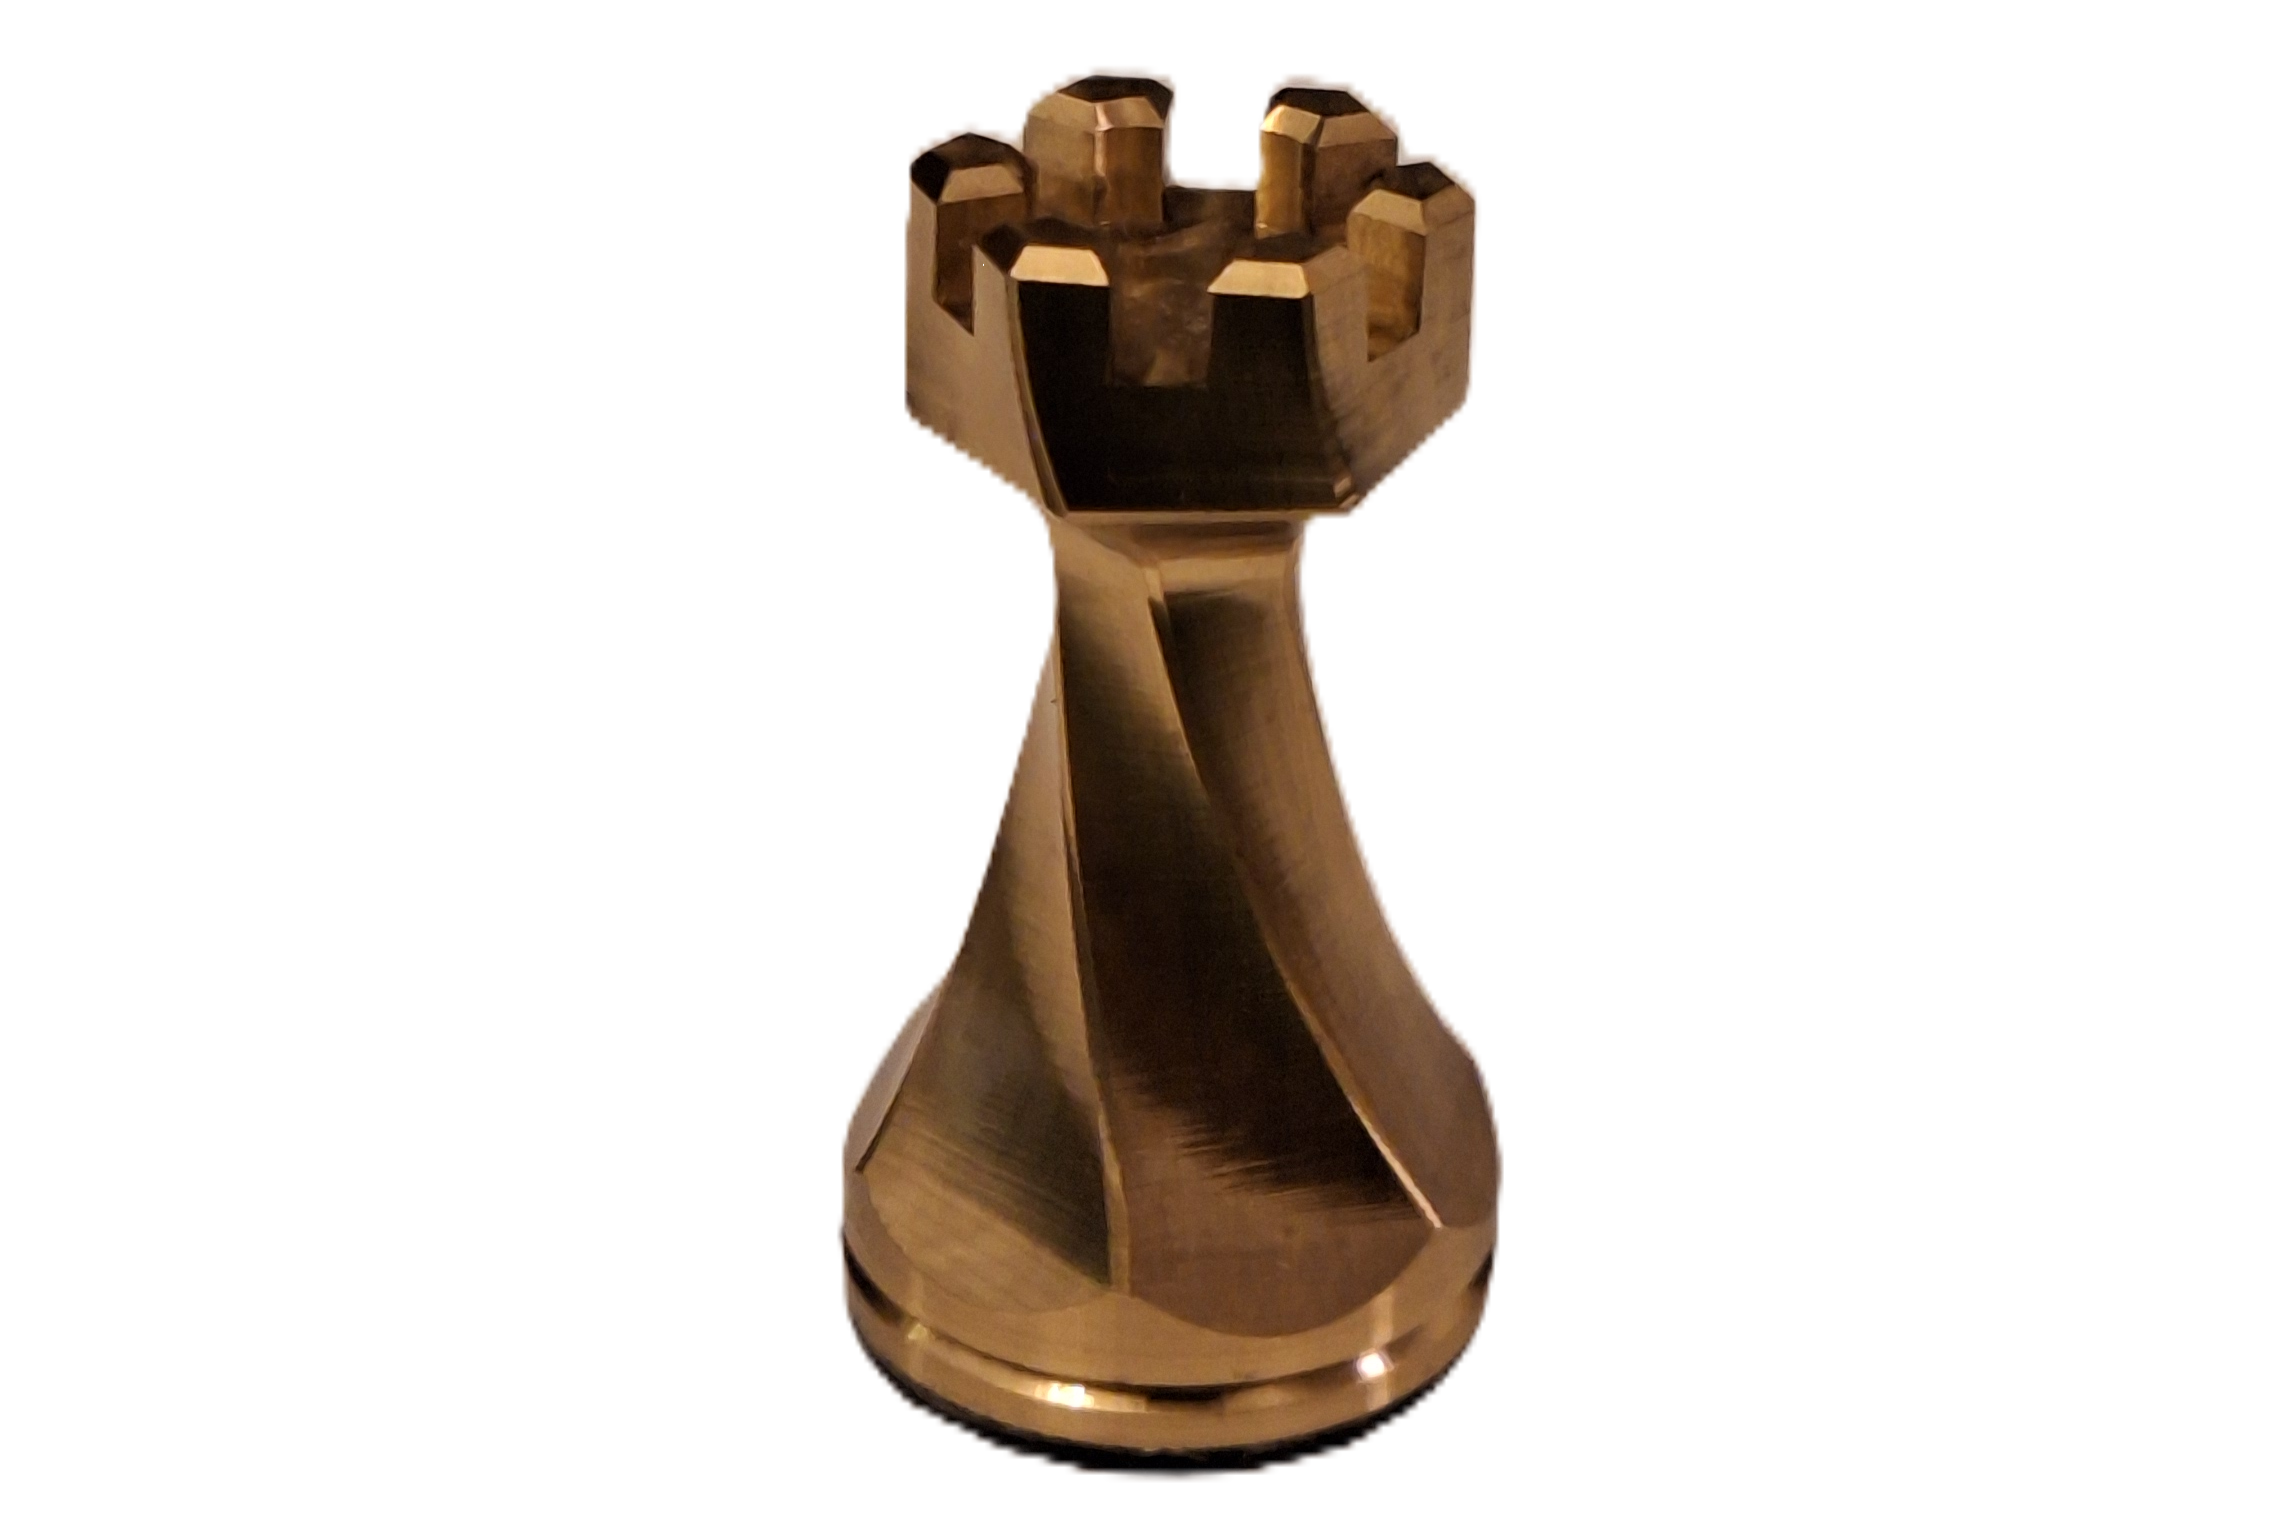
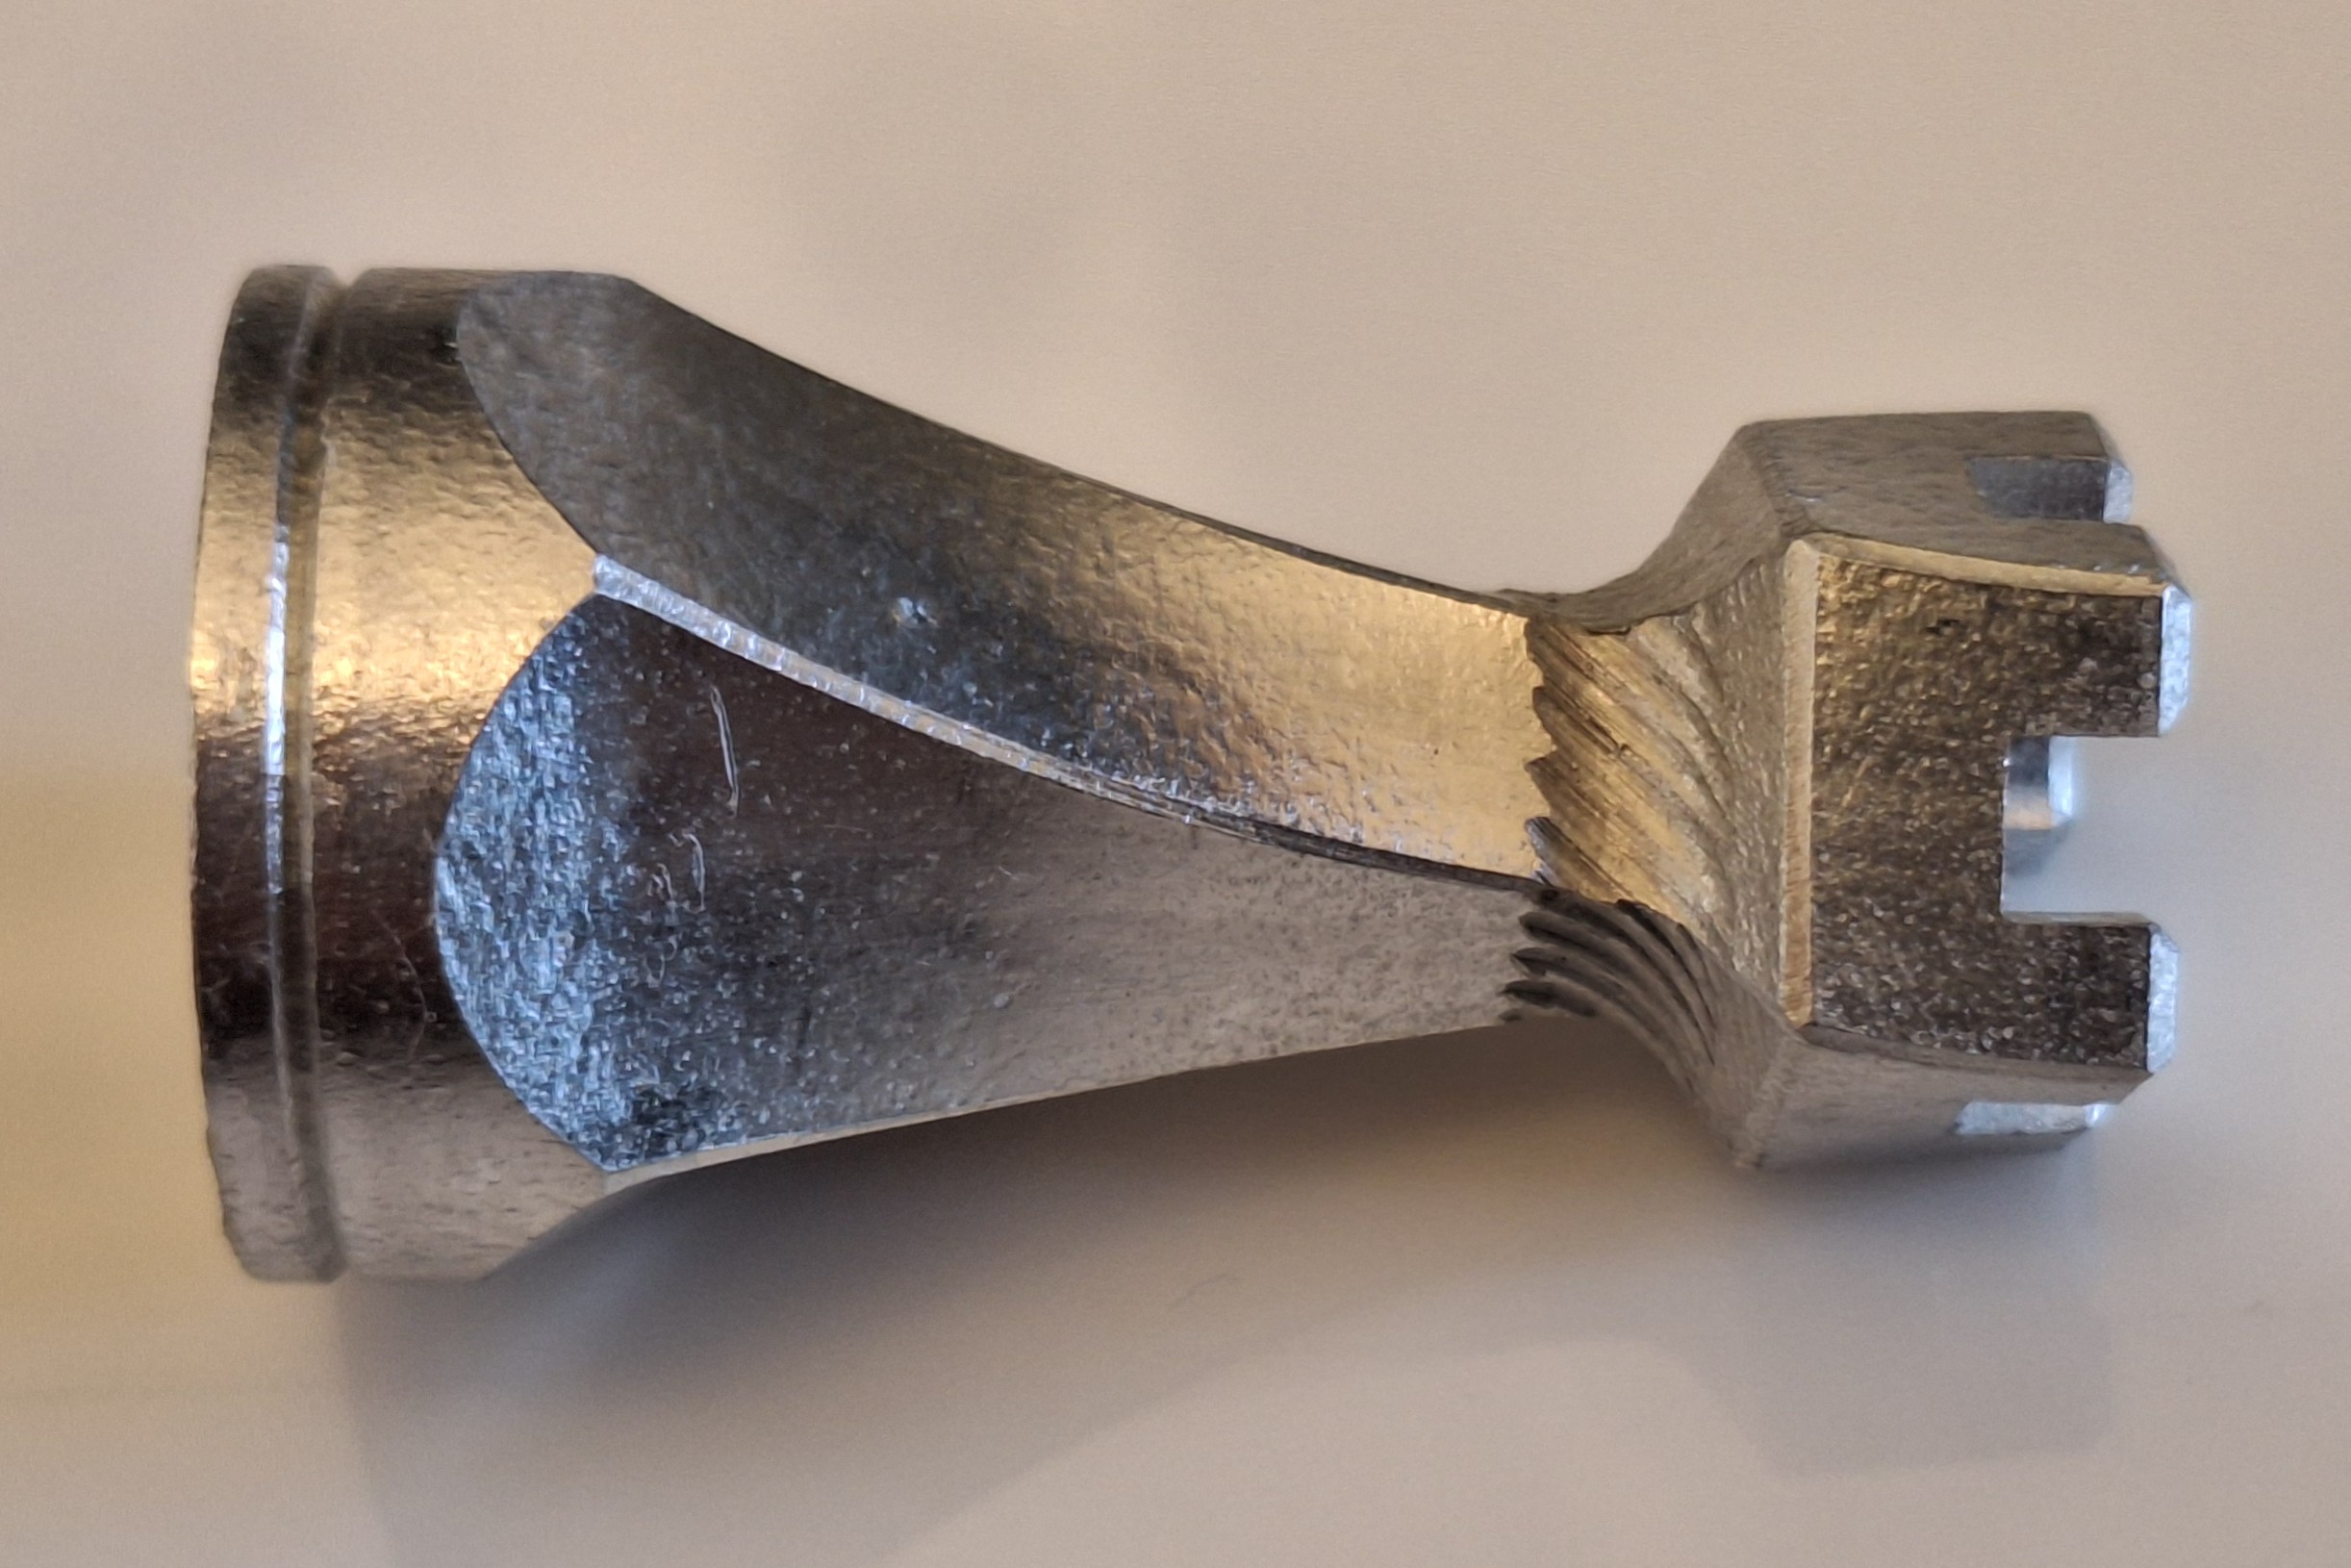
The rook was the first piece I made, and I originally designed it with a corner fillet the same radius as my endmill. When I tried to cut the piece, it vibrated horribly in the sharp corner because the tool engagement spiked and the tool was in a long thin holder. This vibration left a cool spiral mark on the piece, where the endmill must have resonated with the part. I was able to fix this easily by making all fillets significantly larger that the tool.
Knight
The Knight is the most complicated piece in every chess set, and my Knight has engraved eyes and nostrils and a grooved mane. I designed the Knight with a relatively small head because machining the space between the head and the body was very difficult.

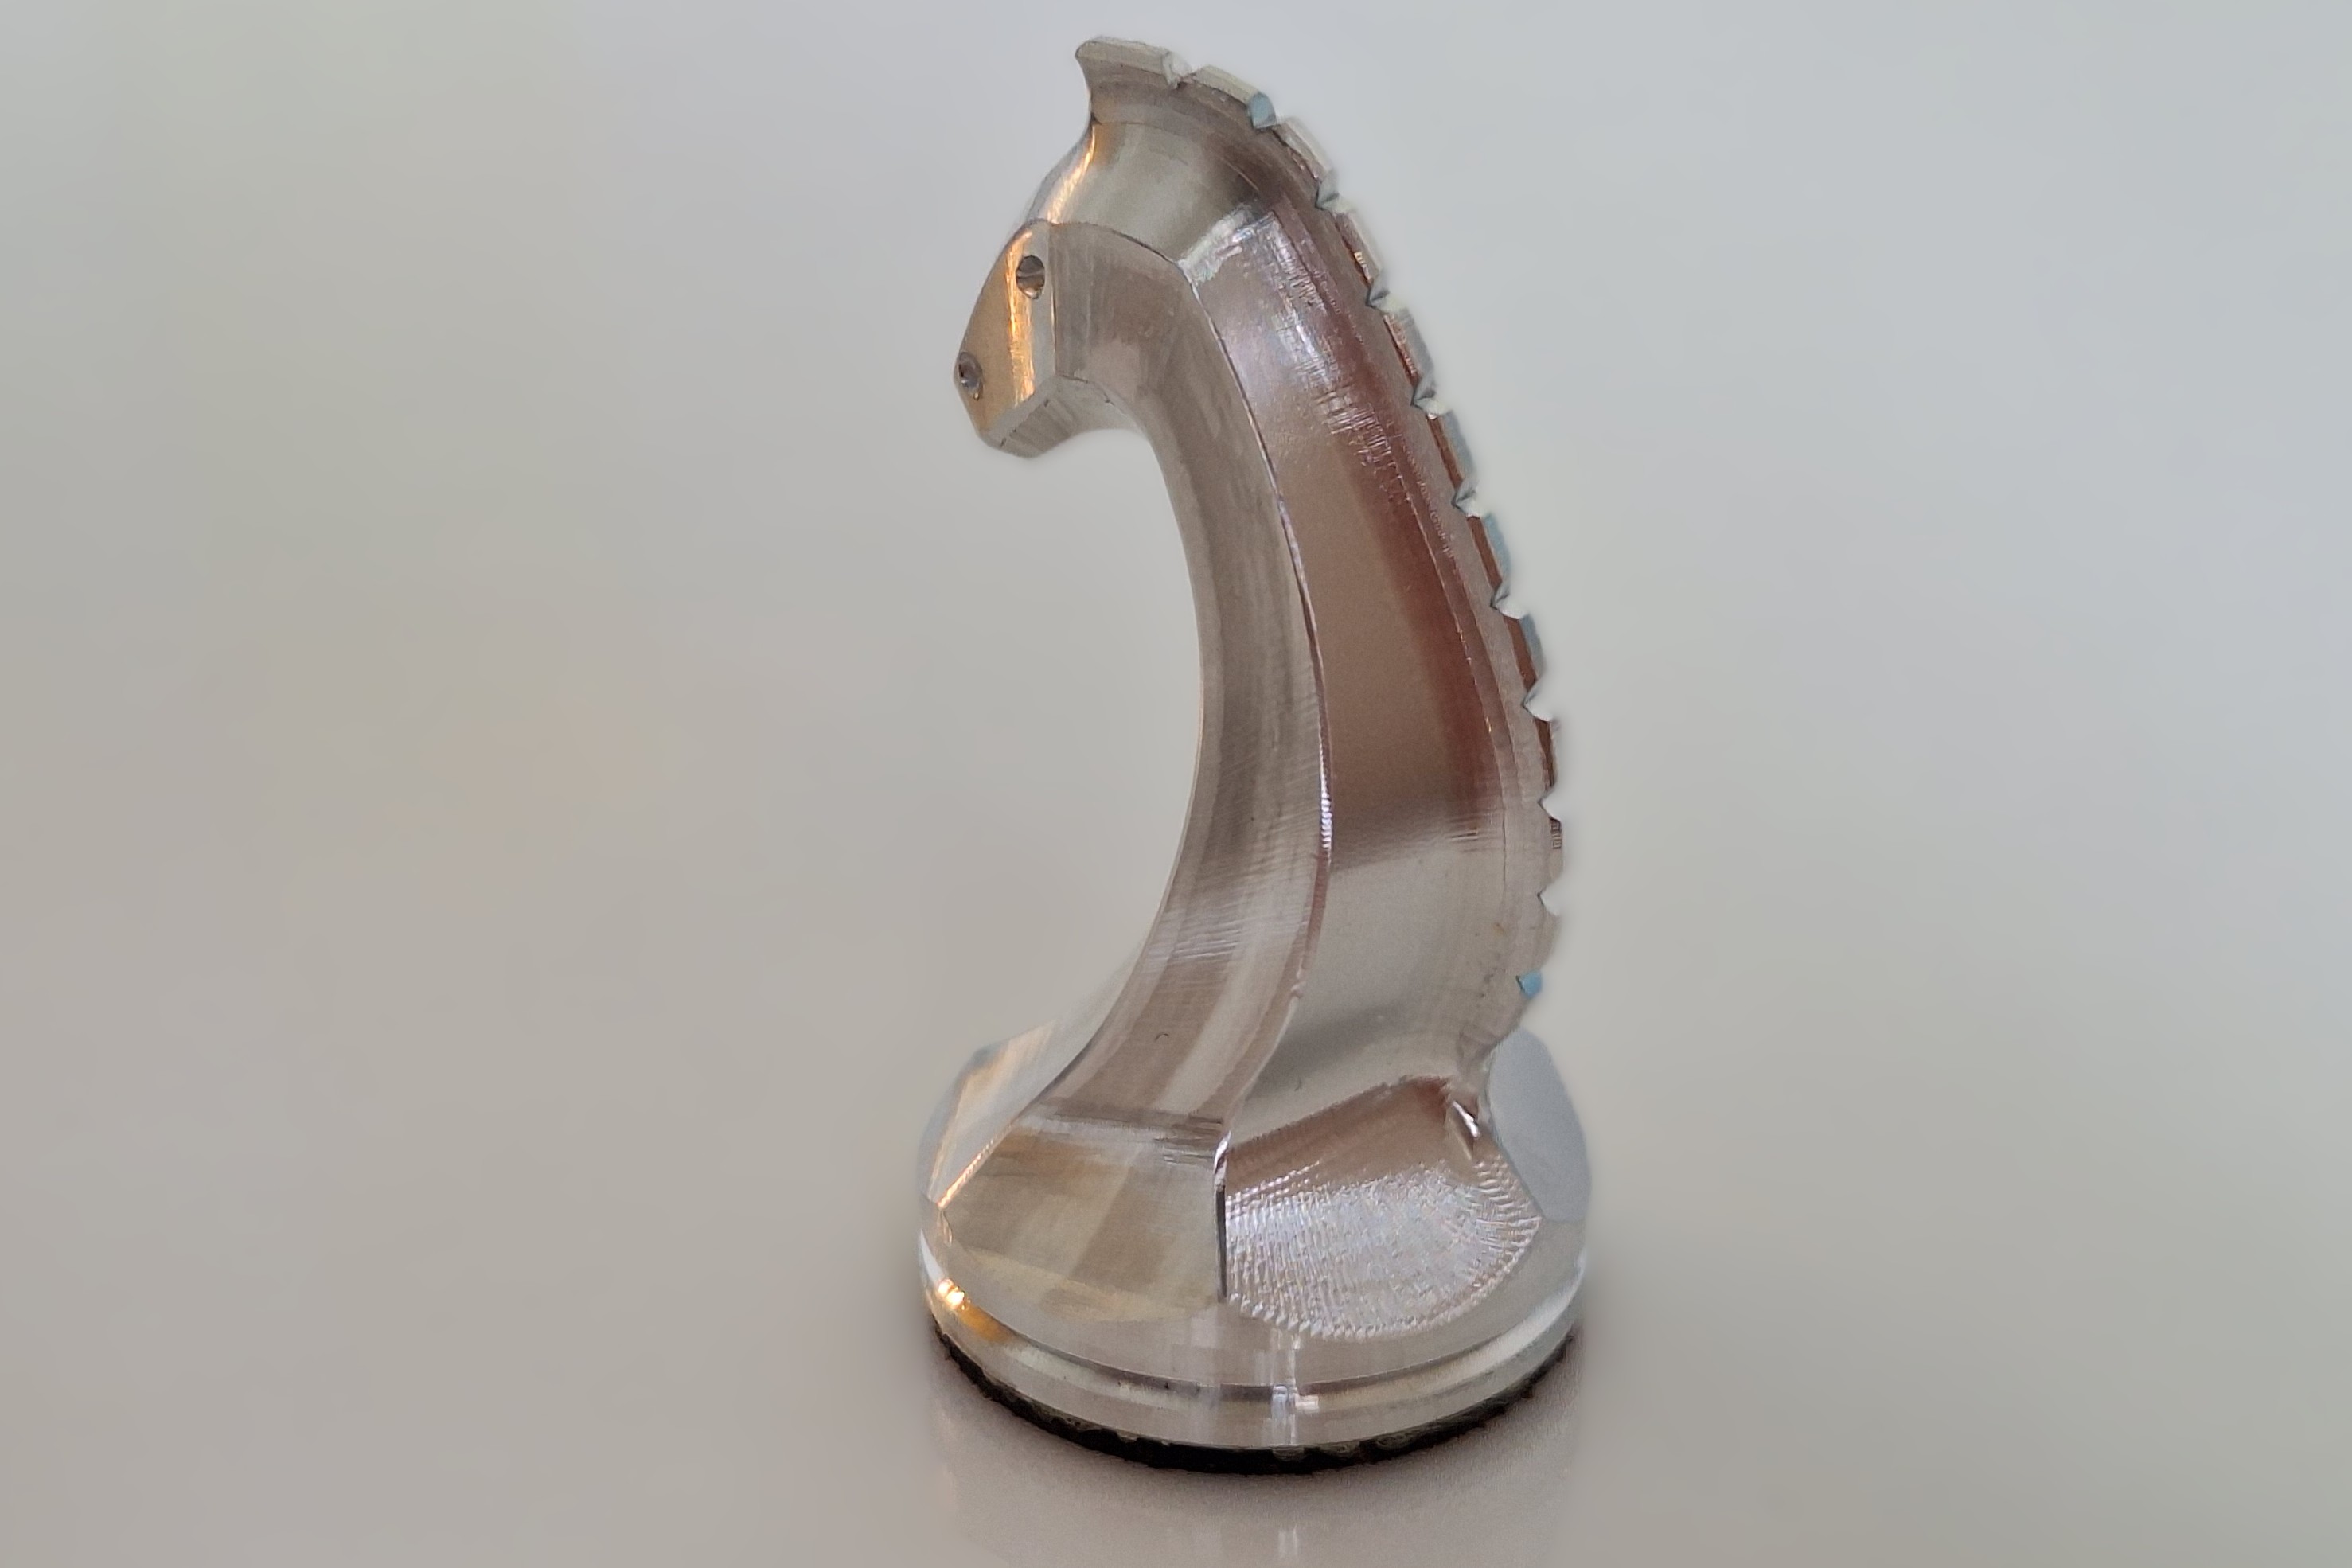
To finish the back of the Knight I couldn’t swarf mill it with the side of an endmill because the mane was in the way. So, I had to do surface finishing using a ball endmill going back and forth with small stepovers. This left a different texture on the back sides to all the other pieces but fortunately it still had the same shine.
The Knight is the only piece that doesn’t spiral. I did try twisting it around the vertical axis, but that seemed like it was looking over its shoulder.
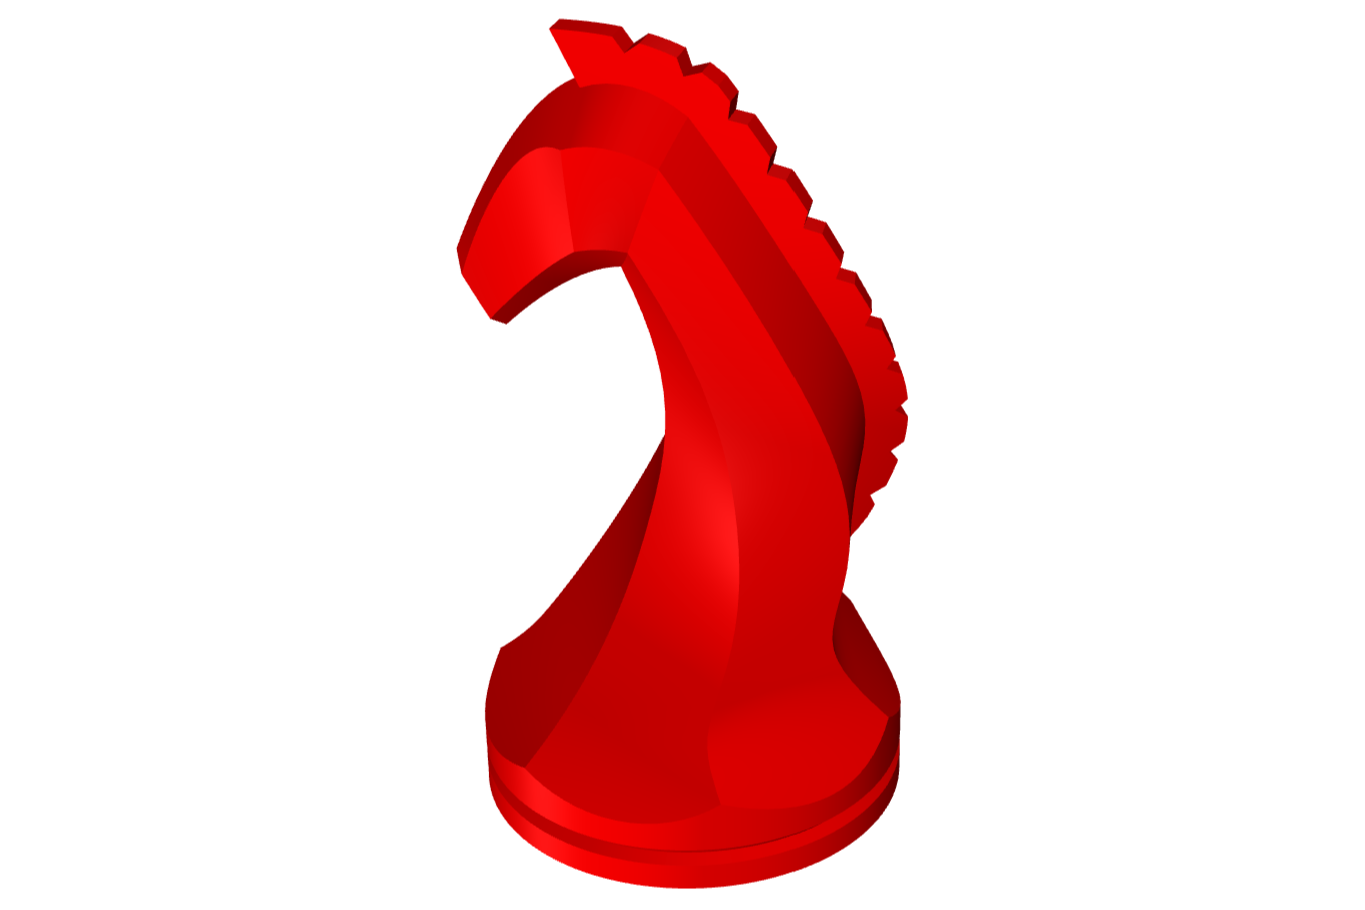
The CAM program for the Knight was the most complex, with lots of little operation getting the mane and eyes right.
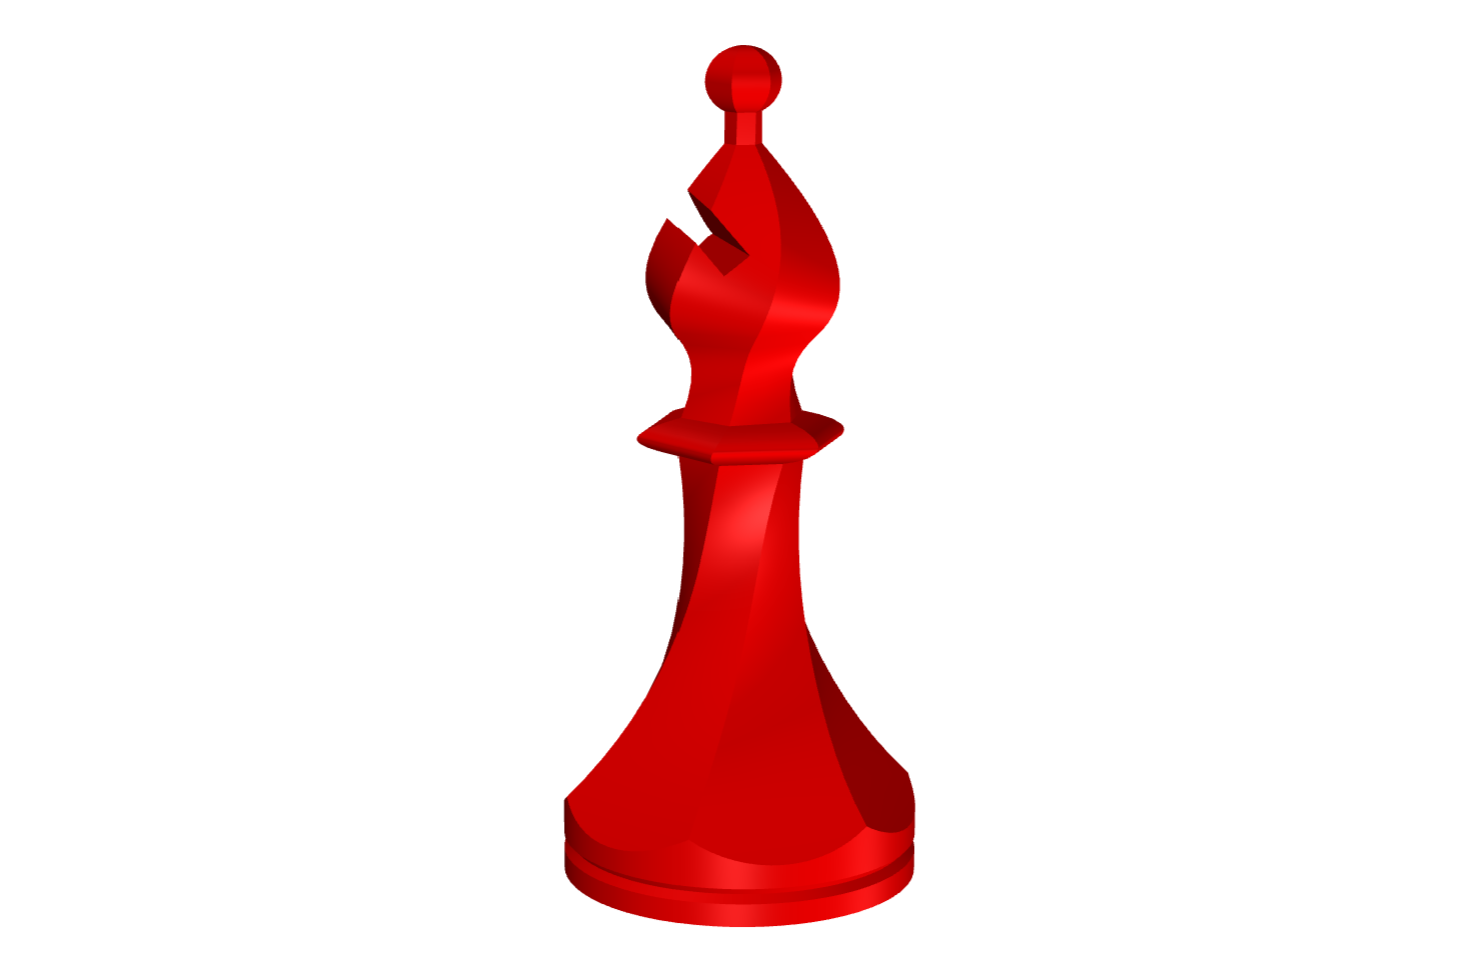
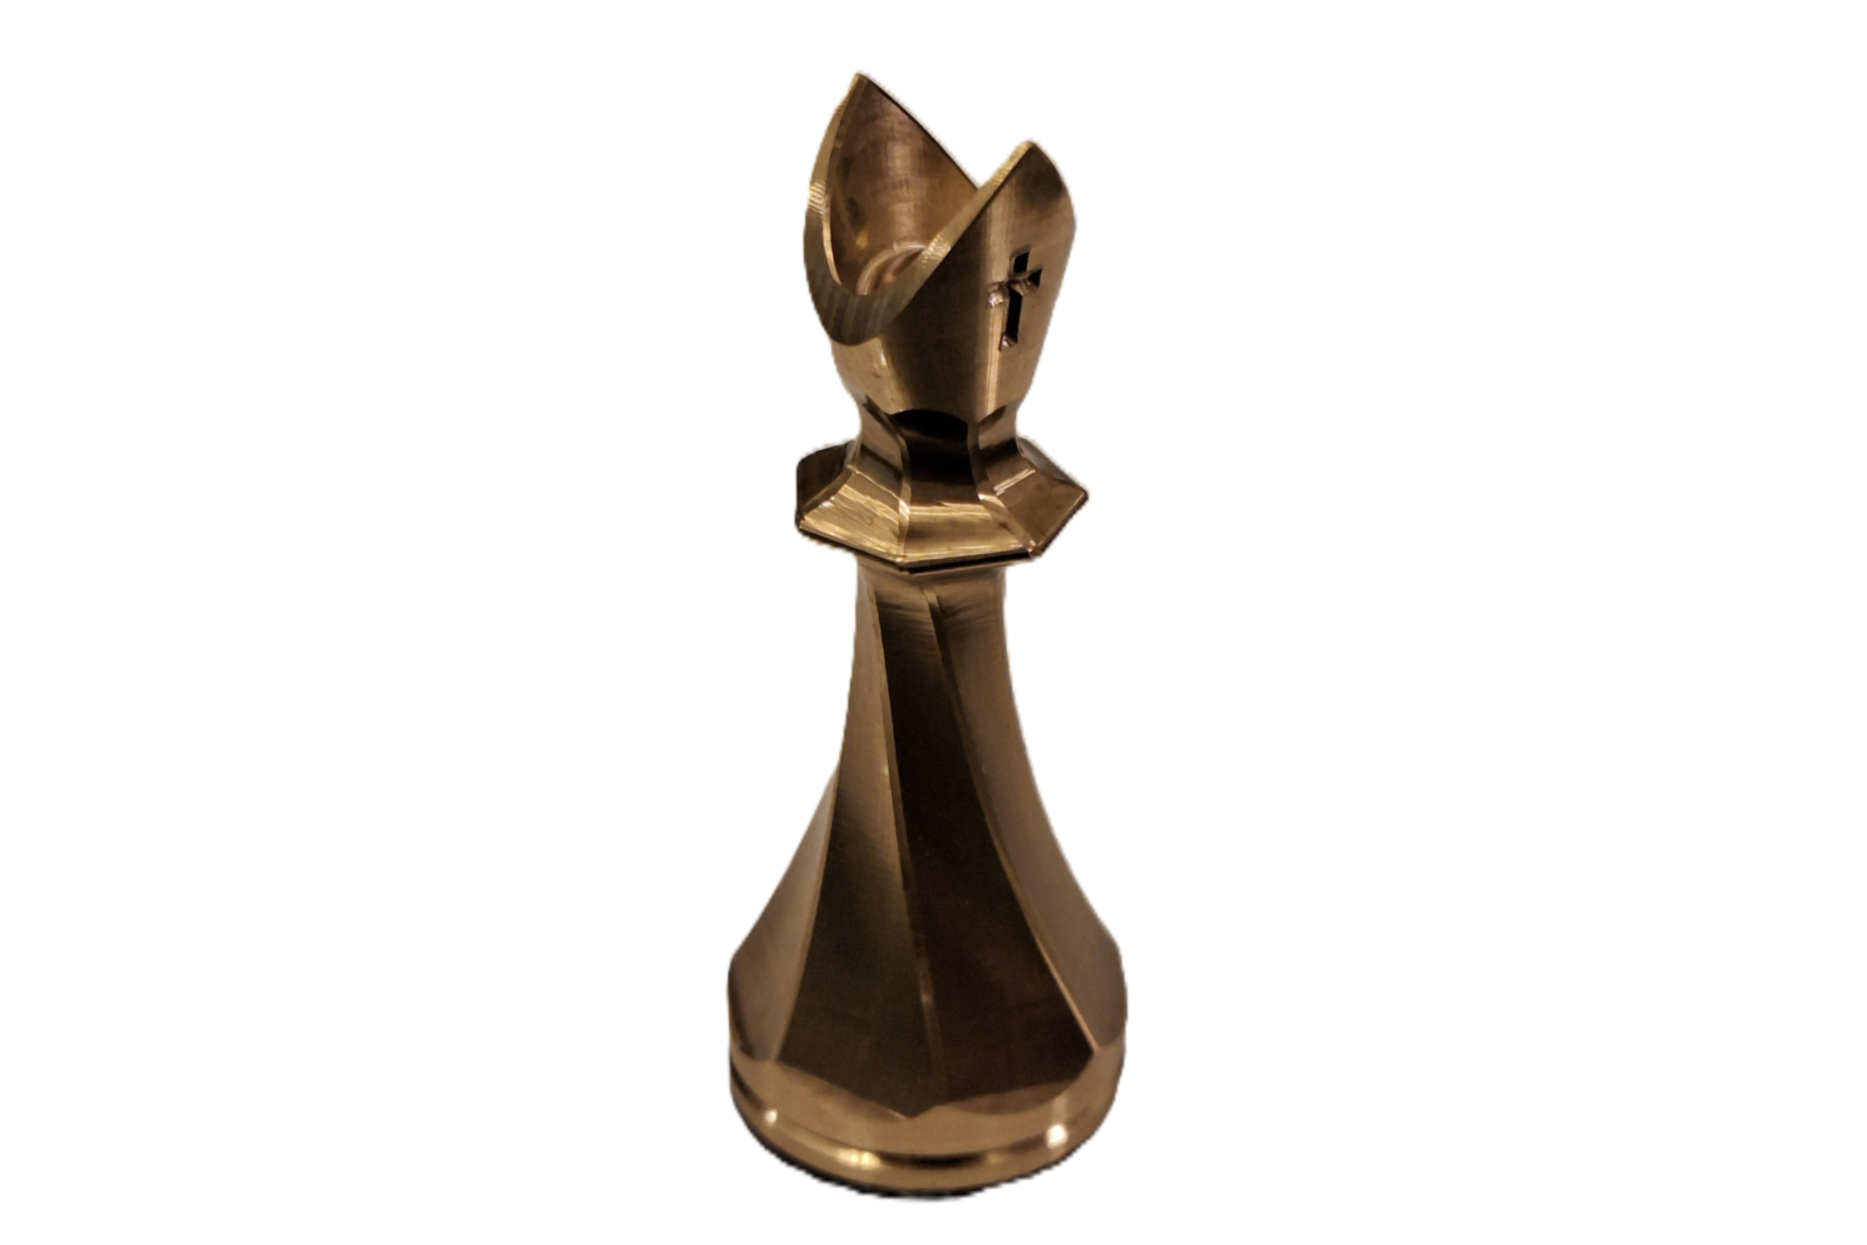
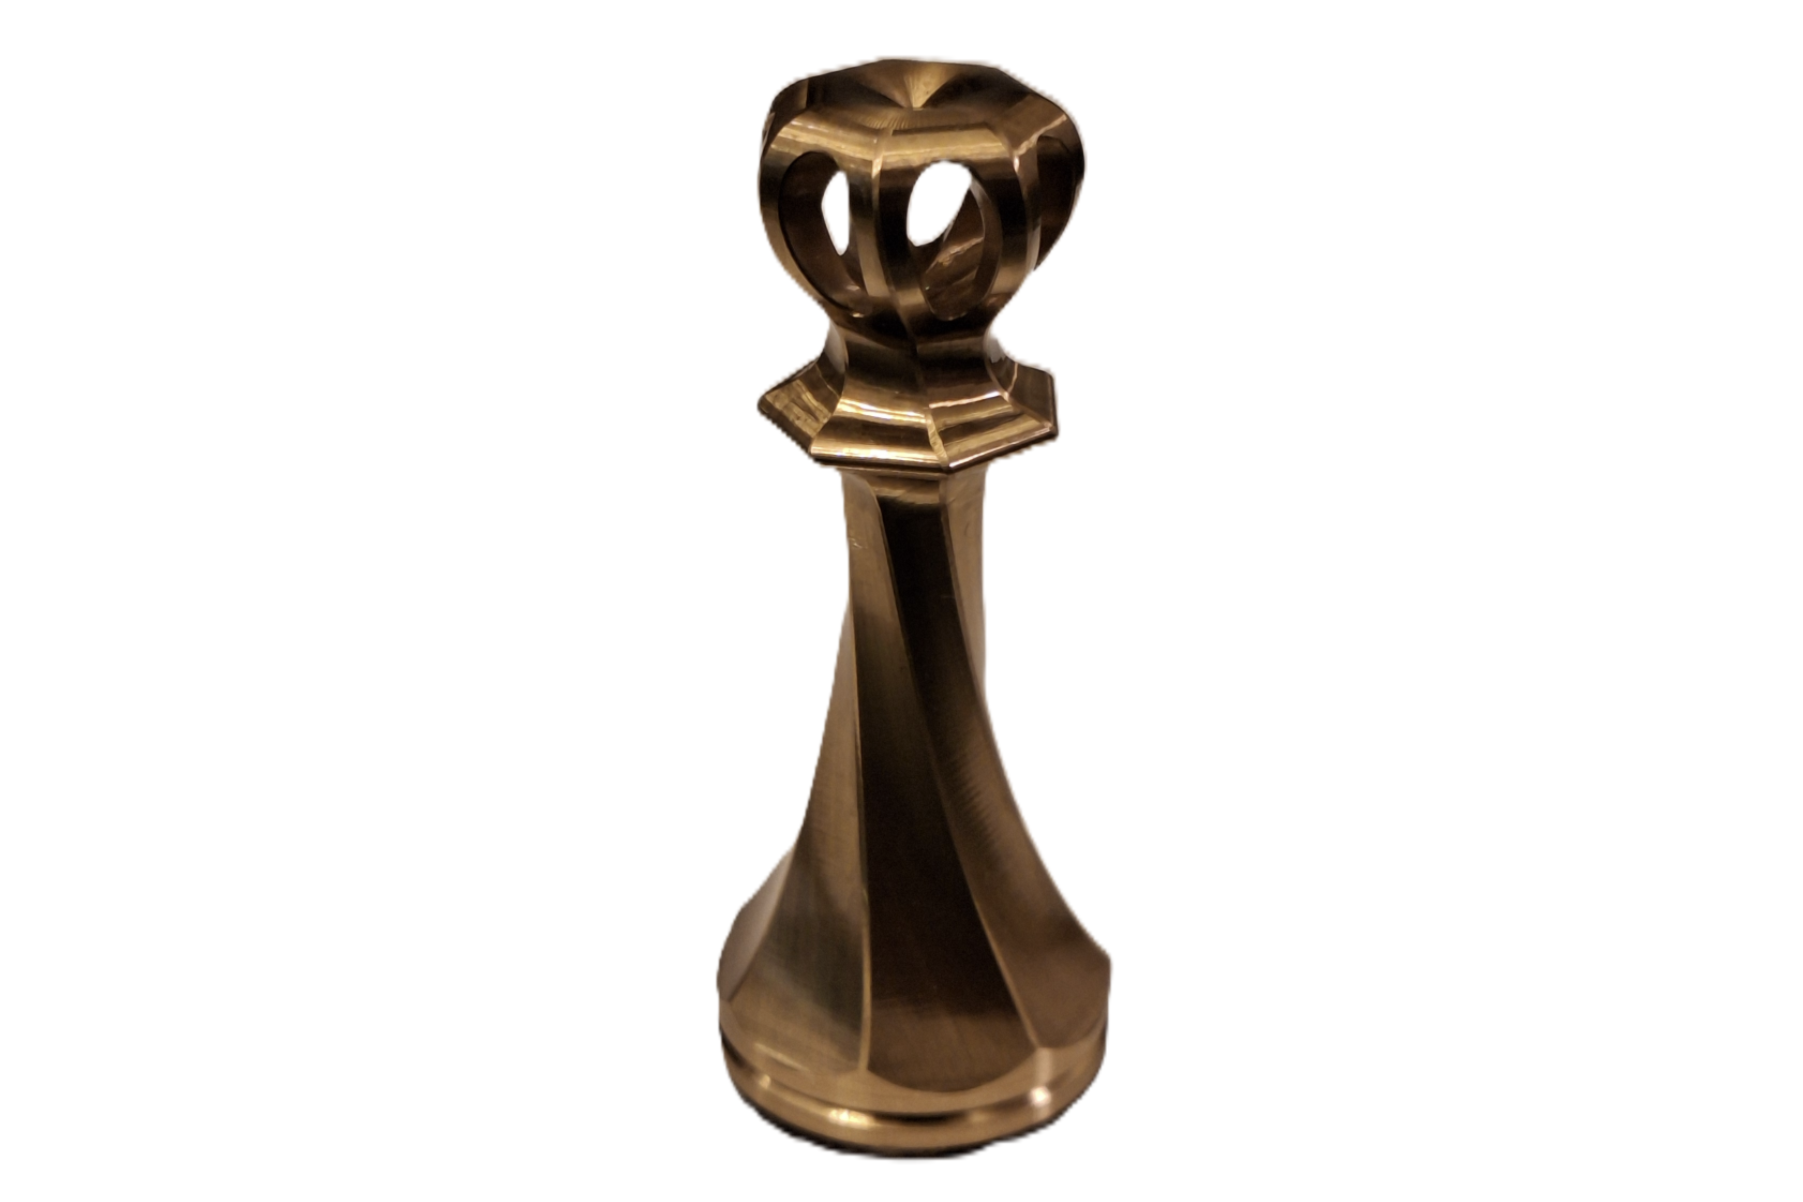
Bishop
The Bishop is a pretty simple piece, with the traditional collar, slot in the hat and small ball on top. The collar is further down from the head than most bishops because I needed space to fit an endmill between the head and the collar.
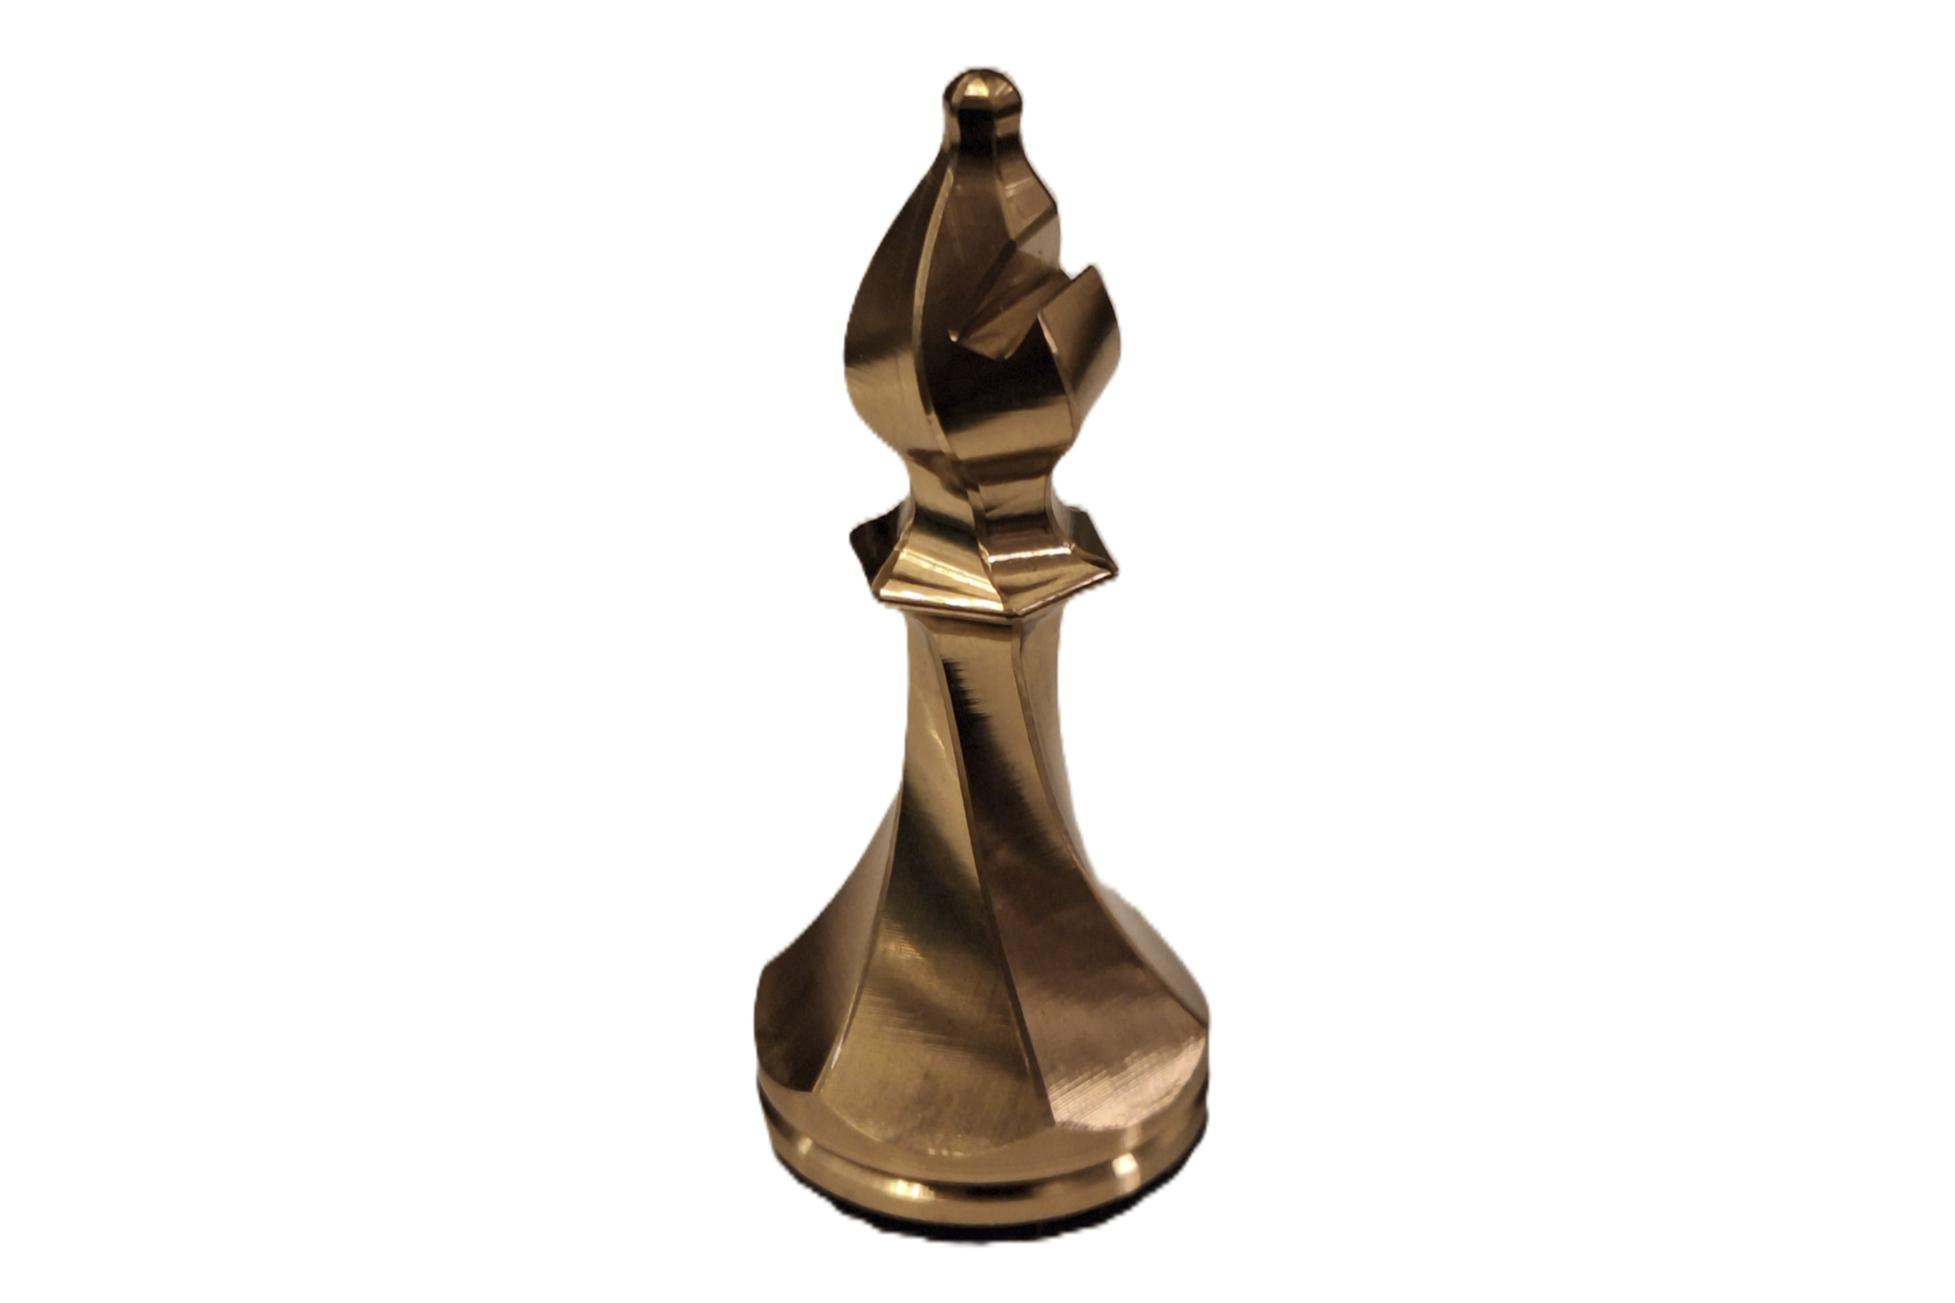
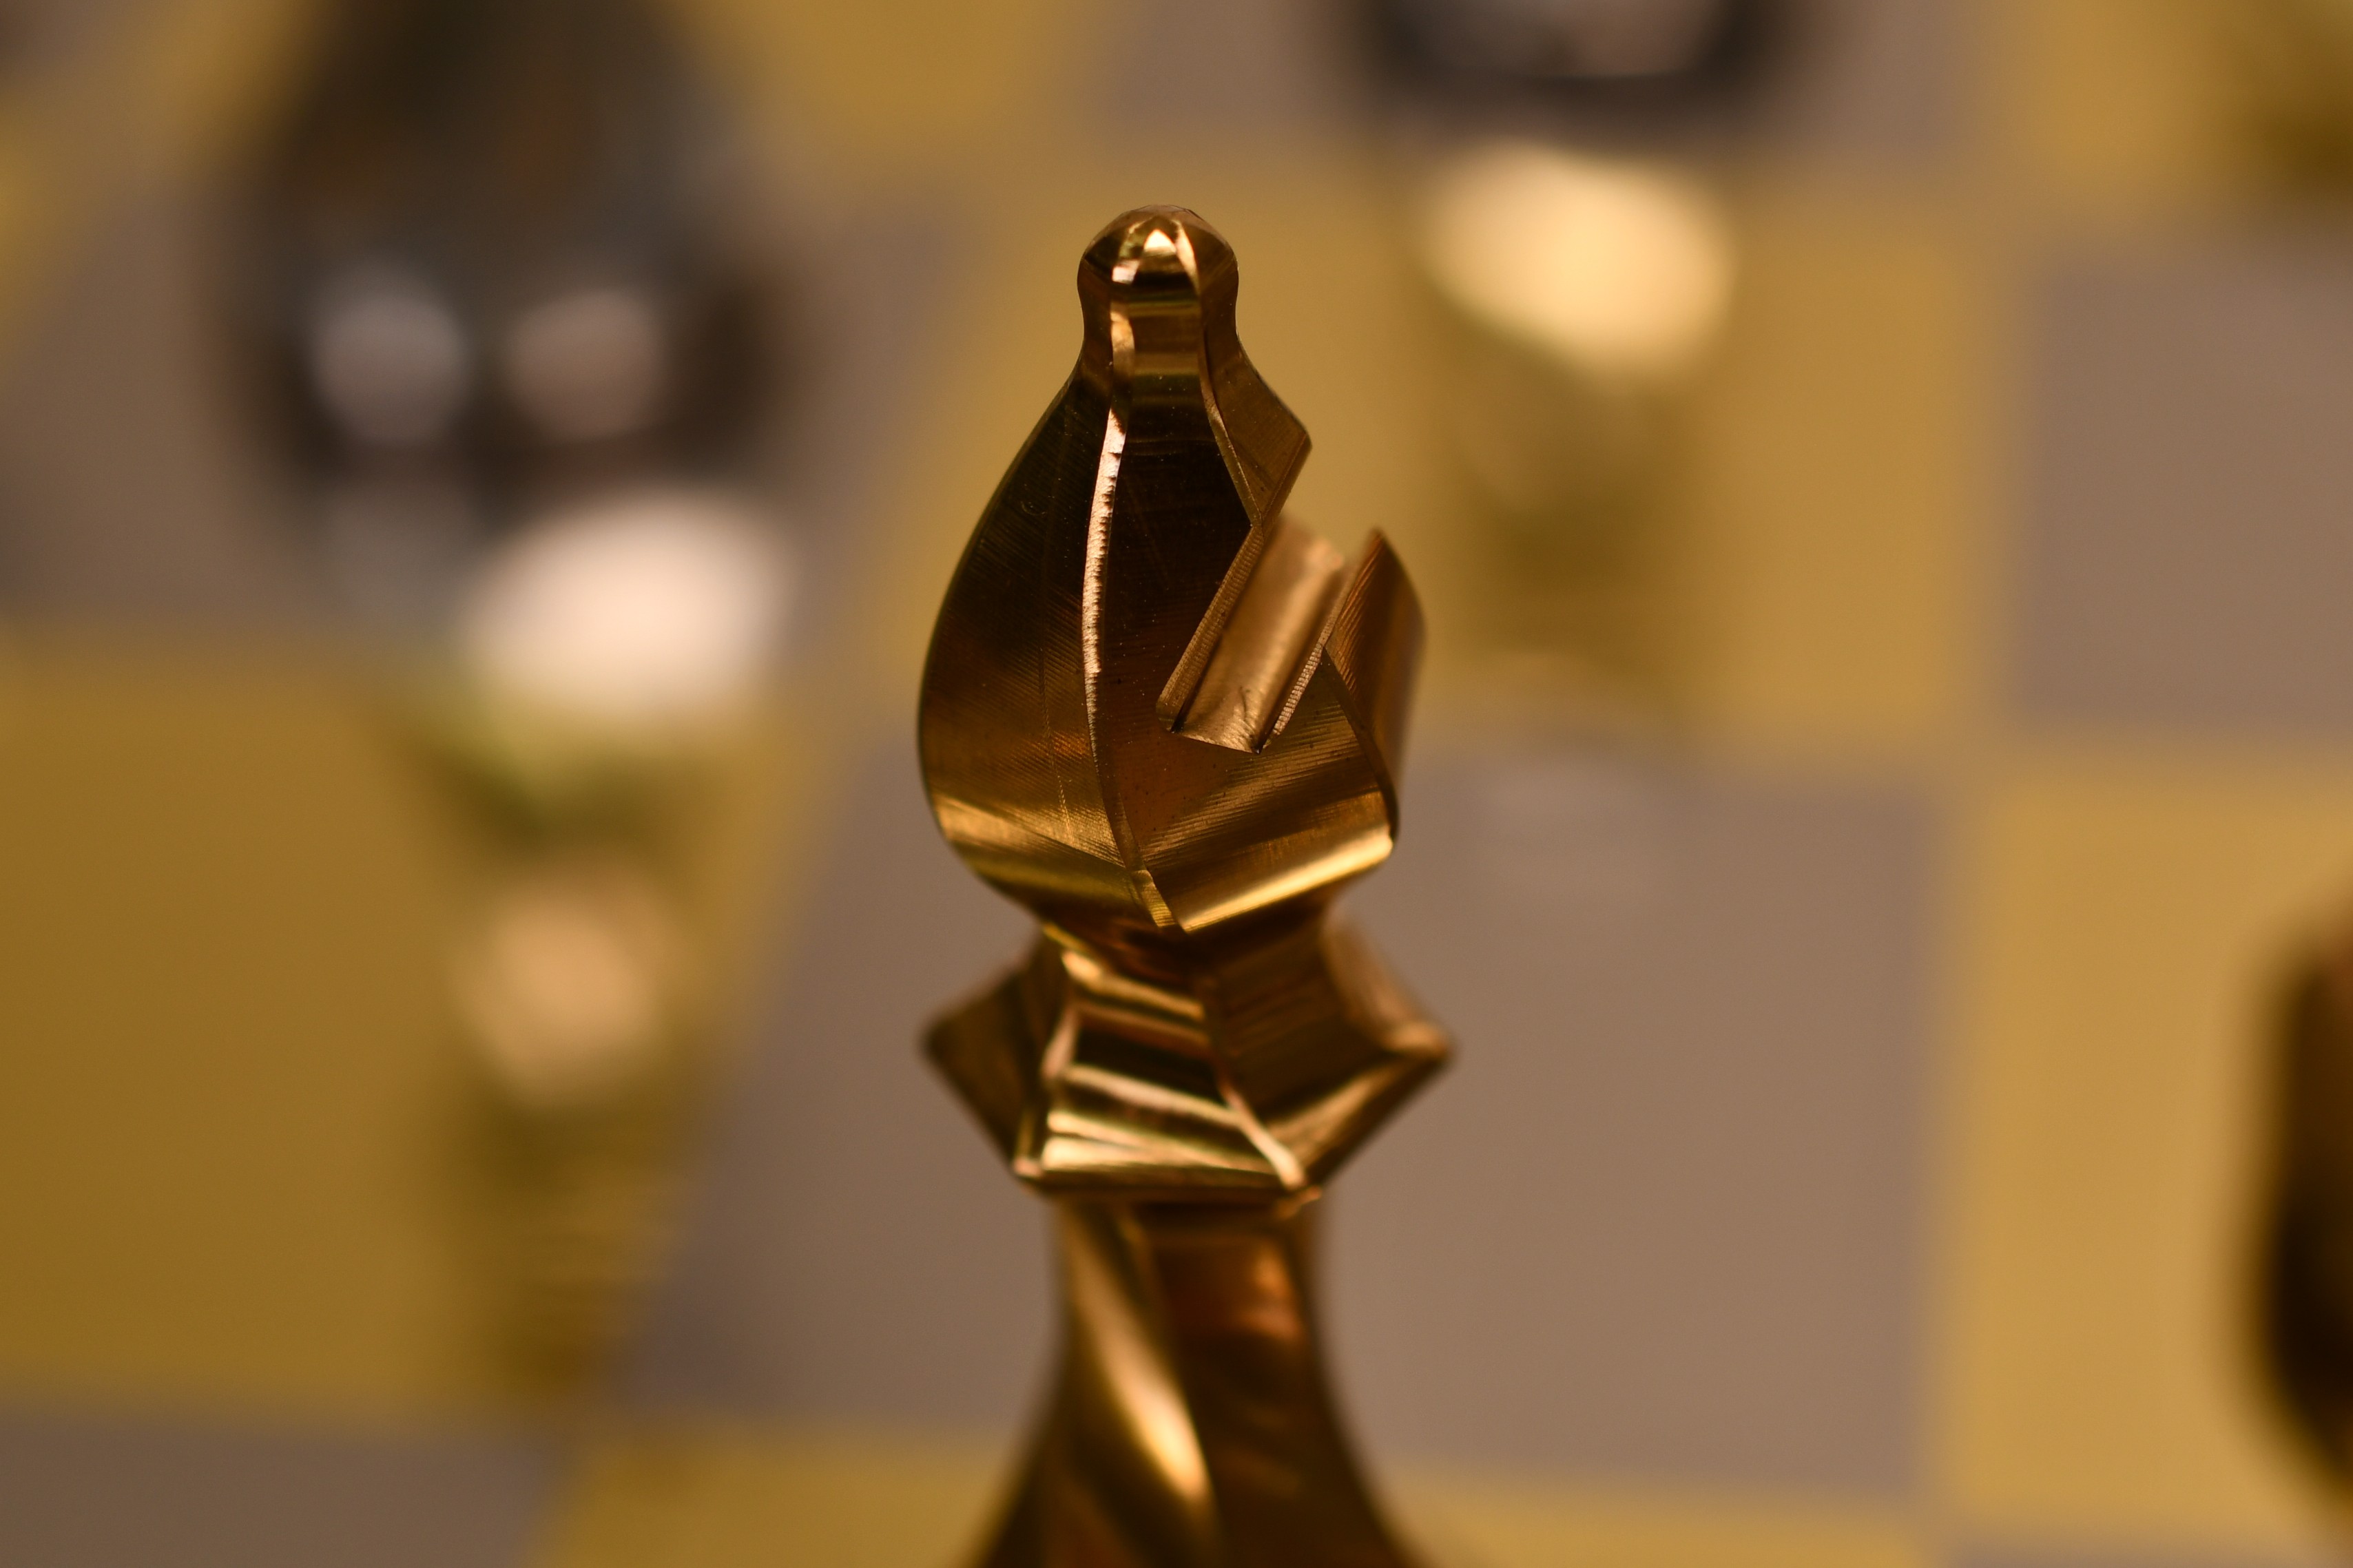
The slot in the head is also a bit wider than normal because they are traditionally made with a saw. I could have made the slot thinner with a smaller endmill, but that would have forced the slot to be quite shallow. It was necessary to positioning the slot so that it looks symmetric, which was surprisingly difficult on a piece that is not symmetric.
The ball on top had to be mostly merged with the main body because the endmill I used to make the sides had a large radius. I could have made the connection between the head and the ball thinner, but only by increasing the height of the ball which looks silly.
Queen
The queen was hard to design but was one of my favourite pieces because of her distinctive crown. She has 7 sides, which made for a funky asymmetric crown. I modelled her on the idea of a tiara / crown sitting on a head, so the spherical section in the middle of the crown is the head.
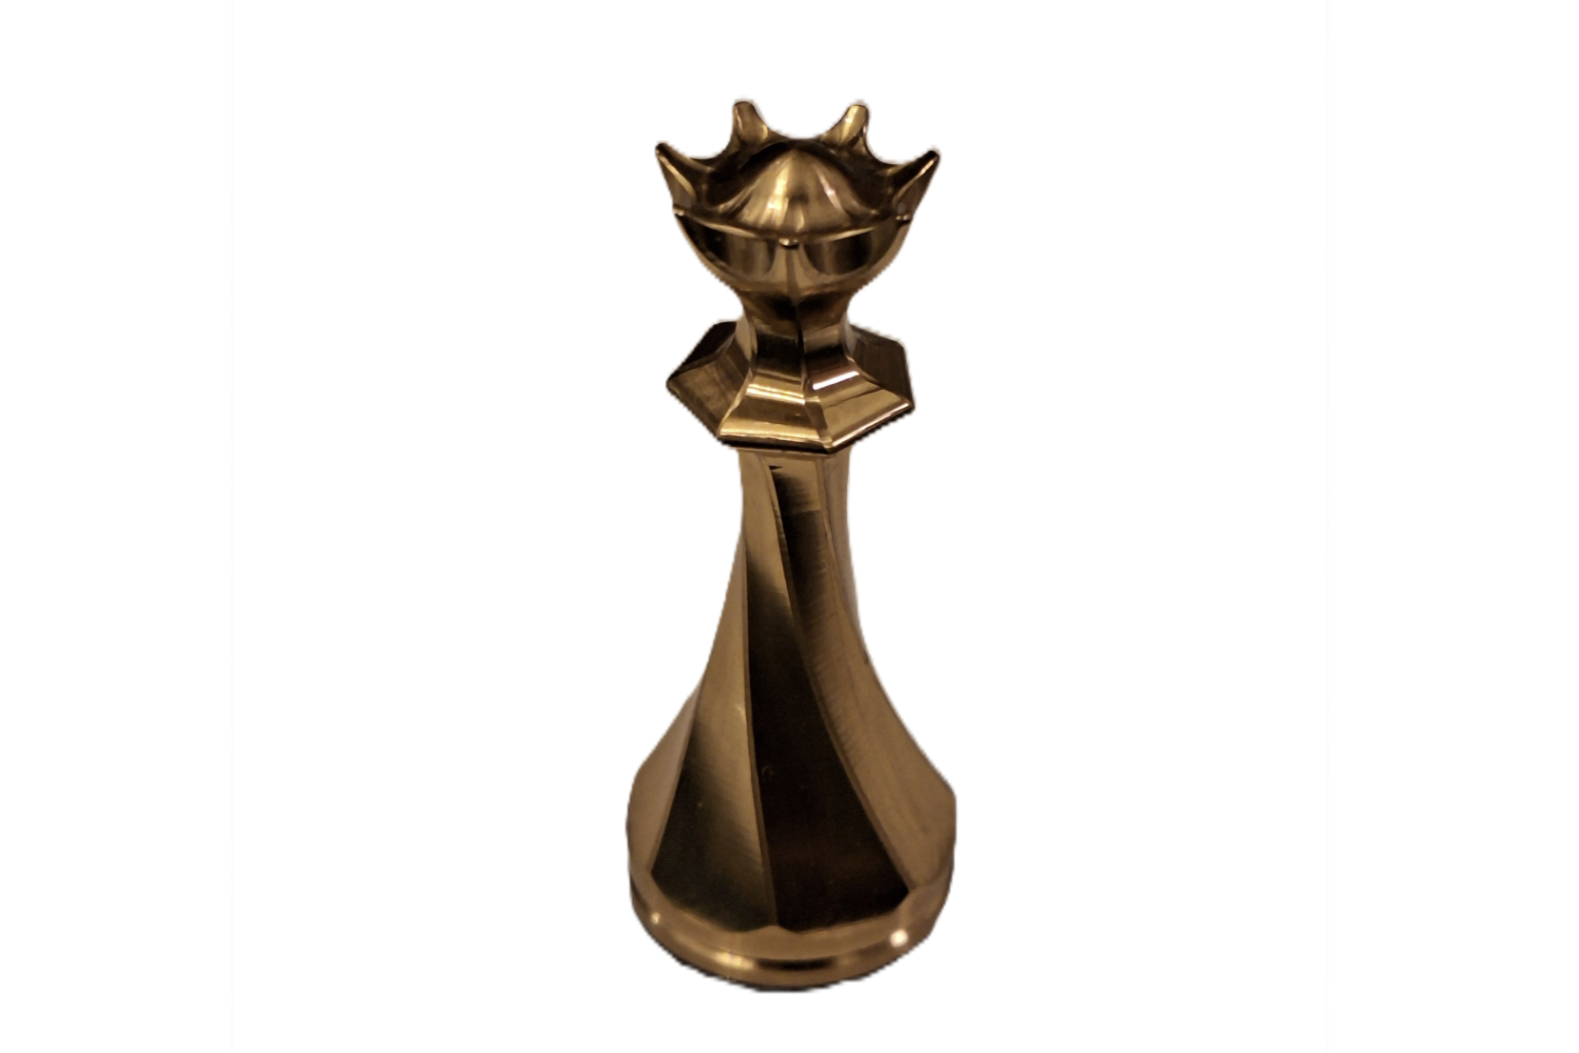
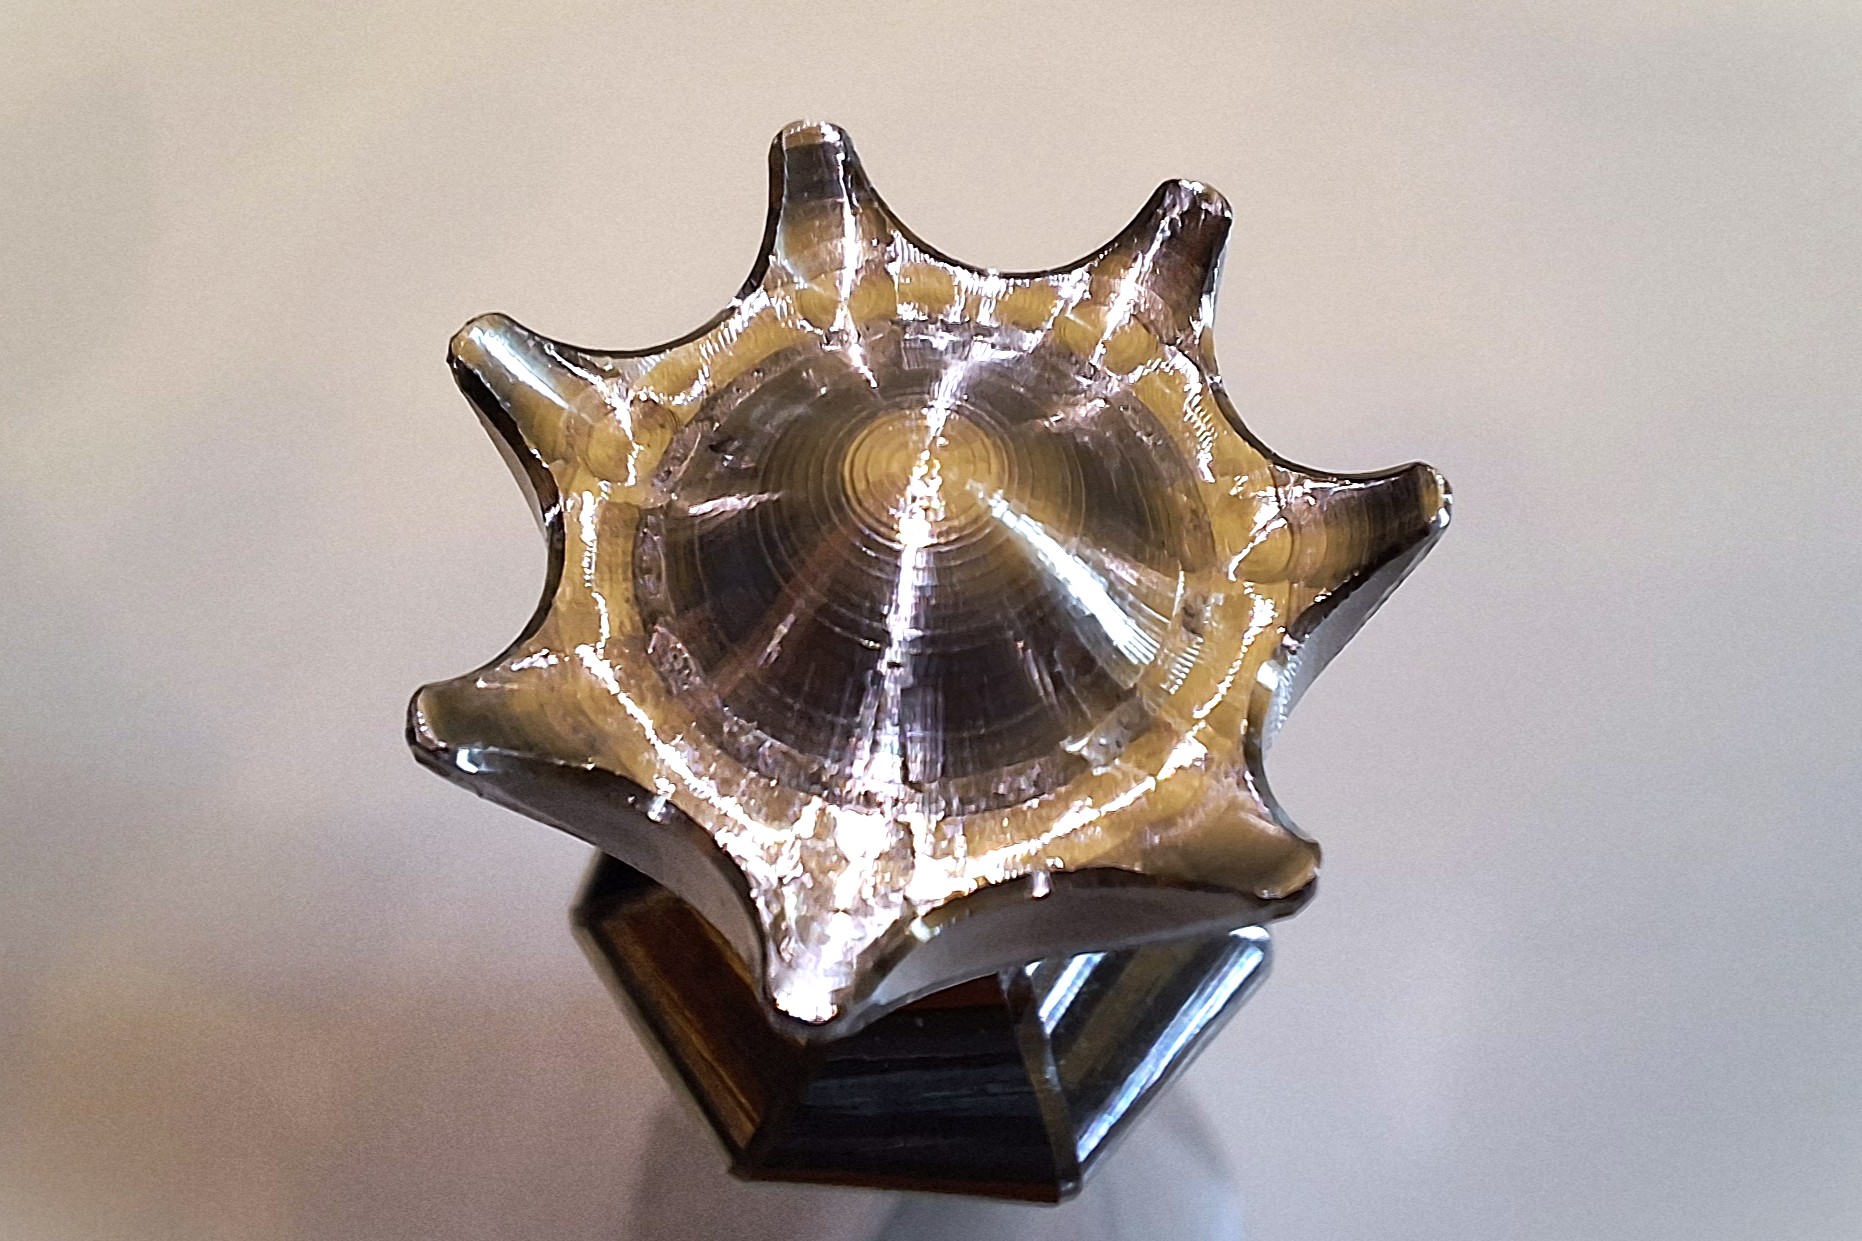
I used a ball endmill to finish the inside of the crown which left a cool sparkly texture where it plunges.
I deliberately made the body of the queen thinner than the Bishop, King and Cardinal to show that she is a lady.
King
The King is modelled on the crown of England, with the traditional cross on top. The cross was the most tricky part, because I wanted to make it thin and delicate without breaking. I decided to made it 2mm square, and fortunately it hasn’t broken yet. I also went with a very plain square cross because it made machining so much easier.


The cross has under-hangs that must be machined from the side, but this left machining marks on my aluminium king. To avoid the streaky lines on the brass King I offset the toolpath from the head slightly, leaving behind two small squares.
Cardinal
The Cardinal is one of the two extra pieces needed to play Grand chess or Capablanca chess on the 10x10 board. The Cardinal moves like the combination of a Bishop and a Knight making it slightly weaker than the Queen but very manoeuvrable especially around obstacles in early game. The Cardinal is also called an Archbishop or a Princess, but I chose to call it Cardinal for my set because Cardinals wear a very distinctive mitre hat that I could use for the head of the piece. This mitre hat is actually also what the Bishop’s head is based on but because bishops are normally made on the lathe the design was adapted and doesn’t look like a real mitre anymore. Real mitres taper at a variable angle around the hat, which makes them very difficult to manufacture unless you have a 5-axis machine.
I included a spherical bump inside the hat to represent a person’s head inside the mitre hat. I wanted the corner between the head and the hat to be quite small, so I used a 0.5mm tapered ball nose endmill. This was the most difficult piece to make because of this small corner radius deep in the hat. This was also the only piece where the spiral sides don’t continue to the top of the piece.
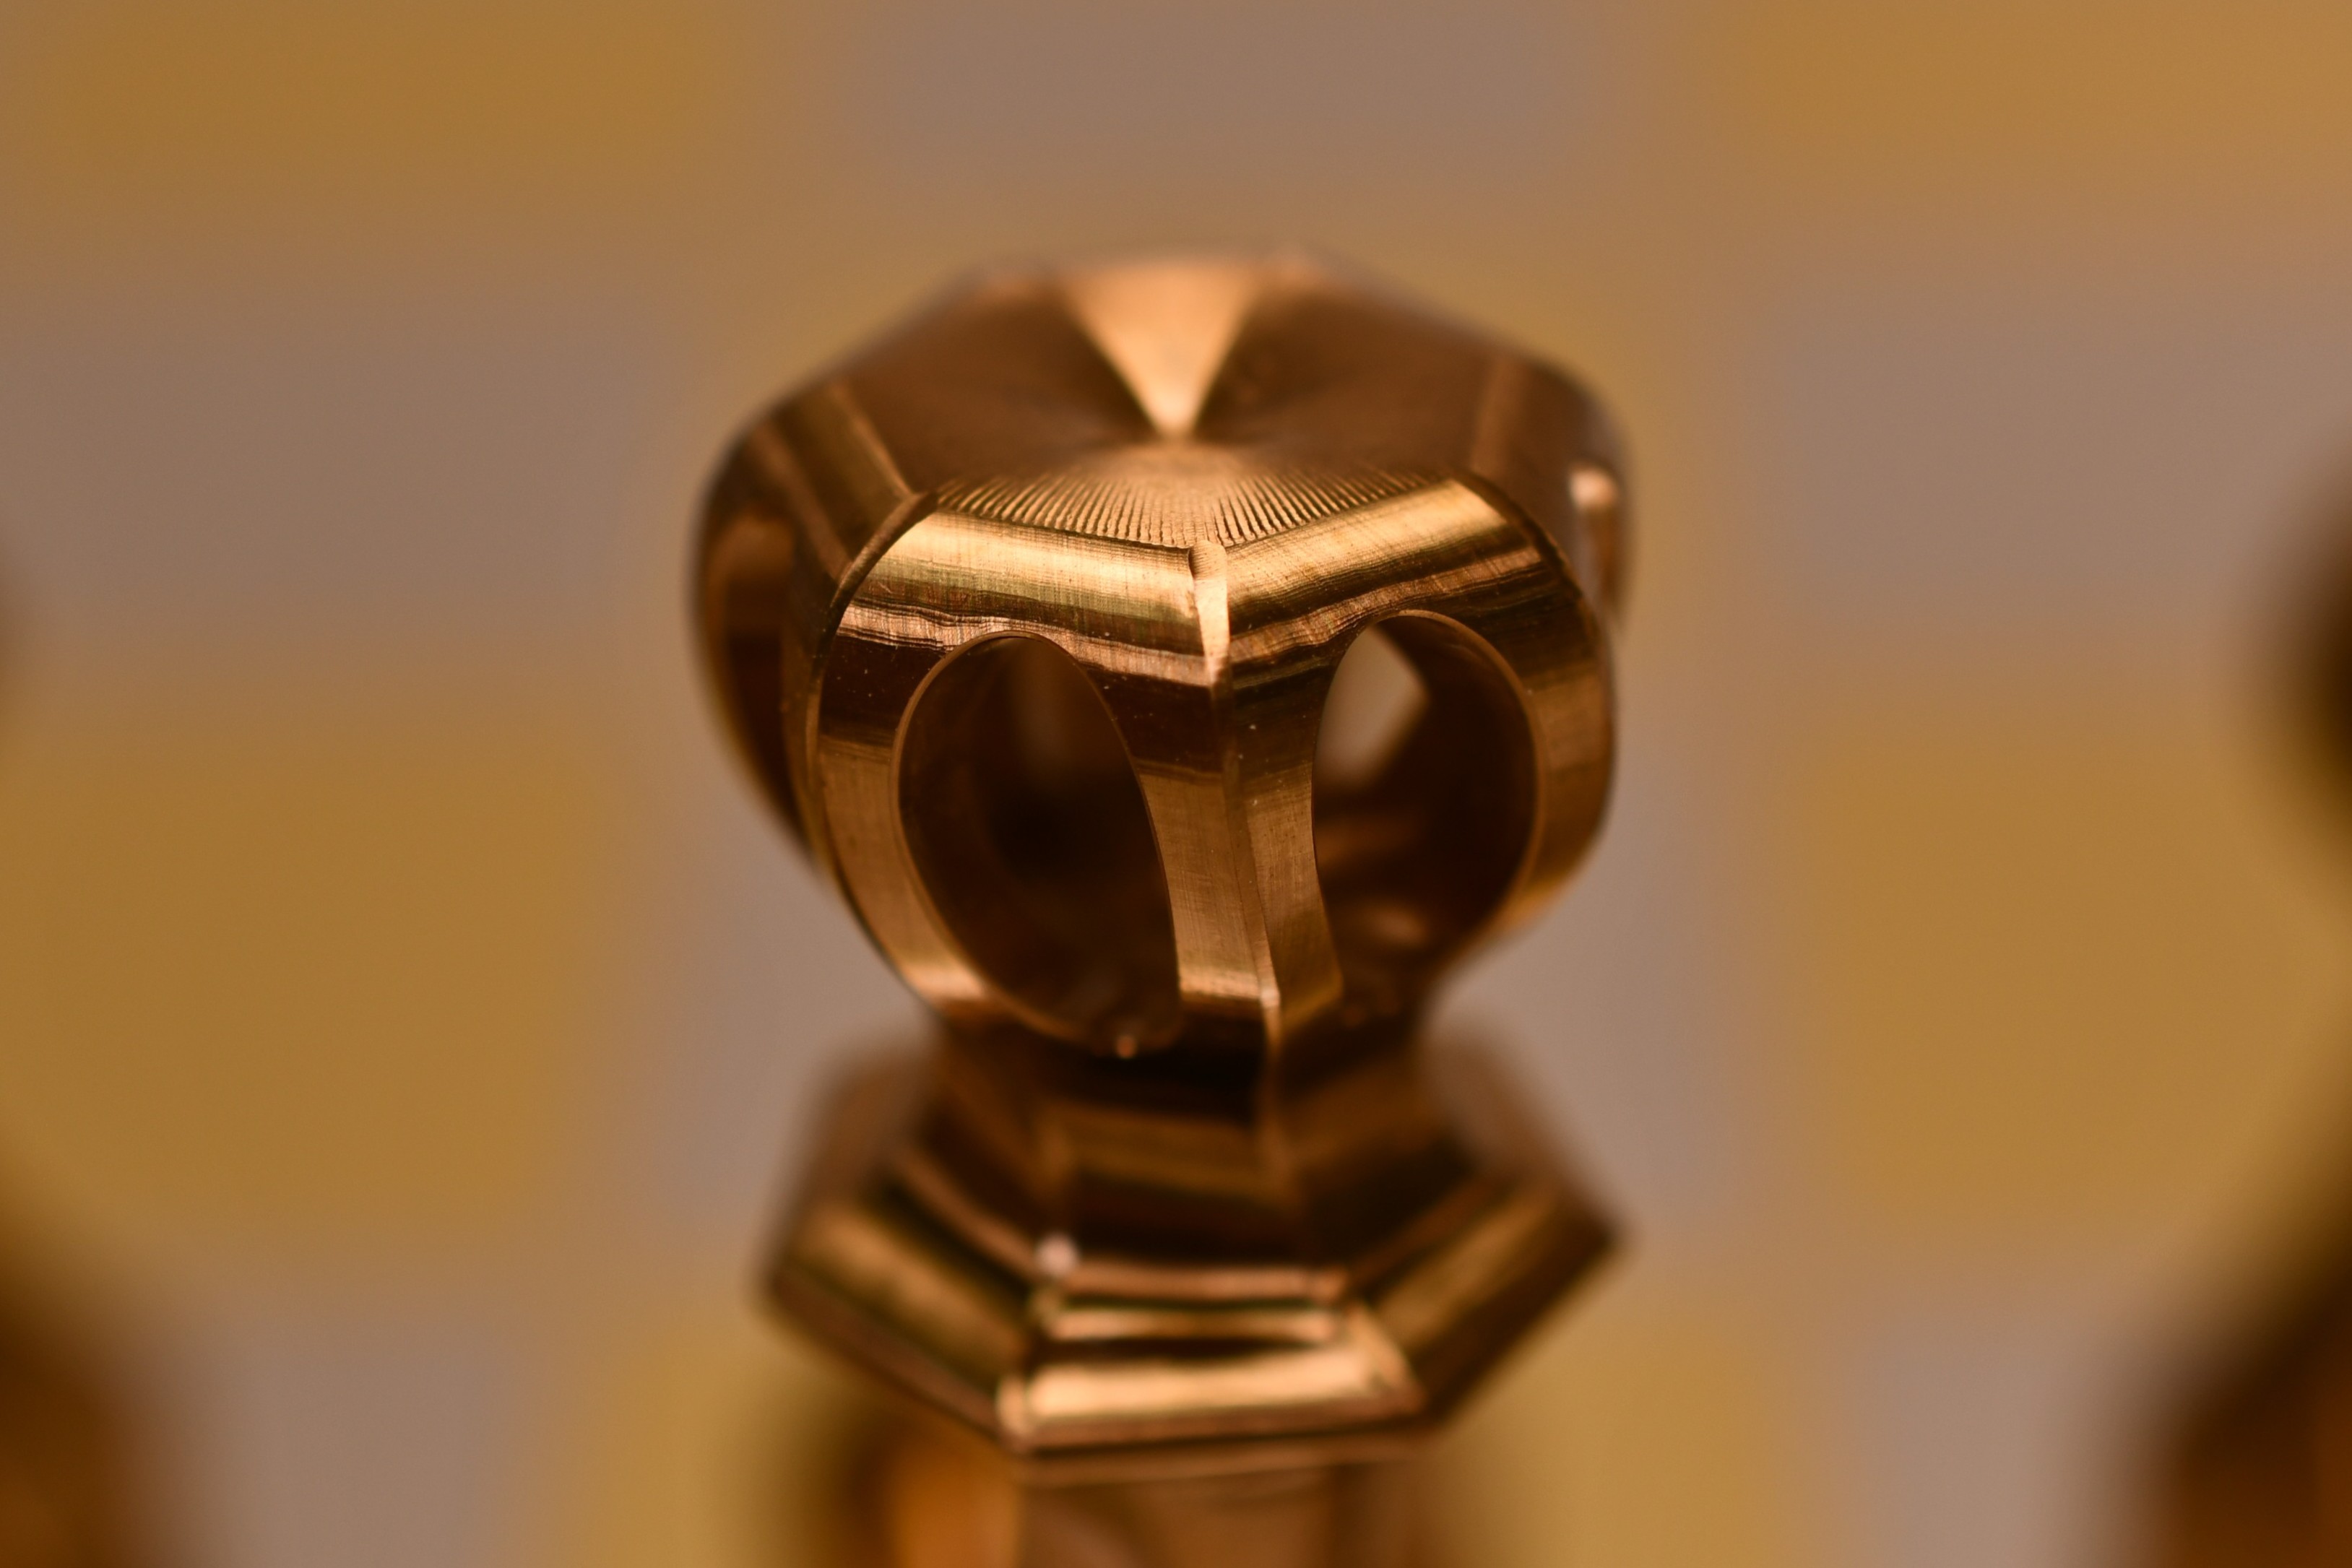
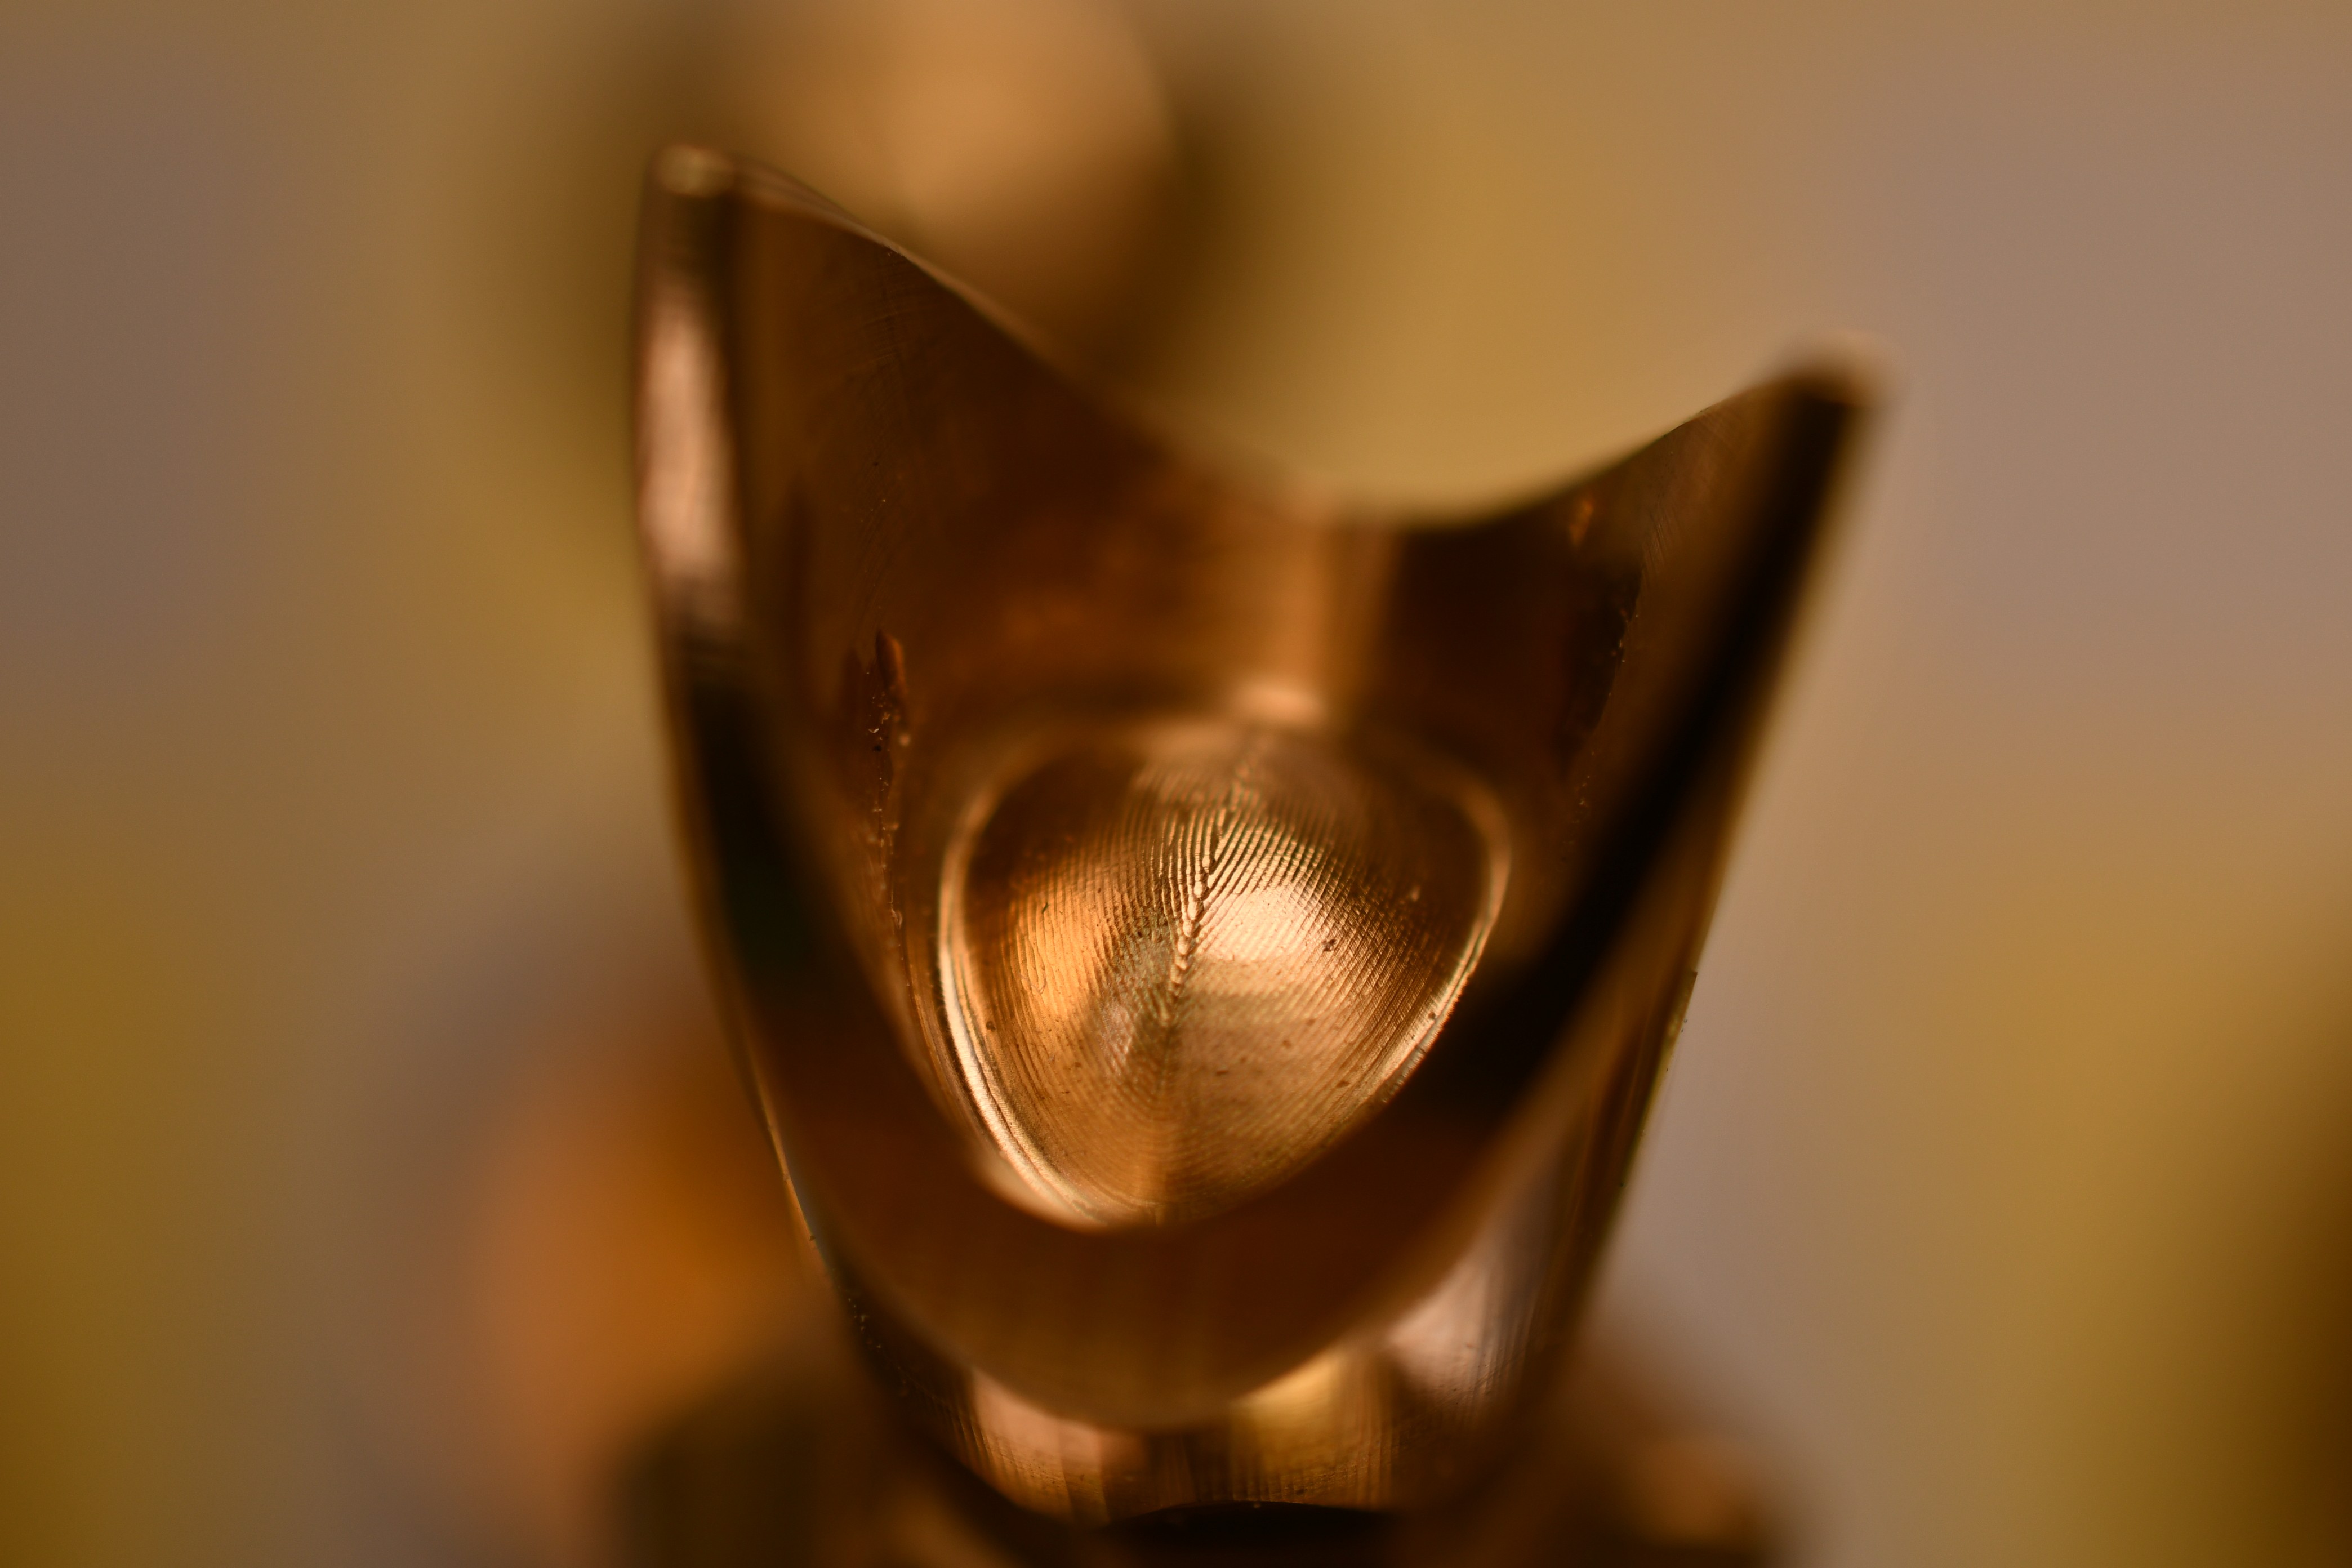
Empress
The Empress is the second extra piece required to play on the 10x10 board. The empress moves like a rook and a Knight combined making it on par with the Queen’s power. The Empress is more manurable in early game because it can jump over pieces whereas the queen is more powerful in late game because it controls more area. The Empress is also called chancellor, marshal, or a knook but I chose empress because a crown is distinctive and associated with empresses whereas the other names don’t have any easily machinable features. I had to design the empress to be distinct from the crowns of the queen and king and I wanted to do something special so I created this design with a hollow centre.
The empress is easily my favourite because the hollow centre looks very fancy. Surprisingly this hollow volume was easy to machine, I just cut 7 holes and they meet in the middle. Machining the holes wasn’t even a simultaneous 5 axis operation it was 3+2 machining. The holes were too small to deburr with my normal 6mm ball deburring bit but I was able to use a 1mm ball to clean the edges.
I also created a smooth indent on the top of the Empress like how some velvet crowns curve inwards. On the first empress I skipped the indent a machined a flat top, but it didn’t look great and I decided to use a tiny ball mill to create the indent. Unfortunately, this creates a change in texture from the smooth swarf milled sides to then rougher ball finished section. I made the ball mill passes radial, which made them take longer but leave a cool pattern of expanding lines on the top.