Letter punches
Letter punches to cast type for a old fashioned printing press
I machined a set of 88 letter punches for a group trying to recreate historical law documents. Each letter punch will be pressed into annealed copper to create a negative of that letter. The copper negative can then be used as a mold to cast many copies, to create the thousands of letters needed to print a page on a printing press.
Design

The set of letters were all in a strike-through font because the group wanted to recreate historical law documents that had been overturned. When old laws got changed they would be reprinted with a strike-through to show that it was no longer current law.
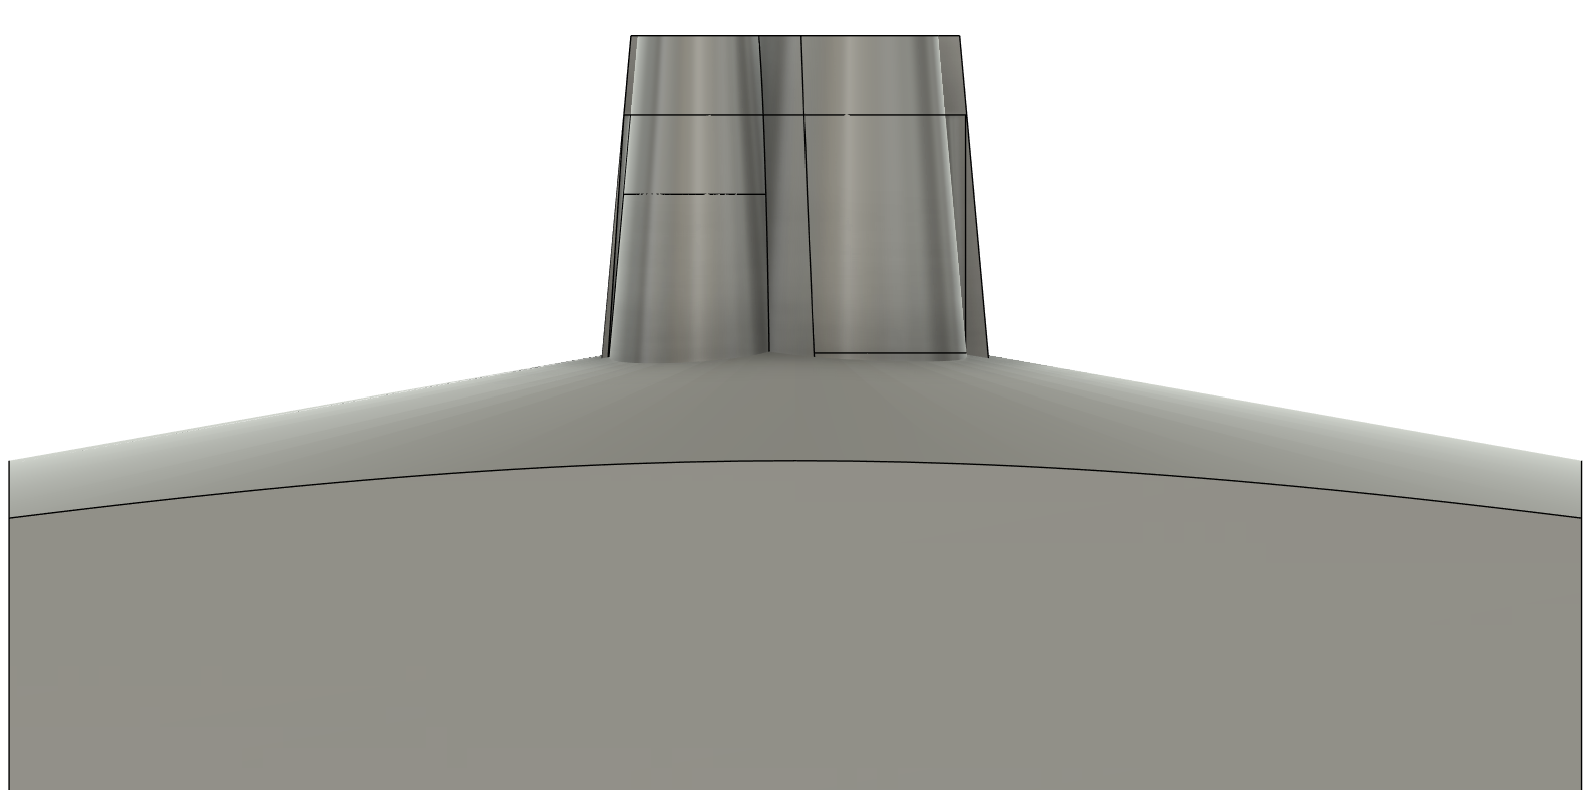
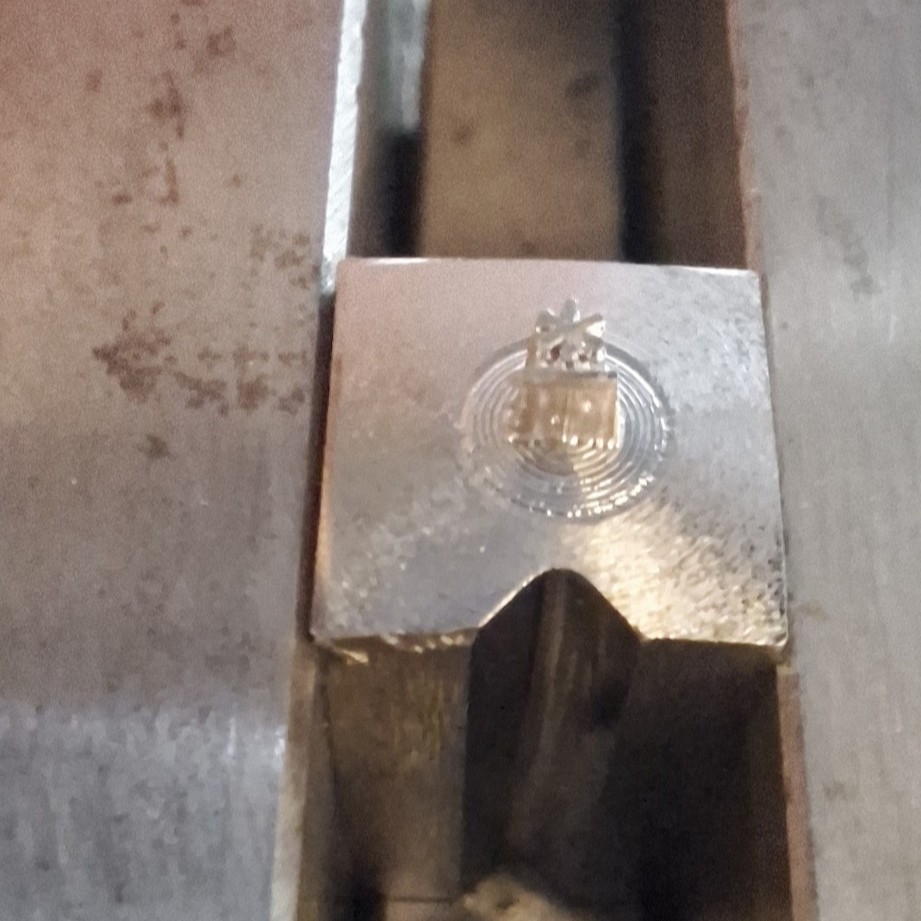
I designed all the letters with a 5 degree taper so that it would be possible to remove the letter punches and castings from the copper molds. I also designed the base that connects to the letter with a taper to create clearance when pressing.
To reduce cost and machining time I made each letter punch quite small, and made a larger handle to hold them during pressing. The handle can be permanently mounted in the press and aligned to center so that each letter is pressed into the middle of the copper mold. The letters all have a V-groove on one side that locates them in the center of the handle and prevents accidental upside down letters.
The letter punches were all made from tool steel so that it could be hardened above 60HRC after machining. The final hardness is important because if the punch is too soft it will deform during pressing, which creates a useless rounded letter head. In the annealed state the tool steel was about 200HB, which is hard enough to significantly reduce tool life.
Machining
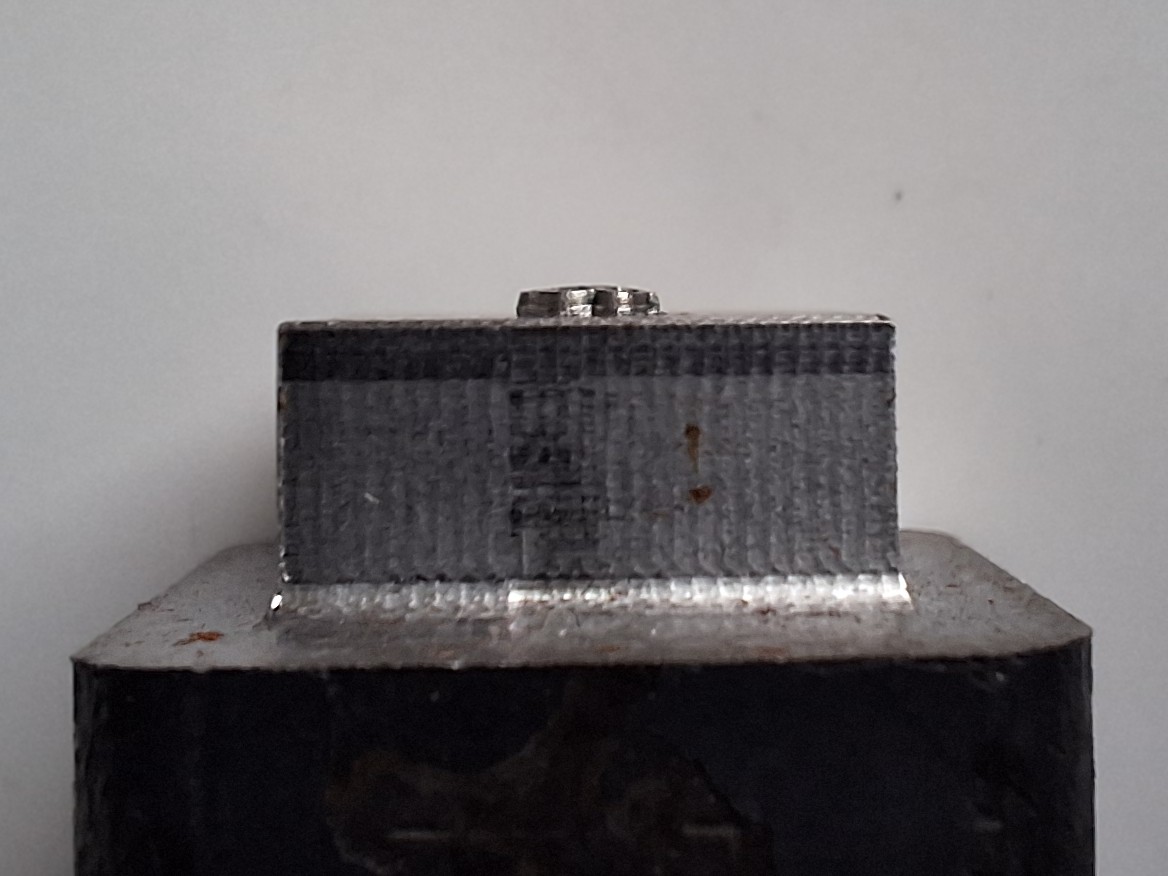
I first machined the stock in the 5-axis HAAS so that I could cut the V-grooves in the side, square the stock, cut it to precise length and chamfer the bottom of the letters. I was able to cut two at the same time in either side of the vice, with a different origin for each part. I manually optimized the program to switch between G54 and G55 origins to minimize tool changes and axis rotations.
Machining the letters was difficult because each letter is about 4mm tall, and I needed to use a R0.1mm ball mill to create the smallest details. Even with the R0.1mm ball there were some gaps too small to machine. Additionally the smaller tools are also shorter so they can only reach a small depth into the letter. This means the letters have the most detail at the important top surface and get less detailed deeper down. I used a high efficiency strategy with a large depth of cut and a very small stepover. High efficiency machining is excellent because it spreads the load, heat and wear along the length of the flute, which greatly extends tool life. I also pre-drilled into pockets to eliminate the large stresses and tool breakage caused by ramping.

Fortunately, I had access to a Datron with a fast 40,000RPM spindle. A high spindle speed is very helpful for micro machining because it directly decreases the time to cut each letter. On any other machine it would have taken me four times longer per letter. The Datron is also extremely rigid and has a low runout spindle, which both help reduce uneven load on the flutes of the tool. However the Datron only had a weak vice and the steel letter punches kept slipping due to large cutting forces. To fix this I was able to add some holes to a larger vice and bolt it to the T-slot table. It looks weirdly oversized in the machine, but completely fixed the problem. The larger vice also allowed me to machine four letters at once, greatly reducing my setup time.
Storage box
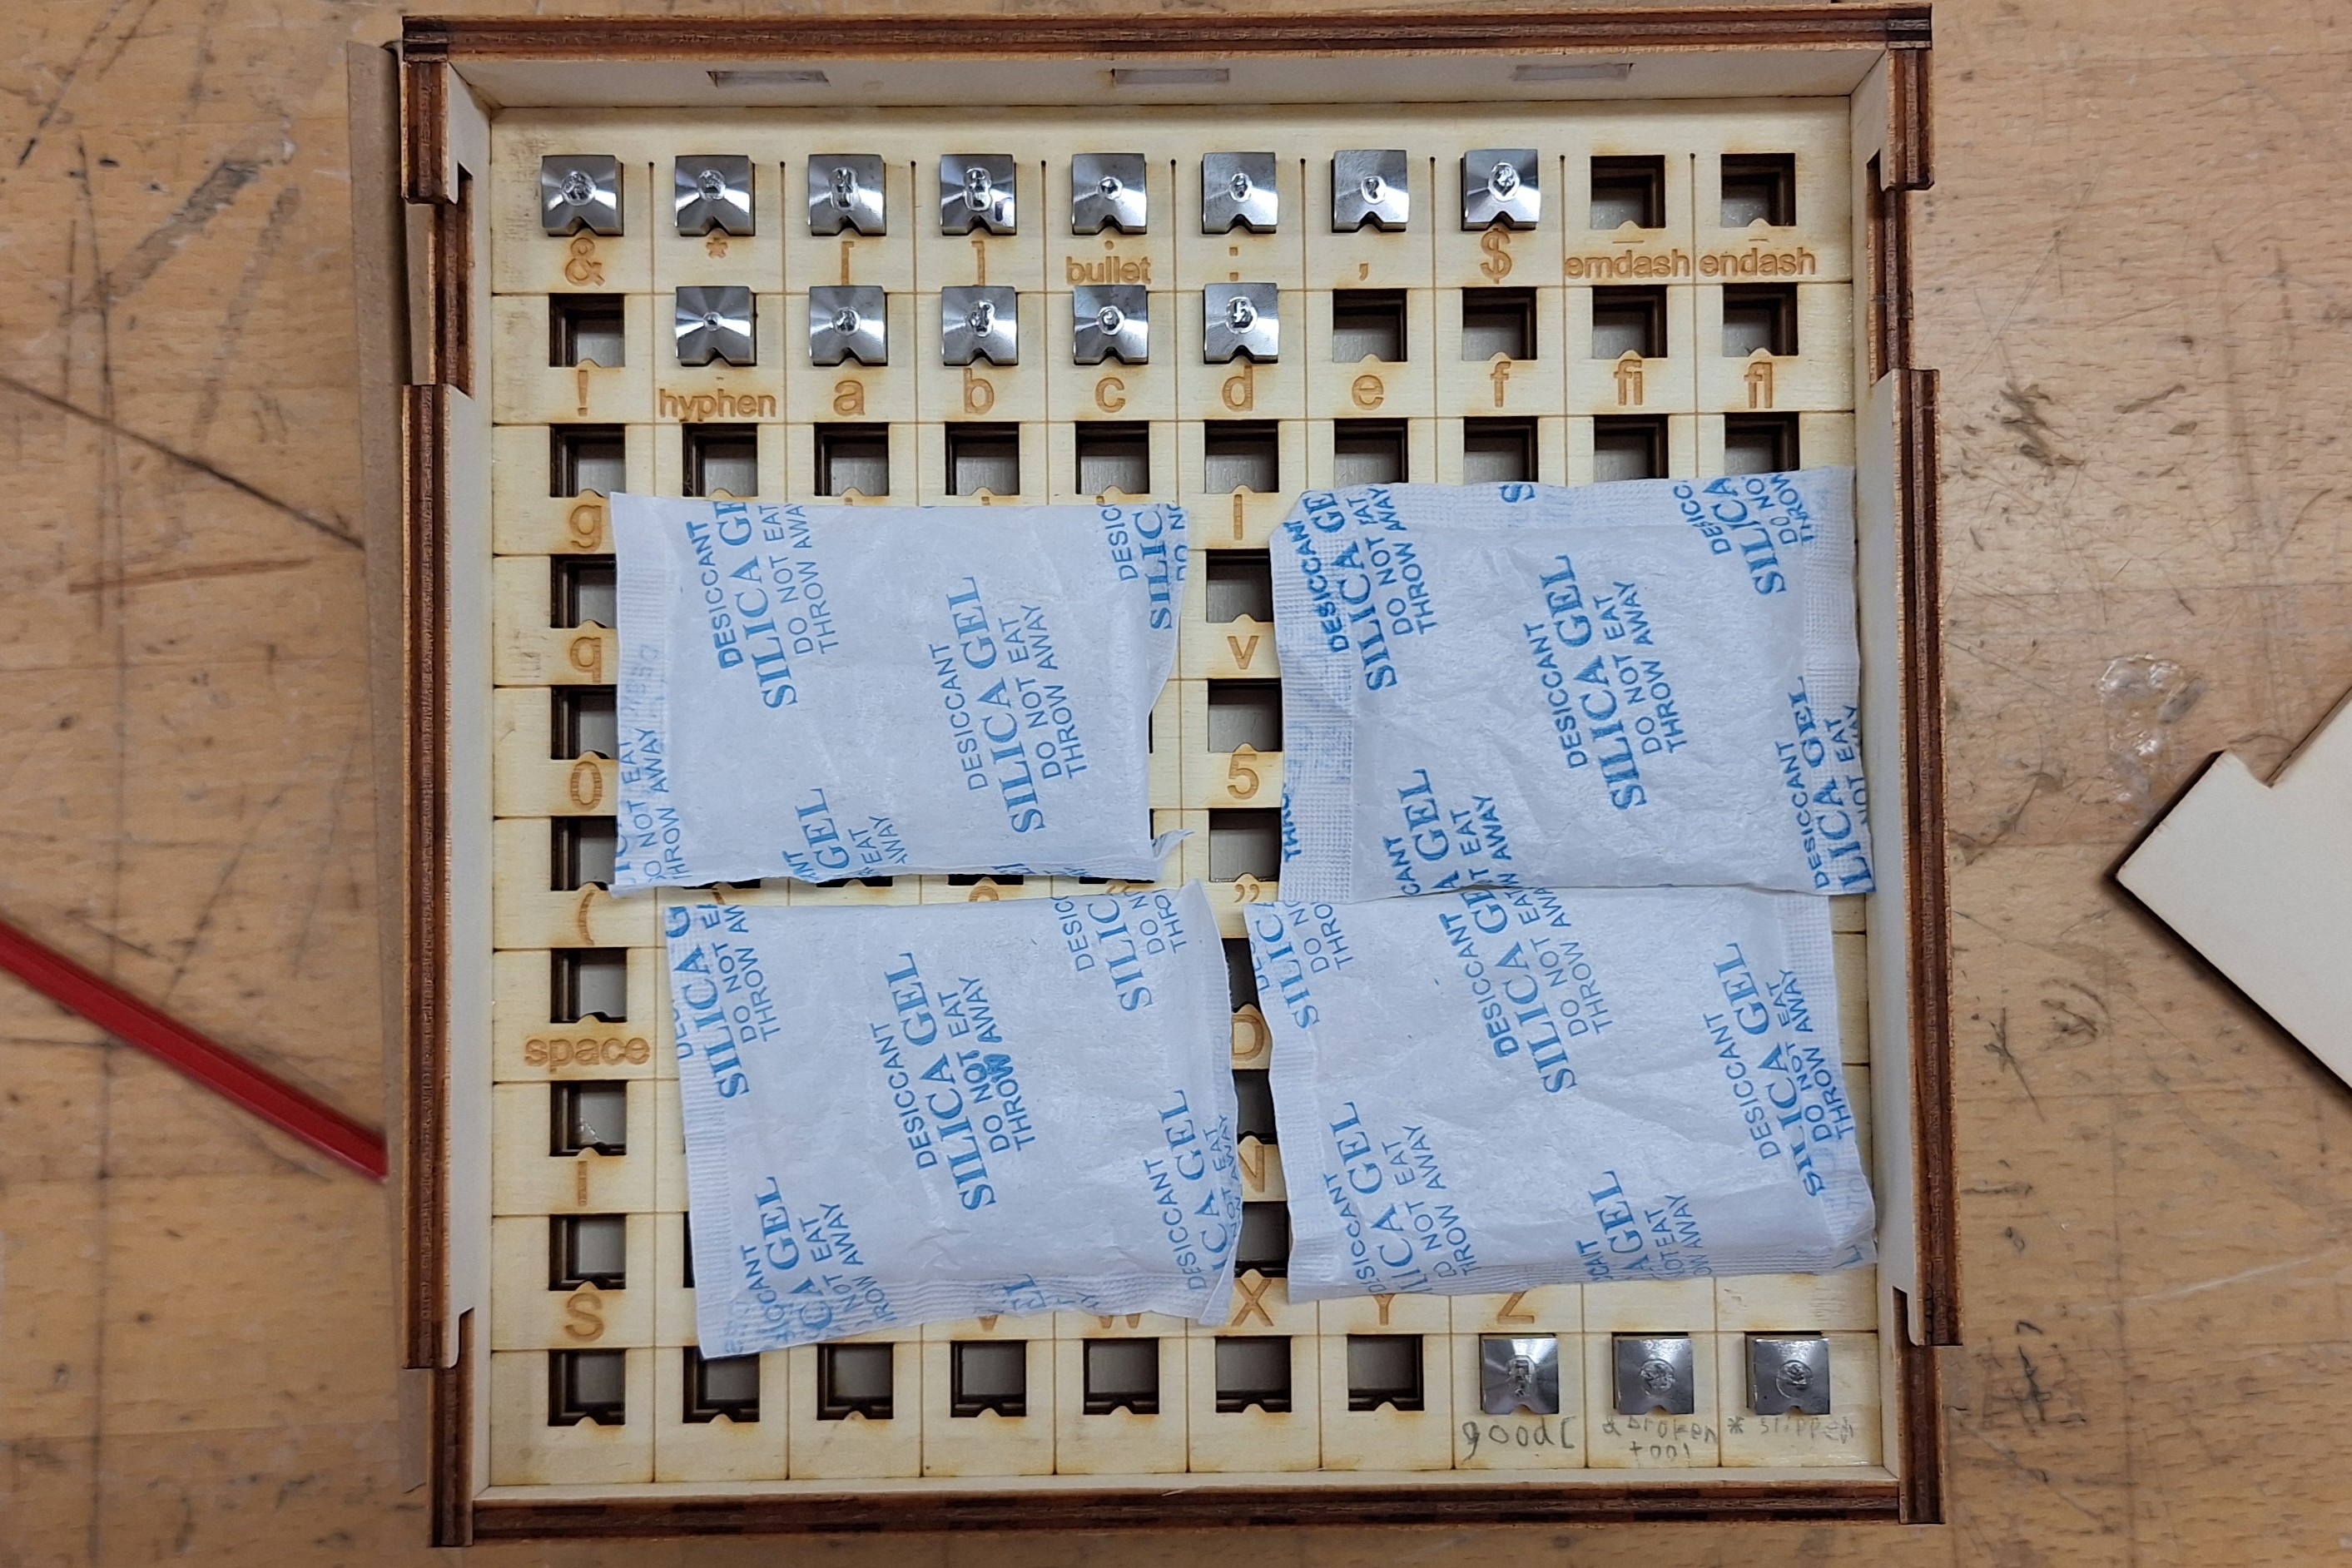
I also made a box to hold all the punches because they are so small and so similar that it is very difficult to keep track of them. It also protects the punches from damage, and adding desiccant to the box helps prevent rust.